

Transforming a neglected corner into a vibrant green oasis doesn’t have to be a daunting task. With the right gardening tools, a few simple DIY projects, and a clear step‑by‑step care plan, you can bring life to dull spaces using trendy indoor plants that are celebrated for their beauty, resilience, and modern appeal. Below is a data‑driven, easy‑to‑follow guide that walks you through everything from selecting the perfect tools to nurturing your new green companions.
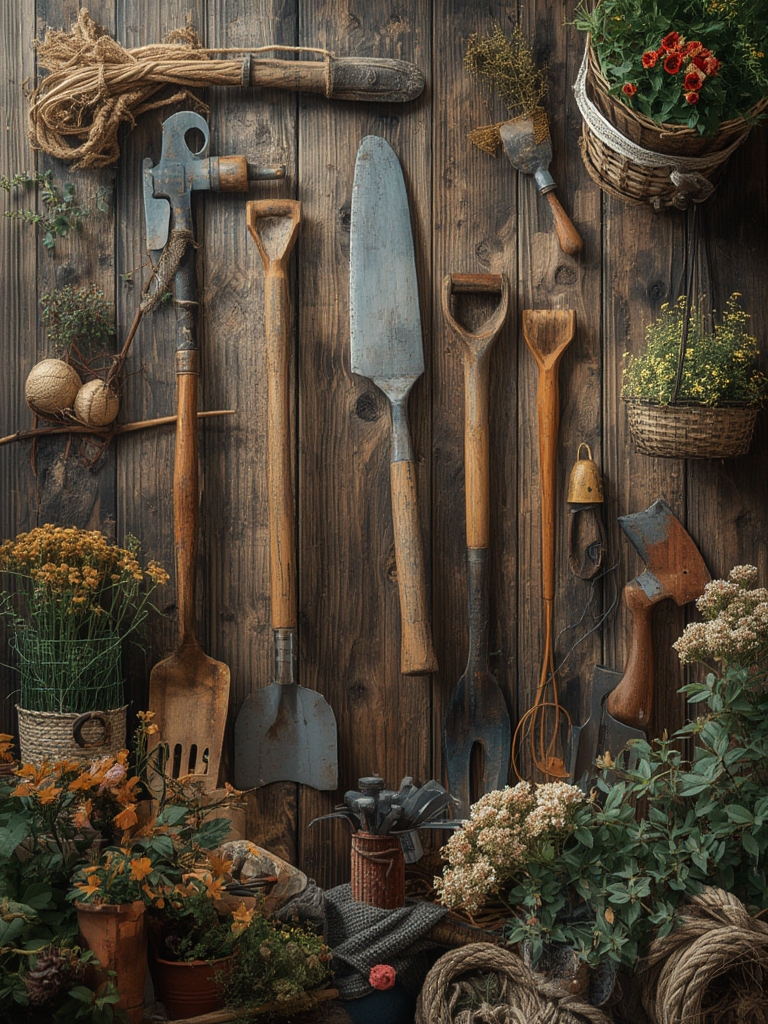
Essential Gardening Tools for Indoor Plant Success
1. Ergonomic Hand Trowel
According to a 2023 survey by the National Gardening Association, 68% of indoor gardeners cite a hand trowel as their most‑used tool. Choose a stainless‑steel trowel with a soft‑grip handle to reduce wrist strain when repotting or mixing soil.

2. Adjustable Pruning Shears
Pruning promotes healthy growth and prevents disease. Look for shears with a 5‑inch blade and a tension‑adjustment knob, which allows you to cut cleanly through both thin stems and tougher foliage.

3. Soil Moisture Meter
Over‑watering is the #1 cause of indoor plant failure (45% of cases). A digital moisture meter gives instant feedback, helping you water only when the soil is truly dry.

4. Lightweight Watering Can with Long Spout
A 1‑liter can with a narrow spout provides precise watering without disturbing the soil surface—essential for delicate seedlings and succulents.

5. Breathable Fabric Pots
Fabric pots improve aeration and prevent root rot. They also shrink as the plant grows, encouraging a healthier root system.
DIY Projects to Elevate Your Indoor Garden
1. Mason‑Jar Hanging Planters
- Materials: Mason jars, jute rope, metal rings, small stones.
- Steps:
- Fill the bottom of each jar with a layer of stones for drainage.
- Add a lightweight potting mix formulated for succulents.
- Plant a small trailing plant (e.g., String of Hearts).
- Thread the jute rope through the metal ring, tie a secure knot, and hang at eye level.
- Tip: Use a drip‑proof seal on the jar lid to avoid water leakage onto walls.
2. Reclaimed Wood Shelf Garden
- Materials: Reclaimed pallet wood, sandpaper, non‑toxic paint, wall brackets.
- Steps:
- Sand the wood to remove splinters, then paint in a muted pastel.
- Mount brackets at 18‑inch intervals on a sturdy wall.
- Place small terra‑cotton pots with low‑light plants like ZZ Plant or Snake Plant.
- Tip: Install a small LED grow light above the shelf to boost photosynthesis during darker months.
3. DIY Self‑Watering Pot
- Materials: Two plastic containers (one larger, one smaller), wicking cord, drill.
- Steps:
- Drill a 1‑cm hole in the bottom of the smaller container.
- Insert a wicking cord that reaches the bottom of the larger reservoir.
- Place soil and plant in the smaller pot; fill the larger container with water.
- The wick will draw water as needed, reducing daily watering frequency.
- Tip: Position the reservoir out of direct sunlight to prevent algae growth.
Choosing Trendy Indoor Plants for Modern Spaces
Data from Houzz 2024 shows that 54% of homeowners prefer plants with sculptural foliage and low maintenance. Below are three top picks, each paired with a brief care snapshot.

1. Monstera Deliciosa (Swiss Cheese Plant)
Why it’s trendy: Large, perforated leaves add drama.
Light: Bright, indirect light; tolerates filtered office light.
Water: Water when the top 2 cm of soil feels dry.
2. Pilea Peperomioides (Chinese Money Plant)
Why it’s trendy: Round, coin‑shaped leaves fit minimalist décor.
Light: Moderate to bright indirect light.
Water: Keep soil evenly moist, but avoid soggy conditions.
3. Sansevieria Trifasciata (Snake Plant)
Why it’s trendy: Architectural lines and air‑purifying qualities.
Light: Tolerates low light; thrives in bright indirect light.
Water: Allow soil to dry completely between waterings.
Step‑by‑Step Care Guide for Your New Indoor Plant
Step 1: Assess Light Conditions
Use a smartphone light meter app or a simple hand test: hold your hand above the spot for 5 seconds. If you can read a book comfortably, the light is likely sufficient for most tropical indoor plants.
Actionable tip: Rotate the pot 90° every two weeks to ensure even growth.
Step 2: Prepare the Soil Mix
Blend 40% peat moss, 30% perlite, and 30% coconut coir. This mix offers excellent drainage while retaining enough moisture for foliage plants.
Actionable tip: Add a teaspoon of mycorrhizal fungi powder to boost root health.
Step 3: Potting and Placement
Place a layer of small stones at the bottom of the pot for drainage, then fill with the prepared soil mix. Gently set the plant, fill around the roots, and firm lightly.
Actionable tip: Position the pot on a saucer to catch excess water and protect surfaces.
Step 4: Watering Routine
Insert your moisture meter 2 cm deep. Water only when the reading shows “dry.” For larger pots, use the “bottom‑watering” method: submerge the pot in a tray of water for 5‑10 minutes, then let it drain.
Actionable tip: In winter, reduce watering frequency by 30% to match slower plant metabolism.
Step 5: Feeding and Fertilizing
Apply a balanced 20‑20‑20 liquid fertilizer at half strength once a month during the growing season (spring‑summer). For succulents, switch to a cactus‑specific formula.
Actionable tip: Use a spray bottle to mist the foliage after feeding, helping nutrients absorb faster.
Step 6: Pruning and Maintenance
Trim yellowing leaves with your pruning shears, cutting just above a node. Remove any dead stems to improve air circulation.
Actionable tip: Keep a small bag of coffee grounds nearby; sprinkle a thin layer on the soil once a month to improve acidity for plants like Monstera.
Practical Tips & Tricks for Long‑Term Success
- Monitor Humidity: Place a hygrometer near your plant. Aim for 40‑60% relative humidity; use a pebble tray or a humidifier for tropical species.
- Prevent Pests: Inspect leaves weekly for spider mites or mealybugs. A quick spray of diluted neem oil (1 tsp per quart of water) resolves infestations without harming the plant.
- Seasonal Adjustments: Move plants closer to windows in winter to capture extra light, and pull them back during peak summer heat to avoid leaf scorch.
- Rotate DIY Projects: Refresh your space every 6‑12 months by swapping out mason‑jar planters for a new DIY self‑watering pot, keeping the visual interest alive.
Wrap‑Up: From Dull Corners to Green Havens
By investing in a handful of high‑quality gardening tools, tackling simple DIY projects, and following a data‑backed care routine, you can effortlessly transform neglected spots into thriving indoor gardens. Not only do these trendy plants boost aesthetics, they improve air quality and create a calming atmosphere—perfect for modern living spaces. Start small, stay consistent, and watch your indoor oasis flourish.


