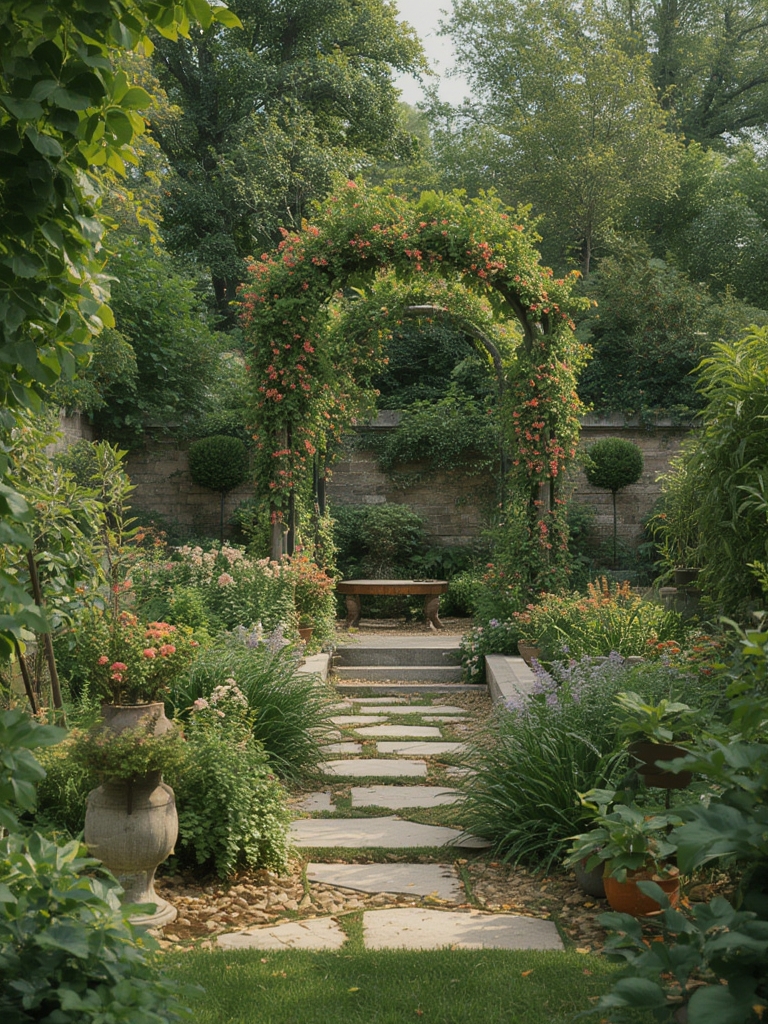
Welcome to your garden inspiration guide! Whether you have a tiny balcony or a sprawling backyard, creating a vibrant, thriving garden is within reach. This data‑driven post walks you through each step of growing and caring for a versatile garden favorite—lavender (Lavandula angustifolia). Lavender not only adds fragrant beauty and a splash of purple, but it also attracts pollinators, repels pests, and works beautifully in cut‑flower arrangements. Follow the actionable advice below, and you’ll soon be styling flowers like a pro, even if you’re just starting out 💐🌿.
Step 1: Choose the Perfect Location and Soil
Sunlight is non‑negotiable
Lavender thrives in full sun—aim for at least 6–8 hours of direct light daily. Use a light meter app or a simple shadow test: if a stick placed at noon still casts a short shadow, you’ve got the right spot.
Soil composition matters
Well‑draining soil is essential to prevent root rot. A proven mix is 1 part garden loam, 1 part coarse sand, and 1 part perlite. For a quick test, dig a 6‑inch hole, fill it with water, and see if it drains within 30 minutes; if not, amend with sand or gravel.
pH check
Lavender prefers a slightly alkaline environment (pH 7.0–7.5). Use a cheap home test kit; if the pH is lower, sprinkle garden lime according to the package instructions.
Step 2: Planting the Lavender Correctly
Timing is key
Plant in early spring after the last frost, or in early fall in milder climates. This gives the plant time to establish roots before extreme temperatures.
Spacing for airflow
Space each plant 18–24 inches apart. Good airflow reduces fungal issues and encourages a compact, bushy habit.
Planting technique
- Dig a hole twice as wide as the root ball but no deeper.
- Loosen the soil at the bottom and add a handful of coarse sand.
- Place the lavender gently, ensuring the crown sits just above soil level.
- Backfill, firm lightly, and water thoroughly to settle the soil.
Tip: Add a thin layer of mulch (gravel or crushed stone) to retain heat and keep weeds at bay—avoid organic mulches that retain moisture.

Step 3: Watering and Feeding
Establish a watering schedule
During the first month, water once a week with enough to moisten the root zone (about 1 inch of water). After establishment, reduce to every 2–3 weeks, especially in dry climates.
Fertilizer—less is more
Lavender is a low‑nutrient feeder. Apply a balanced, slow‑release fertilizer (10‑10‑10) once in early spring, or use a light feeding of compost tea once a month.
Monitoring moisture
Insert a wooden dowel into the soil; if it pulls out dry, it’s time to water. Over‑watering is the most common mistake—always let the top 2 inches dry out before the next soak.
Step 4: Pruning for Health and Beauty
When to prune
Prune twice a year: in early spring (before new growth) and after the first flush of blooms in late summer.
How to prune
- Trim back about one‑third of the plant’s height, cutting just above a leaf node.
- Remove any woody, brown stems to promote fresh, green shoots.
- Shape the plant into a rounded mound for even air circulation.
Pro tip: Use clean, sharp pruning shears to avoid crushing stems, and sterilize them with rubbing alcohol between cuts to prevent disease spread.
Step 5: Harvesting and Using Lavender
Best time to cut
Harvest when the buds are fully formed but before they open—this locks in the highest essential oil content. Cut stems early in the morning after the dew has dried.
Drying method
Bundle 5–7 stems, tie with twine, and hang upside down in a dark, well‑ventilated area for 2–3 weeks. Once the buds feel dry and papery, they’re ready for storage.
Creative uses
- Make homemade sachets for closets.
- Infuse olive oil for a fragrant cooking oil.
- Create simple lavender bouquets for table décor.
Learn How to Style Flowers Beautifully Even If You Are Just Starting Out 💐🌿
Color coordination
Pair lavender’s purple tones with complementary colors like soft yellows, whites, or deep greens. A quick rule: use a 60‑30‑10 palette—60% dominant color (lavender), 30% secondary (e.g., sage green foliage), and 10% accent (white baby’s breath).
Height variation
Arrange stems of varying heights in a vase: tall stems at the back, medium in the middle, and short filler at the front. This creates depth and visual interest.
Texture mix
Combine the fine, feathery foliage of lavender with broader leaves like hosta or ornamental grasses. The contrast enhances the overall arrangement.
Simple DIY container
- Choose a shallow, wide ceramic pot (8–10 inches).
- Fill with a 2‑inch layer of gravel for drainage.
- Add a mix of potting soil and sand (70/30).
- Plant lavender in the center, surround with trailing succulents.
- Water lightly and place in a sunny windowsill.
This quick container looks garden‑ready and requires minimal maintenance—perfect for beginners.
Maintenance Checklist: Weekly Quick Wins
- Check soil moisture with a dowel.
- Remove any weeds that compete for nutrients.
- Inspect for pests—look for aphids or spider mites.
- Snap off spent flower spikes to encourage a second bloom.
- Rotate the pot (if container‑grown) to ensure even sunlight exposure.
By following these data‑backed steps and styling tips, you’ll transform any space into a fragrant, eye‑catching garden oasis. Remember, consistency is the secret sauce—regular care, smart pruning, and thoughtful design will keep your lavender thriving year after year. Happy gardening!

