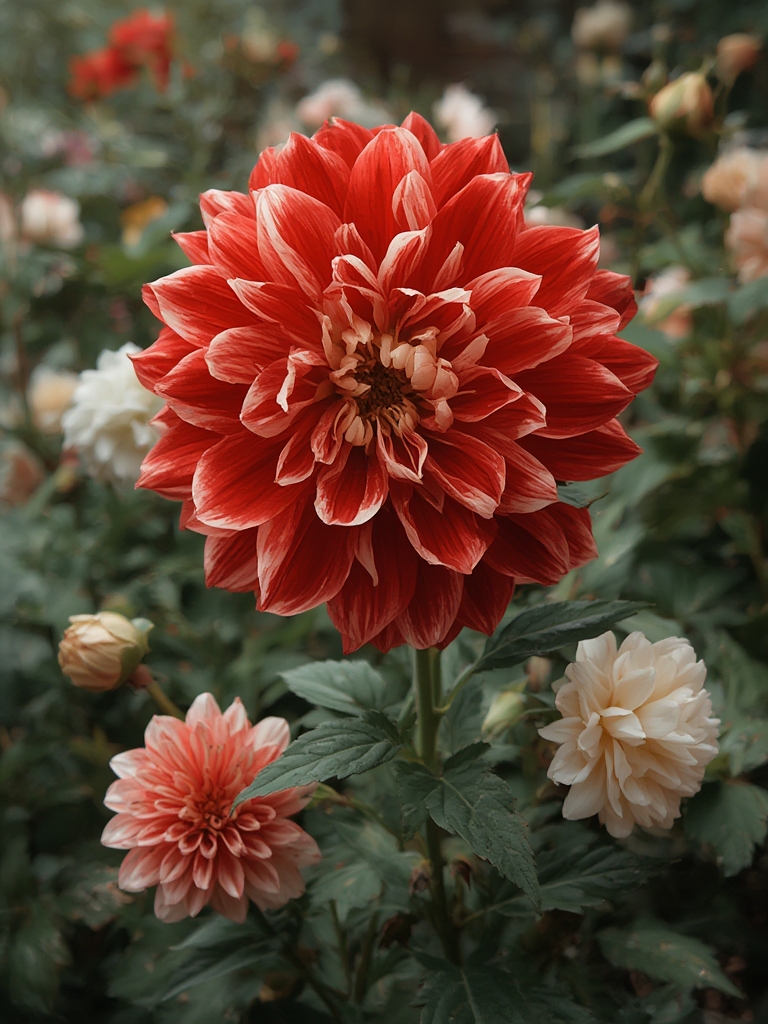

Flower gardening can transform any outdoor space into a vibrant, living canvas, and with the right approach you don’t need a horticultural degree to succeed. By leveraging data‑driven decisions—soil tests, climate averages, and planting calendars—you’ll achieve consistent blooms while minimizing guesswork. Below is a step‑by‑step guide that blends proven science with practical, actionable tips, so you can enjoy a thriving flower bed season after season.
1. Assess Your Site with Data‑Driven Precision
Sunlight Mapping
Use a simple smartphone app or a handheld light meter to record the amount of direct sun each area receives over a typical week. Aim for:
- Full sun (6+ hours): Ideal for most annuals, roses, and lavender.
- Partial shade (3‑6 hours): Perfect for impatiens, begonias, and foxglove.
- Full shade (<3 hours): Choose hostas, ferns, and astilbe.
Document the results in a quick spreadsheet; this will guide plant placement and prevent costly re‑planting.

Soil Testing
Purchase a basic pH kit (available at garden centers) or send a sample to your local extension service. Most flowering plants thrive in a pH range of 6.0‑7.0. If the test shows acidity below 5.5, incorporate lime at a rate of 5 lb per 100 sq ft; for alkalinity above 7.5, add elemental sulfur at the same rate. Record the amendment amounts alongside the pH results for future reference.

2. Choose the Right Flowers Based on Climate Data
Hardiness Zones
Consult the USDA Hardiness Zone map for your zip code. Select varieties that are rated for your zone ±1 to ensure resilience. For example, in Zone 6, Delphinium (Zone 3‑7) and Daylilies (Zone 3‑9) are safe bets.

Bloom Calendar Synchronization
Plan a continuous display by staggering plantings according to bloom periods:
- Early spring (March‑April): Crocus, tulips, and bulbs that practically take care of themselves 🌷⏳.
- Late spring (May‑June): Peonies, irises, and lavender.
- Summer (July‑August): Zinnias, marigolds, and coneflowers.
- Fall (September‑October): Asters, chrysanthemums, and ornamental kale.
Plot these dates on a calendar to visualize gaps and ensure at least one species is in flower at any given time.

3. Prepare the Soil for Optimal Growth
Amendment Ratios
Based on your soil test, mix in organic matter at a ratio of 1 part compost to 3 parts native soil. This improves water retention and provides a slow release of nutrients. For a 10‑ft × 10‑ft bed, blend roughly 30 gal of compost into the top 8‑12 inches of soil.
Drainage Check
Perform a simple percolation test: dig a 12‑in‑deep hole, fill it with water, and let it drain. Re‑fill and time how long it takes to drain again. Ideal drainage is 2‑4 hours. If water lingers longer, incorporate coarse sand or fine gravel at a 1:4 ratio to improve aeration.
4. Planting Techniques for Success
Spacing Guidelines
Follow manufacturer spacing recommendations, but a good rule of thumb is to plant bulbs at a depth equal to three times their height and space them 1‑2 times the bulb’s diameter apart. This prevents overcrowding and promotes air flow, reducing disease risk.
Planting Depth Calculator
Use this quick formula: Depth (in inches) = 3 × Bulb Height (in inches). For a 2‑inch tulip bulb, plant at 6 inches deep. Mark each planting spot with a small stake to keep depths consistent.
Watering Schedule
After planting, water thoroughly to settle the soil. Thereafter, apply 1 inch of water per week (adjust for rainfall). Use a drip‑irrigation system with a timer set to 15‑minute intervals twice daily during hot spells; this delivers moisture directly to the root zone and conserves water.
5. Ongoing Care and Maintenance
Mulching for Moisture Retention
Apply a 2‑inch layer of shredded bark or straw around the base of plants. Mulch moderates soil temperature, suppresses weeds, and reduces watering frequency by up to 30 %.
Fertilization Timing
Feed with a balanced 10‑10‑10 fertilizer at key growth stages:
- Early spring (pre‑bud): ¼ lb per 100 sq ft.
- Mid‑season (after first bloom): another ¼ lb per 100 sq ft.
Over‑fertilizing can lead to lush foliage with fewer flowers, so stick to the recommended amounts.
Pest Monitoring Using Traps
Place yellow sticky traps near susceptible plants to catch aphids and whiteflies. Check traps weekly; if you see more than 10 insects per trap, treat with a mild neem oil spray (1 tsp per gallon of water) early in the morning or late afternoon.
6. Harvesting and Post‑Season Care
Deadheading for Continuous Blooms
Remove spent flowers with clean pruning shears, cutting just above the first set of healthy leaves. This redirects the plant’s energy toward new buds rather than seed production.
Bulb Lifting and Storage
In colder climates, lift bulbs after foliage yellows (typically late summer). Gently brush off excess soil, cure them in a shaded, ventilated area for 2‑3 weeks, then store in peat moss at 40‑50 °F. This ensures next‑year vigor and reduces rot.
7. Data Review and Future Planning
Seasonal Performance Log
After the season ends, record key metrics in a garden journal or spreadsheet:
- Bloom start and end dates.
- Average weekly rainfall vs. irrigation applied.
- Observed pest pressure.
- Yield of cut flowers or seed heads.
Analyzing these data points helps refine planting dates, watering schedules, and fertilizer rates for the following year.
Continuous Learning
Subscribe to local extension newsletters and join online gardening forums. Sharing your data and learning from others accelerates improvement and keeps you updated on new cultivars that may better suit your micro‑climate.
By following these data‑driven steps—assessing site conditions, selecting climate‑appropriate varieties, preparing soil meticulously, planting with precision, and maintaining with targeted care—you’ll create a flower garden that not only looks stunning but also thrives with minimal trial and error. Remember, Perfect your garden with bulbs that practically take care of themselves 🌷⏳, and let the science of gardening work for you.
