
Creating a garden that dazzles in every season is within reach when you combine the right tools, smart DIY projects, and a selection of plants that thrive year‑round. This guide walks you through the essential equipment, easy‑to‑build garden structures, and a step‑by‑step planting plan that will keep your garden vibrant from the first spring bloom to the quiet winter hush.
Essential Gardening Tools for a Seamless Workflow
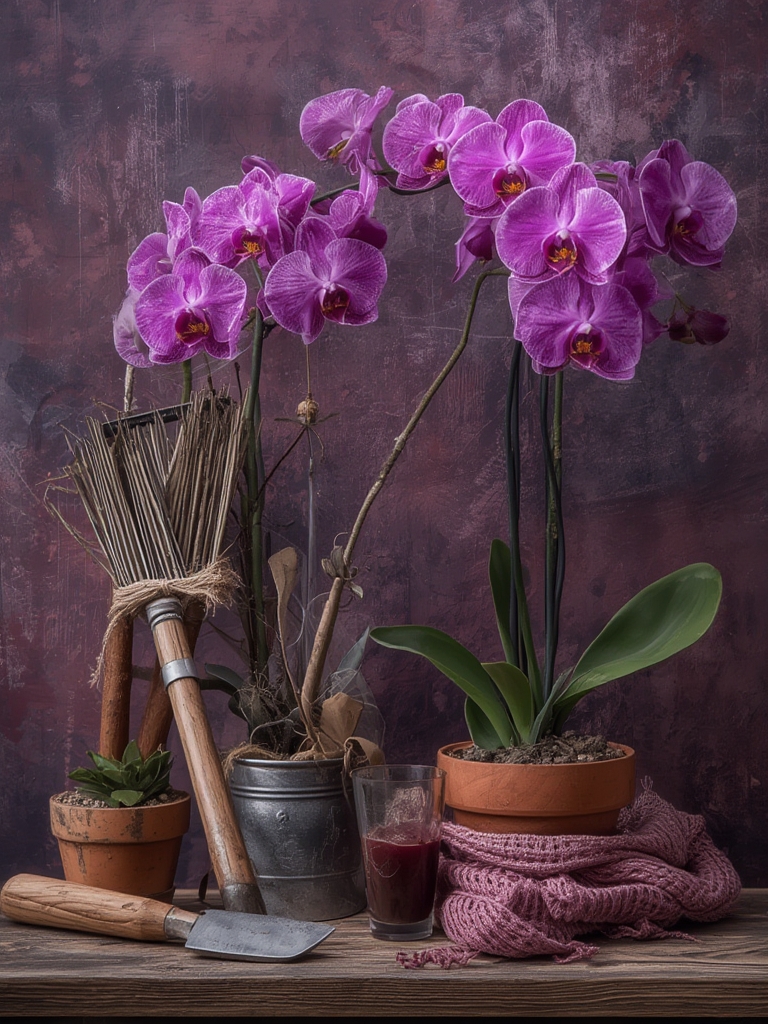
Before you dive into planting, equip yourself with a reliable toolkit. Quality tools reduce strain, improve precision, and speed up every task.

1. Hand Trowel & Transplanting Spade
- Why it matters: Perfect for digging small holes, loosening soil, and transplanting seedlings without damaging roots.
- Tip: Choose a stainless‑steel blade with a comfortable, non‑slip grip; keep the blade clean after each use to prevent soil buildup.
2. Pruning Shears (Secateurs)
- Why it matters: Clean cuts promote faster healing and reduce disease risk.
- Tip: Sharpen the blades monthly with a fine‑tooth file and oil the pivot joint to maintain smooth operation.
3. Garden Fork & Cultivator
- Why it matters: Ideal for breaking up compacted soil, mixing in compost, and aerating root zones.
- Tip: Use a fork with a long handle for larger beds to protect your back; work the soil when it’s slightly moist for easier penetration.
4. Watering Can or Hose with Adjustable Nozzle
- Why it matters: Consistent moisture is critical for establishing healthy root systems.
- Tip: Set the nozzle to a gentle mist for seedlings and a steady stream for established perennials.
DIY Projects That Add Function and Flair
Hand‑crafted garden elements not only save money but also let you tailor the space to your style. Below are three beginner‑friendly projects that enhance both aesthetics and utility.

DIY Raised Bed from Reclaimed Pallets
- Gather materials: Four sturdy pallets, landscape fabric, and a drill with 2‑inch deck screws.
- Prepare the pallets: Remove any loose nails, sand rough edges, and line the interior with landscape fabric to prevent soil loss.
- Assemble: Stack two pallets side‑by‑side, secure the corners with screws, then place the remaining two pallets on top as the opposite side, forming a rectangular box.
- Fill: Add a 2‑inch layer of coarse gravel for drainage, then top with a 70% compost‑rich soil mix.
- Tip: Position the bed where it receives 6‑8 hours of sunlight; the raised height reduces back strain during planting.
Simple Trellis Using Bamboo Stakes
- Materials: Six 6‑foot bamboo stakes, garden twine, and a hammer.
- Installation: Drive three stakes into the ground in a triangular formation, spacing them about 3 feet apart.
- Connect: Tie the remaining three stakes horizontally between the vertical ones at 12‑inch intervals, creating a lattice.
- Tip: Secure the twine tightly but leave a little slack to allow for plant growth; this trellis works wonders for climbing roses, clematis, and beans.
Rain Barrel Stand for Sustainable Watering
- Materials: Four 2×4 lumber pieces (8 ft), two 4×4 posts, a 55‑gallon barrel, and concrete mix.
- Build the base: Arrange the 2×4s into a square, fasten with deck screws, and set the 4×4 posts at each corner.
- Stabilize: Pour concrete around the posts to anchor the stand.
- Place the barrel: Center the barrel on the platform, ensuring it sits level.
- Tip: Add a fine mesh screen over the barrel opening to keep debris out and insects away.
Choosing Year‑Round Beauty: Plants That Shine All Seasons
To achieve a timeless garden, focus on a mix of evergreen foliage, seasonal bloomers, and ornamental grasses. Here’s a curated list that guarantees visual interest throughout the year.

- Evergreen Shrubs: Boxwood (Buxus sempervirens), Japanese Holly (Ilex crenata) – provide structure and greenery in winter.
- Spring & Summer Blooms: Peonies, Lavender, and Coreopsis – deliver vibrant color and fragrance.
- Fall Accents: Japanese Maple, Asters, and Ornamental Grasses like Miscanthus – add texture and warm hues.
- Winter Interest: Heuchera (Coral Bells) with colorful foliage, and Hellebores (Lenten Rose) that bloom in cold weather.
Step‑by‑Step Planting Guide for a Perennial Bed
Follow these actionable steps to establish a low‑maintenance, year‑round garden bed.

Step 1: Site Assessment & Soil Preparation
- Measure sunlight exposure; aim for 6‑8 hours of direct sun for most perennials.
- Test soil pH (ideal range 6.0‑7.0). Amend with lime to raise pH or sulfur to lower it, based on test results.
- Incorporate 2‑3 inches of compost and a handful of slow‑release organic fertilizer; mix thoroughly with the top 12 inches of soil.
- Pro tip: Add a thin layer of coarse sand if the soil is heavy clay to improve drainage.
Step 2: Layout Planning
- Sketch a rough diagram on graph paper; place taller plants (e.g., Japanese Maple) at the back or center, medium height (e.g., Lavender) in the middle, and low‑growing groundcovers (e.g., Heuchera) at the front.
- Maintain 12‑18 inches between shrubs and 18‑24 inches between perennials to allow air circulation.
- Mark planting spots with biodegradable garden stakes.
Step 3: Planting
- Dig a hole twice as wide as the root ball but no deeper than the container depth.
- Set the plant at the same soil level it was in the pot; backfill with native soil mixed with compost.
- Water thoroughly until water drains from the base; this settles soil around the roots.
- Apply a 2‑inch mulch ring (shredded bark or pine needles) to retain moisture and suppress weeds.
Step 4: Watering Schedule
- First two weeks: water every 2‑3 days, aiming for 1‑1.5 inches per week.
- After establishment: reduce to once a week, deeper soaking to encourage deep root growth.
- Use a rain barrel (DIY stand above) to collect water and reduce municipal usage.
Step 5: Ongoing Care
- Pruning: Trim dead or crossing branches in late winter; deadhead spent blooms in spring to promote rebloom.
- Fertilizing: Apply a balanced organic fertilizer in early spring and again after the first major bloom cycle.
- Pest Management: Inspect leaves weekly; use neem oil or insecticidal soap for aphids and spider mites.
- Winter Protection: Mulch heavily around evergreen roots and cover tender perennials with burlap if extreme cold is forecast.
Maintenance Calendar – Quick Reference
| Month | Key Tasks |
|---|---|
| January | Inspect tools, sharpen blades, plan plant layout. |
| February | Prune dormant shrubs, start seed trays indoors. |
| March | Soil test, amend beds, plant early perennials. |
| April | Install DIY raised beds, plant spring bloomers. |
| May | Mulch, set up irrigation, deadhead spent flowers. |
| June | Water deeply, monitor for pests, harvest herbs. |
| July | Divide overcrowded perennials, apply mid‑season fertilizer. |
| August | Plant fall‑color shrubs, start compost pile. |
| September | Plant autumn bulbs, clean garden debris. |
| October | Apply winter mulch, store tools for frost. |
| November | Protect tender plants, check rain barrel water level. |
| December | Review the year, order seeds, plan next‑year projects. |
Pro Tips & Troubleshooting
- Soil compaction: Aerate once a year with a garden fork; this improves root oxygenation.
- Weed control: Lay a thin cardboard sheet before mulching to block weed germination.
- Tool longevity: After each season, clean tools with a mild bleach solution (1 tbsp bleach per gallon water) and store them in a dry shed.
- Budget-friendly DIY: Repurpose old tires as colorful planters; paint the exterior for a pop of color.
By integrating the right tools, crafting simple garden structures, and selecting a palette of evergreen and seasonal plants, you’ll build a garden that stays beautiful all year long. Follow the steps, apply the practical tips, and watch your outdoor space transform into a timeless sanctuary that welcomes every season with color, texture, and life. 🌼🏡


