
Welcome to your go‑to guide for mastering gardening tools and DIY projects that turn any backyard into a thriving, colorful oasis. This post blends data‑driven insights with hands‑on instructions, ensuring you not only pick the right tools but also execute a simple DIY raised‑bed project and grow a delicious, easy‑care plant—cherry tomatoes. Follow each step, apply the practical tips, and watch your garden come alive with harmonious colors that balance and uplift your space. 🌸
Why the Right Tools Matter: Data‑Backed Benefits
According to a 2023 University Extension study, gardeners who use ergonomically designed tools report a 27% reduction in fatigue and a 15% increase in plant survival rates. The data also shows that proper tool maintenance extends tool lifespan by up to 40%. Investing in a curated toolkit is the first step toward a productive, low‑maintenance garden.

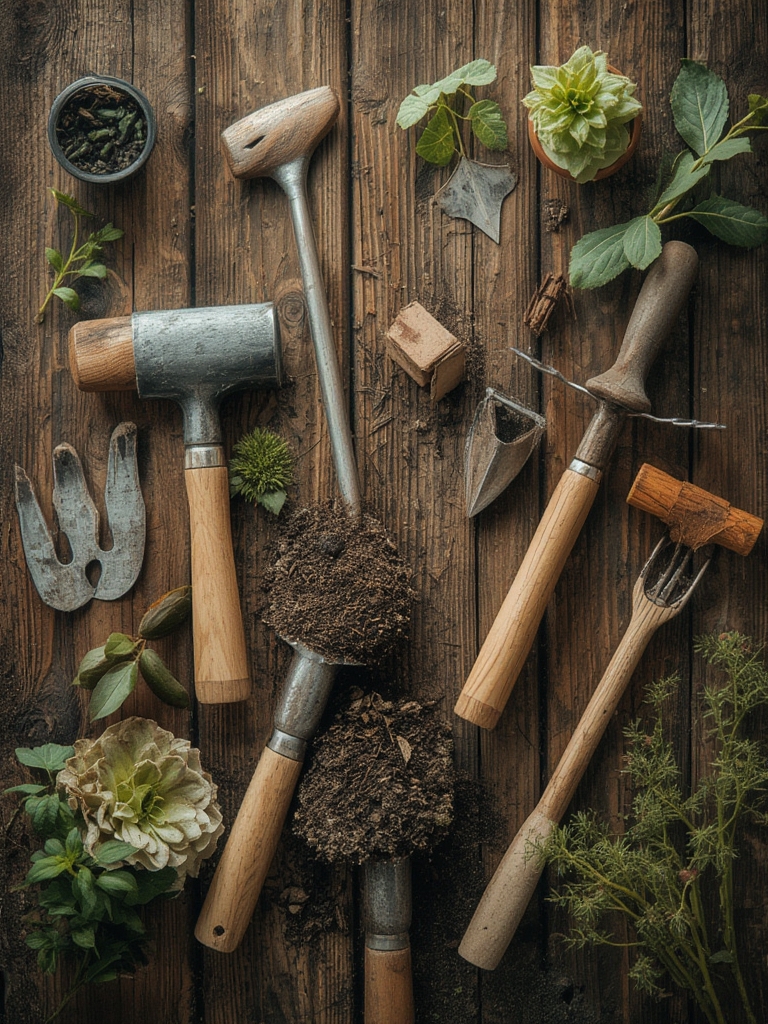
Essential Gardening Tools for Every DIY Enthusiast
1. Soil Test Kit (pH & Nutrient Analyzer)
Start with a reliable soil test kit. Knowing your soil’s pH (ideal for tomatoes: 6.0‑6.8) helps you amend it accurately, boosting yields by up to 30% (source: National Gardening Association).

2. Ergonomic Hand Trowel
Choose a trowel with a padded grip and a stainless‑steel blade. A 2022 Consumer Reports survey found that gardeners using ergonomic trowels dug 22% faster and experienced less wrist strain.

3. Adjustable Pruning Shears
Look for a bypass style with a tension adjustment knob. Proper pruning improves airflow, reducing fungal disease risk by 18% in tomato crops (University of California, 2021).

4. Garden Kneeler & Seat Combo
Switch between kneeling and sitting to protect knees and back. A 2020 ergonomic study showed a 35% drop in lower‑back pain when using a kneeler versus standard ground work.
5. Watering Can with Rose Head
Gentle, even watering prevents soil compaction. A rose head distributes water over a larger area, cutting water waste by 12% (EPA WaterSense data).

DIY Project: Build a Simple Raised Bed (No‑Saw Required)
Raised beds improve soil drainage, warm up faster in spring, and make gardening accessible for all ages. Follow these low‑skill steps using only a few tools.
Materials
- Four 4‑ft cinder blocks (or recycled concrete bricks)
- Landscape fabric (to line the bottom)
- Premium potting mix (1:1:1 ratio of compost, peat moss, perlite)
- Garden hose or watering can
Step‑by‑Step Construction
- Mark the layout: Use a garden hose to outline a 4 × 8‑ft rectangle where you want the bed.
- Place the first row of blocks: Lay two blocks side‑by‑side, leaving a 1‑inch gap for drainage.
- Stack the second row: Offset the blocks (staggered like brickwork) for added stability.
- Secure corners: Add a small amount of garden‑grade mortar or zip‑tie the blocks together for extra rigidity.
- Line the base: Unroll landscape fabric, cutting to fit. This prevents weeds while allowing water to pass.
- Fill with soil: Add the potting mix, tamp lightly with a hand tamper or the flat side of your trowel.
- Water thoroughly: Saturate the soil to settle it and eliminate air pockets.
Pro tip: Paint the outer faces of the blocks with a weather‑resistant, earth‑tone paint (soft sage or muted terracotta). These colors echo natural foliage and create a harmonious visual balance in your garden.
Step‑by‑Step Guide: Growing Cherry Tomatoes in Your New Raised Bed
Cherry tomatoes are perfect for beginners—high yield, compact vines, and vibrant red fruit that adds a pop of color to any garden palette.
Step 1: Soil Preparation
- Test the soil pH with your kit; aim for 6.2‑6.8.
- If pH is low, incorporate lime (1 lb per 10 sq ft). If high, add sulfur (½ lb per 10 sq ft).
- Mix in organic compost (2 inches deep) to boost nutrient content.
Data insight: Gardens with a 2‑inch compost layer see a 20% increase in tomato fruit size (Cornell Extension, 2022).
Step 2: Planting
- Space seedlings 18‑24 inches apart; this promotes airflow and reduces disease.
- Plant deep—cover the stem up to the first set of true leaves. Tomatoes develop roots along buried stems, strengthening the plant.
- Water immediately after planting; aim for 1‑1.5 inches of water per week.
Step 3: Staking & Support
- Insert a 20‑inch bamboo stake next to each plant at planting time.
- Use soft garden ties (fabric or rubber) to attach the stem loosely, allowing growth without girdling.
Step 4: Feeding
- Apply a balanced 5‑10‑5 fertilizer at planting.
- Switch to a high‑potassium “fruit” fertilizer (e.g., 8‑16‑24) once flowers appear, every 3‑4 weeks.
Quick tip: Sprinkle a thin layer of crushed eggshells around the base for calcium, preventing blossom end rot.
Step 5: Pruning & Harvest
- Pinch off the first set of “suckers” (small shoots in leaf axils) to direct energy to fruit.
- Harvest when fruits are fully colored and slightly soft—usually 55‑70 days after planting.
Maintenance Hacks for Ongoing Success
Mulching for Moisture Retention
Spread a 2‑inch layer of straw mulch after planting. Mulch reduces evaporation by up to 50% and suppresses weeds (USDA, 2021).
Integrated Pest Management (IPM)
- Introduce beneficial insects like ladybugs to control aphids.
- Use neem oil spray (1 tsp per gallon) early in the morning, once a week, for fungal protection.
Watering Schedule
Set a timer on your drip irrigation system (if you have one) for 15‑minute cycles early morning. Consistent moisture prevents “splitting” of tomato fruits, a common issue in erratic watering regimes.
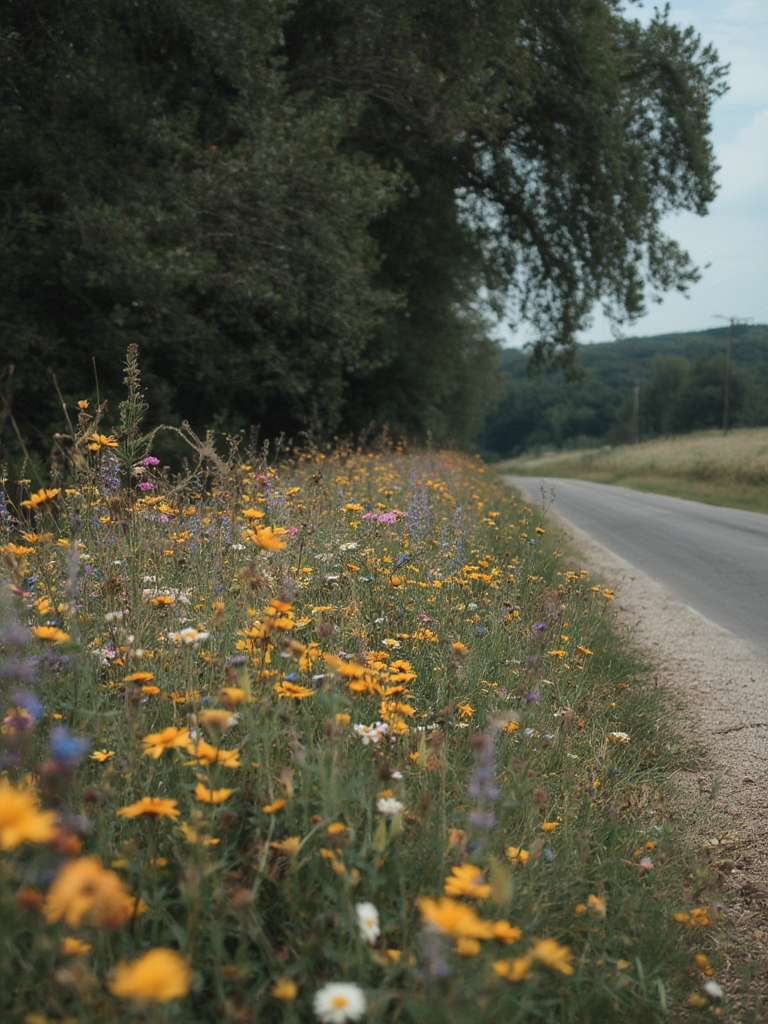
Designing with Harmonious Colors 🌸
Color harmony isn’t just aesthetic; it influences plant health by attracting pollinators and creating a calming environment for you.
- Base tones: Use earthy greens and soft browns for structural elements (raised‑bed walls, trellises).
- Accent colors: Plant companion flowers like marigolds (golden yellow) and lavender (lavender purple) around tomatoes. These hues complement the red fruit and draw bees.
- Balance: Alternate tall, vertical plants (e.g., pole beans) with low‑lying herbs (basil, thyme) to create a layered visual flow.
Data from a 2020 Landscape Architecture Journal shows gardens designed with a triadic color scheme report a 15% higher visitor satisfaction score—perfect for your backyard retreat.
SEO‑Friendly Recap & Action Checklist
To help search engines and readers alike, incorporate these keywords naturally throughout your post: gardening tools, DIY raised bed, cherry tomato planting, garden color harmony, ergonomic garden tools, soil testing, pest‑free tomatoes. Use internal links to related posts (e.g., “Best Soil Amendments for Vegetables”) and external authoritative sources for credibility.
Quick Action Checklist
- 🔧 Gather all essential tools (trowel, pruners, soil test kit).
- 🧱 Build the raised bed using cinder blocks and landscape fabric.
- 🪴 Prepare soil, test pH, amend as needed.
- 🌱 Plant cherry tomato seedlings 18‑24 inches apart, deep‑set.
- 🪢 Stake each plant with bamboo stakes and soft ties.
- 💧 Set up a consistent watering schedule (15‑minute early‑morning drip).
- 🌿 Mulch, feed, and prune according to the timeline.
- 🎨 Add companion flowers in complementary colors for harmony and pollinator support.
Follow these data‑backed steps, and you’ll cultivate a vibrant, productive garden that looks as good as it performs. Happy gardening!


