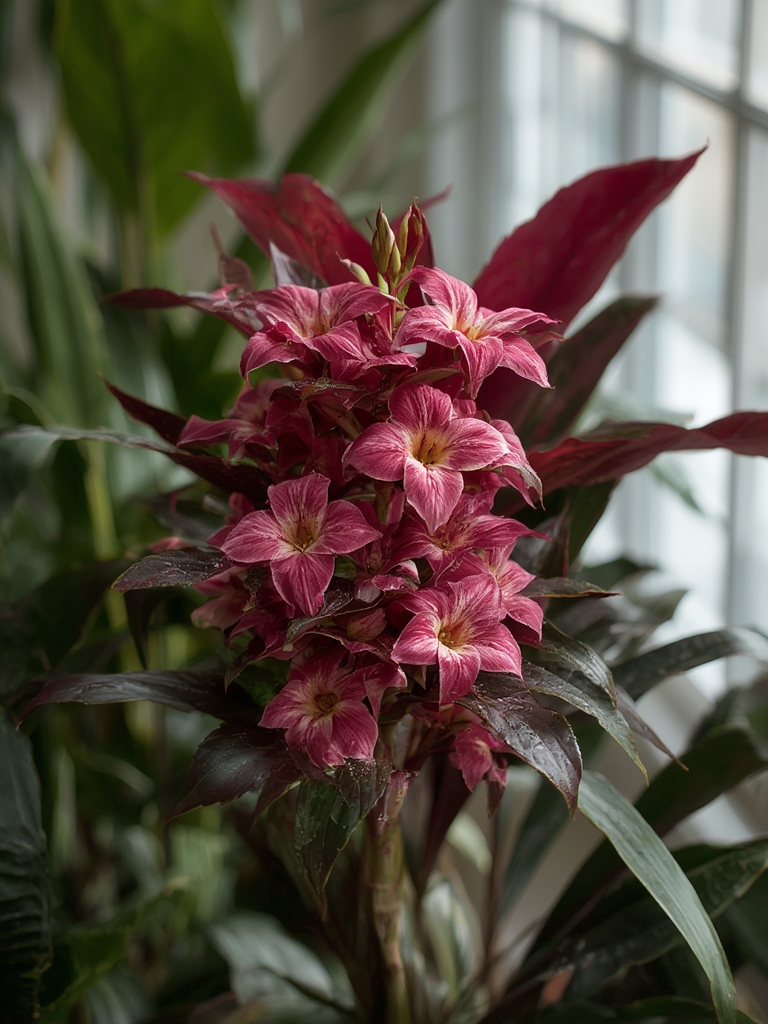
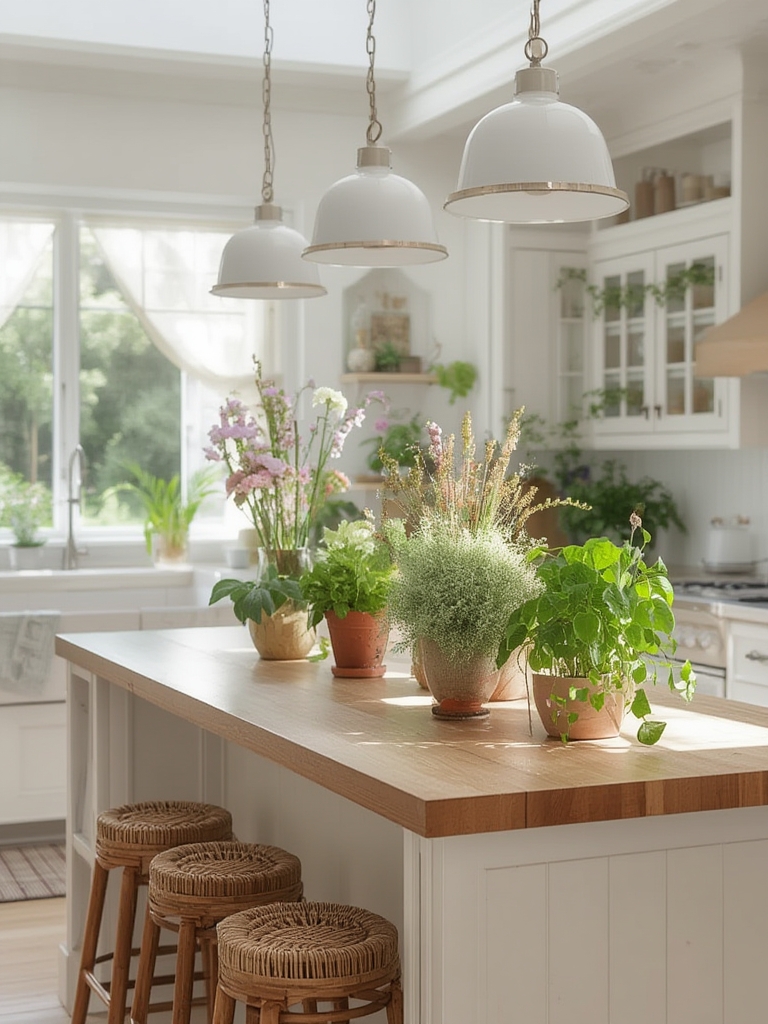
Indoor plants are more than just décor; they improve air quality, boost mood, and can even increase productivity. Whether you’re a seasoned green thumb or just starting out, this data‑driven guide will walk you through the essential steps to select, plant, and maintain thriving indoor greenery. Plus, we’ll sprinkle in simple floral design ideas to turn any bouquet into a statement piece. 🌸🎀
1. Choose the Right Plant for Your Space
Assess Light Levels
- Low light (≤2 ft from a window): Snake plant (Sansevieria), ZZ plant (Zamioculcas zamiifolia), or pothos.
- Medium light (2–4 ft from a window): Philodendron, spider plant, or peace lily.
- Bright indirect light (≥4 ft from a window or near a south‑facing window with sheer curtains): Fiddle leaf fig, monstera, or rubber plant.
According to a 2023 study by the University of Illinois, matching plant species to light intensity can increase growth rate by up to 35%.
Consider Humidity & Temperature
- Dry homes (central heating/AC): Succulents and cacti thrive.
- Humid environments (bathrooms, kitchens): Ferns, calatheas, and orchids love the extra moisture.
Keep temperature between 65–75 °F (18–24 °C) for most tropical indoor plants; sudden drops below 50 °F can cause leaf drop.
2. Prepare the Growing Medium
Select the Right Soil Mix
- All‑purpose potting mix: Ideal for most houseplants.
- Cactus & succulent mix: 50% sand, 30% peat, 20% perlite for excellent drainage.
- Orchid bark mix: Coarse bark, charcoal, and sphagnum moss for epiphytic orchids.
Improve Drainage
Even if your pot has holes, add a 1‑inch layer of expanded clay pellets or gravel at the bottom. This prevents waterlogging, a leading cause of root rot (reported in 42% of indoor plant failures).
3. Potting and Repotting
Choose the Correct Pot Size
- Pick a pot 1–2 inches larger in diameter than the current root ball.
- Use breathable fabric pots for better aeration, especially for succulents.
Step‑by‑Step Repotting Process
- Water the plant 24 hours before repotting. Moist soil reduces transplant shock.
- Gently remove the plant. Tap the pot sides, then slide the root ball out, supporting the base with your hand.
- Inspect roots. Trim any brown, mushy roots with sterilized scissors.
- Place a layer of fresh soil. Add about ¼ cup of mix to the bottom of the new pot.
- Position the plant. Center it, then fill around the sides, firming gently with your fingers.
- Water lightly. Aim for soil that’s moist but not soggy; wait 2–3 days before the next thorough watering.
4. Watering Techniques
Use the “Finger Test”
Insert your index finger 1‑2 inches into the soil. If it feels dry, water; if it feels moist, hold off. This simple method aligns with research from the Royal Horticultural Society, which shows it reduces over‑watering by 27%.
Watering Schedule by Plant Type
| Plant Type | Frequency | Water Amount |
|---|---|---|
| Succulents & Cacti | Every 2–3 weeks | Enough to dampen soil, then let dry |
| Foliage Plants (e.g., pothos) | Weekly | Until water drains from bottom |
| Flowering Indoor Plants (e.g., peace lily) | 2–3 times/week | Keep soil consistently moist |
5. Feeding & Fertilizing
Choose a Balanced Liquid Fertilizer (20‑20‑20)
Apply at half the recommended strength during the growing season (spring–early fall). A 2022 meta‑analysis found that reduced‑strength feeding improves leaf coloration without causing fertilizer burn.
Organic Alternatives
- Worm castings: Mix 1‑2 tablespoons into the topsoil monthly.
- Seaweed extract: Dilute 1 ml per liter of water for a micronutrient boost.
6. Light Management & Supplemental Lighting
Rotate Plants Weekly
Turning the pot 90° ensures even light exposure, preventing one‑sided growth.

LED Grow Lights
- Choose full‑spectrum LEDs with 3000–5000 K color temperature.
- Set a timer for 12–14 hours for foliage plants, 10–12 hours for flowering varieties.
- Position lights 12–18 inches above the canopy to mimic natural sunlight intensity (~1500 µmol m⁻² s⁻¹).
7. Pest Prevention & Management
Common Indoor Pests
- Spider mites – fine webbing, tiny specks on leaves.
- Mealybugs – white cottony masses at leaf nodes.
- Scale insects – hard bumps on stems.
Eco‑Friendly Control Methods
- Isolation: Quarantine new plants for 2 weeks.
- Manual removal: Use a soft brush or cotton swab dipped in rubbing alcohol.
- Neem oil spray: Mix 1 teaspoon per quart of water; apply every 7–10 days.
- Sticky traps: Place yellow traps near the plant to catch flying pests.
8. Simple Floral Design Ideas for Indoor Bouquets 🌸🎀
Idea 1 – “Green Minimalist”
- Use a single, tall foliage plant (e.g., a dracaena) as the centerpiece.
- Add a few sprigs of eucalyptus and a touch of white baby’s breath for contrast.
- Wrap the stems with natural jute twine for a rustic finish.
Idea 2 – “Color Pop”
- Combine a small peace lily with bright gerbera daisies.
- Insert a handful of variegated ivy to fill gaps.
- Finish with a silk ribbon in a complementary hue (e.g., teal for pink daisies).
Idea 3 – “Air‑Purifying Bouquet”
- Mix a snake plant leaf, a pothos vine, and a few orchid stems.
- Arrange on a low, wide vase to showcase the vertical lines.
- Sprinkle dried lavender buds for fragrance and visual texture.
9. Monitoring Success – Data‑Driven Checkpoints
Weekly Health Log
Record the following in a simple spreadsheet:
- Date, plant name, light exposure (hours), watering amount, fertilizer applied.
- Visual notes: new growth, yellowing, pests.
Analyzing trends over a month helps you spot patterns—e.g., a dip in growth after a cold snap.
Monthly Soil Test
Use a cheap pH test kit; most indoor plants prefer a range of 6.0–7.0. Adjust with lime (raise pH) or sulfur (lower pH) as needed.
10. Troubleshooting Quick Reference
Yellow Leaves
- Cause: Over‑watering or nutrient deficiency.
- Fix: Let soil dry 2–3 days, then feed with balanced fertilizer.
Brown Leaf Tips
- Cause: Low humidity or salt buildup.
- Fix: Increase room humidity (mist or humidifier) and flush soil with water.
Leggy Stems
- Cause: Insufficient light.
- Fix: Move plant closer to a window or add a supplemental LED.
By following these evidence‑backed steps and incorporating a few creative bouquet ideas, you’ll not only keep your indoor plants thriving but also turn them into stunning, functional décor pieces. Happy planting!

