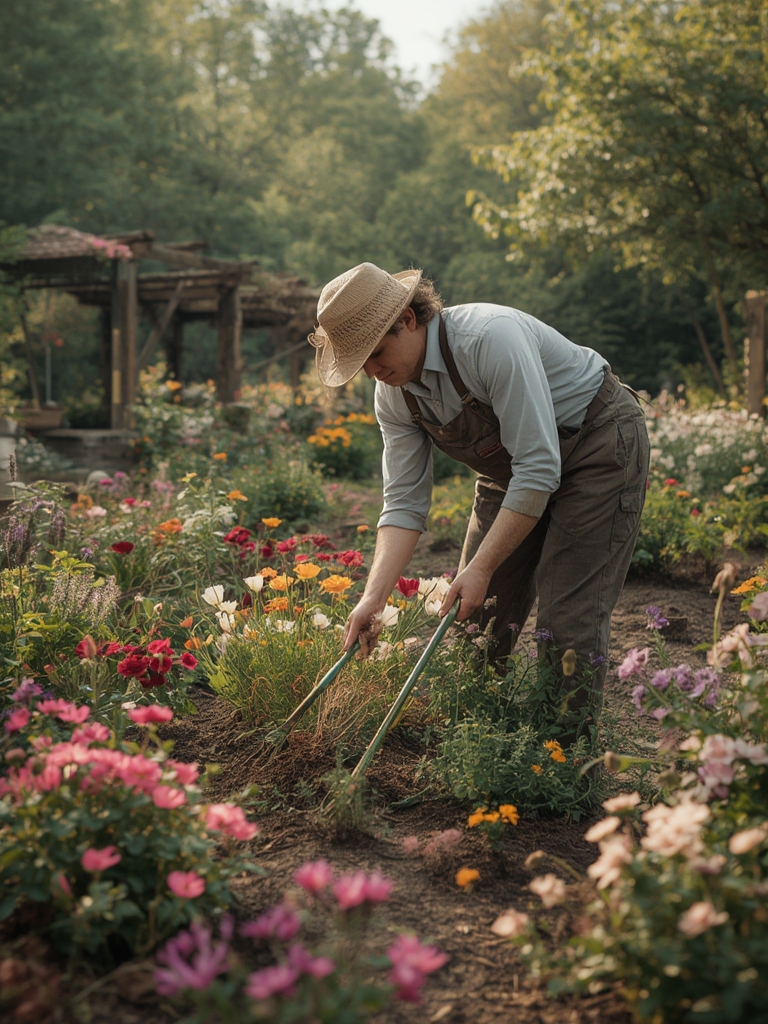

Welcome to your step‑by‑step guide to thriving flower gardening! Whether you’re a beginner or looking to sharpen your green thumb, this data‑driven roadmap will help you select the right blooms, prepare the soil, plant with confidence, and protect your garden naturally. Follow each actionable tip, and you’ll enjoy vibrant colors, healthier plants, and fewer unwanted pests.
1. Choose the Right Flowers for Your Climate and Soil
Research Local Hardiness Zones
Start by checking your USDA hardiness zone (or the equivalent for your country). Plants that thrive in zone 5 may struggle in zone 9. Use online databases like the National Plant Database to filter species by zone, sunlight, and moisture needs.
Match Flowers to Soil Type
Conduct a simple soil test (available at garden centers) to determine pH and texture. For acidic soils (pH < 6.5), consider hydrangeas or azaleas. For alkaline soils (pH > 7.5), lavender and salvia perform well. Adjust pH with elemental sulfur (to lower) or garden lime (to raise) based on test results.

Pick Multi‑Purpose Blooms
To naturally repel pests, incorporate flowers that double as pest deterrents. Nasturtiums repel aphids, marigolds deter nematodes, and lavender keeps moths and fleas at bay. These “protective” blooms also attract pollinators, creating a balanced ecosystem.

2. Prepare the Planting Site
Clear and Level the Area
Remove weeds, rocks, and debris. Use a garden fork to loosen the top 12‑15 inches of soil, improving aeration and root penetration. A level surface ensures even water distribution.

Enrich the Soil with Organic Matter
Incorporate 2‑3 inches of compost or well‑rotted manure. This boosts microbial activity, improves water retention, and supplies slow‑release nutrients. For heavy clay soils, add coarse sand or perlite to improve drainage.
Set Up a Simple Irrigation System
Drip irrigation or soaker hoses reduce water waste and keep foliage dry (which helps prevent fungal diseases). Install a timer set to 30‑45 minutes early in the morning, adjusting frequency based on rainfall and plant needs.

3. Planting Your Flowers
Timing Is Key
Plant cool‑season flowers (e.g., pansies, snapdragons) in early spring or fall. Warm‑season varieties (e.g., petunias, zinnias) should be set out after the last frost, when soil temperature reaches at least 60 °F (15 °C).
Spacing and Depth
Follow the seed packet or plant label for recommended spacing. As a rule of thumb, space plants at 1‑1.5 × their mature width to ensure good air flow. Plant seedlings at the same depth they were in the pot; burying too deep can cause stem rot.
Mulch for Moisture and Weed Control
Apply a 2‑inch layer of organic mulch (shredded bark, straw, or pine needles) around each plant. Mulch conserves moisture, moderates soil temperature, and suppresses weeds—reducing competition for nutrients.
4. Ongoing Care and Maintenance
Water Wisely
Deep, infrequent watering encourages deep root growth. Aim for 1‑1.5 inches of water per week, adjusting for rain. Use a moisture meter or the “finger test” (soil should feel moist 2‑3 inches down).
Fertilize Strategically
Apply a balanced, slow‑release fertilizer (10‑10‑10) at planting time, then again after the first bloom cycle. For organic options, use fish emulsion or seaweed extract every 4‑6 weeks. Avoid over‑fertilizing, which can lead to weak stems and increased pest susceptibility.
Deadheading and Pruning
Remove spent blooms (deadheading) to encourage repeat flowering. For bushy varieties like roses, prune in early spring to shape the plant and improve air circulation. This reduces the risk of fungal diseases such as powdery mildew.
Natural Pest Management
Leverage the protective flowers you planted:
- Nasturtiums: Interplant near cabbage and tomatoes to trap aphids.
- Marigolds: Plant a border around vegetable beds to repel nematodes and whiteflies.
- Lavender: Sprinkle dried lavender around the base of roses to deter moths.
Additionally, encourage beneficial insects by adding ladybugs, lacewings, and predatory beetles. A simple DIY trap—mix water, a few drops of dish soap, and a pinch of sugar in a shallow dish—can attract and drown soft‑bodied pests without chemicals.
5. Seasonal Adjustments and Long‑Term Success
Spring Refresh
In early spring, apply a light top‑dressing of compost to replenish nutrients. Check for early pest activity and re‑apply protective flowers if needed.
Summer Heat Management
During hot spells, increase watering frequency (but maintain deep watering). Provide temporary shade with shade cloths for heat‑sensitive varieties like impatiens.
Fall Cleanup
After the first frost, cut back perennials to a few inches above ground. Mulch heavily (3‑4 inches) to protect roots over winter. Remove any diseased plant material to prevent overwintering pathogens.
Winter Protection
For tender annuals, consider moving containers indoors or covering beds with frost blankets. In milder climates, a layer of straw over the mulch can insulate roots from freeze‑thaw cycles.
6. Quick‑Action Checklist for a Thriving Flower Garden
- ✔ Verify your hardiness zone and soil pH.
- ✔ Choose a mix of ornamental and pest‑repellent flowers.
- ✔ Prepare soil with compost and adjust pH as needed.
- ✔ Install drip irrigation and set a morning timer.
- ✔ Plant at the correct depth and spacing; mulch well.
- ✔ Water deeply 1‑2 times per week; monitor moisture levels.
- ✔ Fertilize at planting and after the first bloom cycle.
- ✔ Deadhead regularly to promote continuous blooming.
- ✔ Use natural repellents (nasturtiums, marigolds, lavender) to keep pests at bay.
- ✔ Perform seasonal clean‑ups and add compost each spring.
By following these data‑backed steps and integrating natural pest‑repellent flowers, you’ll create a resilient, low‑maintenance garden that bursts with color from spring through fall. Happy planting, and enjoy the fragrant, pest‑free paradise you’ve cultivated! 🌼🐞
