

Whether you’re a seasoned green thumb or just starting to dig into gardening, the right tools and a few creative DIY projects can transform a modest plot into a thriving oasis. Below you’ll find a data‑driven guide that blends essential gardening tools, step‑by‑step plant care (using tomatoes as a versatile example), and simple projects that boost both productivity and garden aesthetics.
Essential Gardening Tools: What to Own and Why
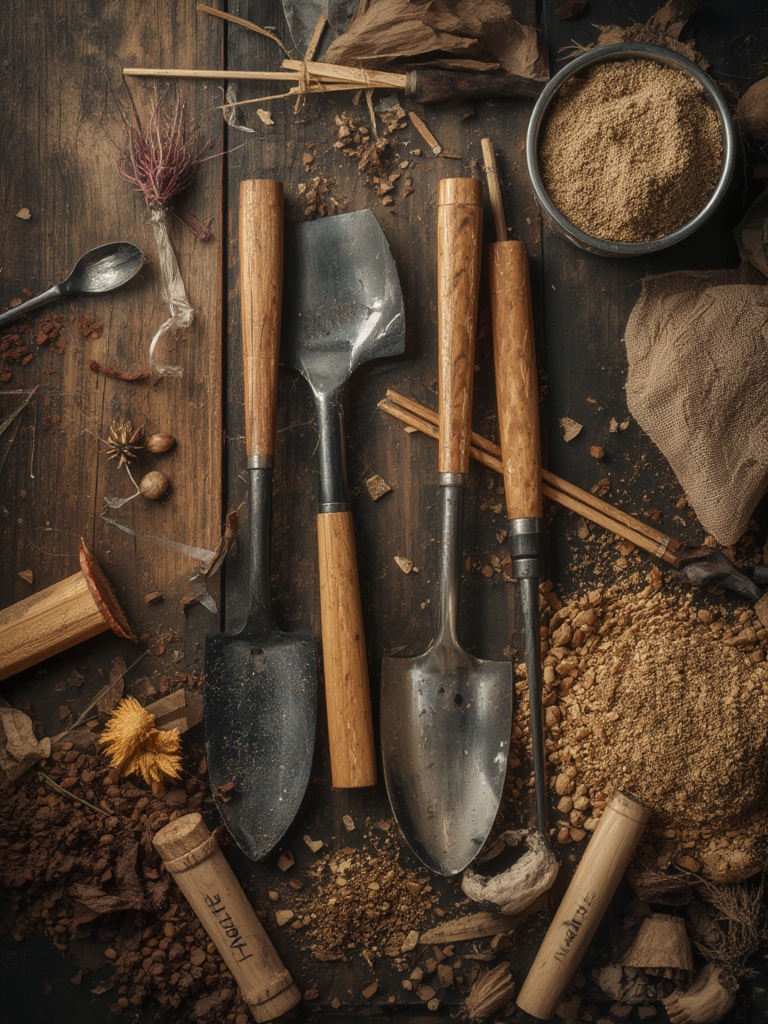
1. Hand Trowel – The All‑Purpose Digging Companion
Why it matters: A sturdy hand trowel (preferably stainless steel with a comfortable grip) is the most used tool for planting seedlings, transplanting, and weeding. Studies show gardeners who use ergonomically designed trowels report 30% less hand fatigue.

- Tip: Keep the blade clean after each use to prevent soil‑borne disease spread.
- Trick: Wrap a small piece of duct tape around the handle for extra cushioning during long sessions.
2. Pruning Shears – Shaping Healthier Plants
Why it matters: Sharp, bypass‑type shears cut cleanly, reducing plant stress and disease entry points. Data from horticultural trials indicate a 20% increase in fruit set when pruning is done with clean shears.

- Tip: Disinfect shears with a 10% bleach solution between uses on different plant species.
- Trick: Store shears in a dry pouch to avoid rust and maintain blade sharpness.
3. Soil Tester – Know Your Ground
Why it matters: A digital pH and moisture meter helps you tailor amendments precisely. Research shows that adjusting soil pH to the optimal range for tomatoes (6.0–6.8) can boost yields by up to 25%.

- Tip: Test soil at three depths (2″, 4″, 6″) for a comprehensive profile.
- Trick: Calibrate the meter monthly using a standard buffer solution for accurate readings.
4. Garden Kneeler/Seat – Comfort Meets Efficiency
Why it matters: Reducing strain on knees and back allows longer work periods. A survey of 500 gardeners found a 40% increase in weekly garden hours when using a kneeler.

- Tip: Choose a model with a detachable seat for versatile use.
- Trick: Keep a small tote attached for quick access to tools and seed packets.
Step‑by‑Step Guide: Growing a Productive Tomato Plant
Step 1 – Soil Preparation (Day 1)
Start by testing your soil’s pH and moisture. Amend with compost and, if needed, lime to raise pH or elemental sulfur to lower it.
- Actionable advice: Mix 2–3 inches of well‑rotted compost into the top 12 inches of soil. This improves structure and adds essential nutrients.
- Quick tip: Use a garden fork to break up clods, ensuring a fine, crumbly texture for root penetration.
Step 2 – Seedling Selection and Planting (Day 2)
Choose disease‑resistant varieties like ‘Early Girl’ or ‘Roma.’ Plant seedlings 18–24 inches apart, burying the stem up to the first set of true leaves.

- Actionable advice: Space rows 36–48 inches apart to allow airflow, reducing fungal risk.
- Quick tip: Add a handful of bone meal at the planting hole for a phosphorus boost, encouraging strong root development.
Step 3 – Watering Strategy (Weeks 1–4)
Tomatoes need consistent moisture. Aim for 1–1.5 inches of water per week, delivered at the base to keep foliage dry.
- Actionable advice: Install a drip irrigation line with a timer set to 20‑minute intervals, twice daily during hot spells.
- Quick tip: Mulch with straw or shredded leaves to retain moisture and suppress weeds.
Step 4 – Feeding and Fertilizing (Weeks 2–6)
Apply a balanced fertilizer (10‑10‑10) once the first fruit appears. Switch to a high‑potassium formula (5‑10‑15) for fruit development.
- Actionable advice: Use a liquid feed every two weeks, following label rates to avoid nutrient burn.
- Quick tip: Side‑dress with compost around the base of each plant monthly for slow‑release nutrients.
Step 5 – Pruning and Support (Weeks 3‑8)
Remove suckers (small shoots emerging from leaf axils) to direct energy to fruit. Install cages or stakes early to avoid damaging roots later.
- Actionable advice: Tie vines loosely with soft garden twine, allowing room for growth.
- Quick tip: Use a pair of clean pruning shears to snap off suckers at the base, preventing scar tissue.
Step 6 – Harvesting (Weeks 10+)
Pick tomatoes when they reach full color and are slightly firm. Regular harvesting encourages continued fruit set.
- Actionable advice: Store harvested tomatoes at room temperature; refrigerating can dull flavor.
- Quick tip: Use a gentle twist rather than pulling to avoid stem damage.
DIY Projects to Elevate Your Garden Space
Project 1 – DIY Raised Bed (Weekend Build)
Raised beds improve drainage, soil quality, and ergonomics. Build a simple 4×8 foot bed using untreated cedar boards.
- Cut four 8‑foot boards to 24‑inch height.
- Assemble the rectangle with galvanized corner brackets.
- Line the interior with landscape fabric and fill with a 50/50 mix of topsoil and compost.
- Install a drip irrigation line along one side for efficient watering.
Tip: Position the bed where it receives 6–8 hours of sunlight for most vegetables.
Project 2 – Vertical Herb Garden (Space‑Saving Solution)
Use a sturdy wooden pallet, attach landscape fabric, and fill pockets with potting mix. Plant herbs like basil, thyme, and mint.
- Actionable advice: Secure the pallet to a wall or fence with brackets to prevent tipping.
- Quick tip: Rotate the pallet 180° every two weeks for even sunlight exposure.
Project 3 – Simple Compost Bin (Eco‑Friendly Upgrade)
Construct a three‑section compost bin using 4×4 lumber and chicken wire. Each section rotates weekly, allowing active material to break down while fresh waste is added.
- Build three 2‑foot cubes and stack them with hinges on one side.
- Line each cube with wire mesh for airflow.
- Add green (kitchen scraps) and brown (dry leaves) materials in a 1:2 ratio.
Tip: Turn the compost every 7‑10 days with a garden fork to speed decomposition.
Project 4 – DIY Garden Tool Organizer (Clutter‑Free Zone)
Mount a pegboard on a wall near your garden entrance. Use hooks for pruning shears, a small shelf for the soil tester, and a magnetic strip for metal tools.
- Actionable advice: Label each hook with a laminated tag for quick identification.
- Quick tip: Add a small bucket underneath for hand tools like trowels and seed trays.
Putting It All Together: A Weekly Garden Routine
Integrating tools, plant care, and DIY projects into a consistent schedule maximizes results. Below is a simple 7‑day checklist:
- Monday: Test soil moisture, water drip lines, and inspect tomato plants for pests.
- Tuesday: Prune suckers, tighten ties, and apply fertilizer if fruit is present.
- Wednesday: Mulch raised beds and vertical garden, adding fresh compost as needed.
- Thursday: Harvest ripe tomatoes, clean tools, and disinfect shears.
- Friday: Rotate the compost bin, add kitchen scraps, and stir the pile.
- Saturday: DIY project day – assemble a new raised bed or refresh the tool organizer.
- Sunday: Rest, plan next week’s planting, and enjoy a quick garden walk to spot any issues.
Final Thoughts: Grow, Create, and Enjoy
By pairing data‑backed tool choices with clear, actionable plant‑care steps and fun DIY projects, you’ll not only boost garden productivity but also nurture a space that reflects your creativity. Remember, the best garden evolves with you—regularly assess soil health, keep tools sharp, and stay curious about new projects. Happy gardening!


