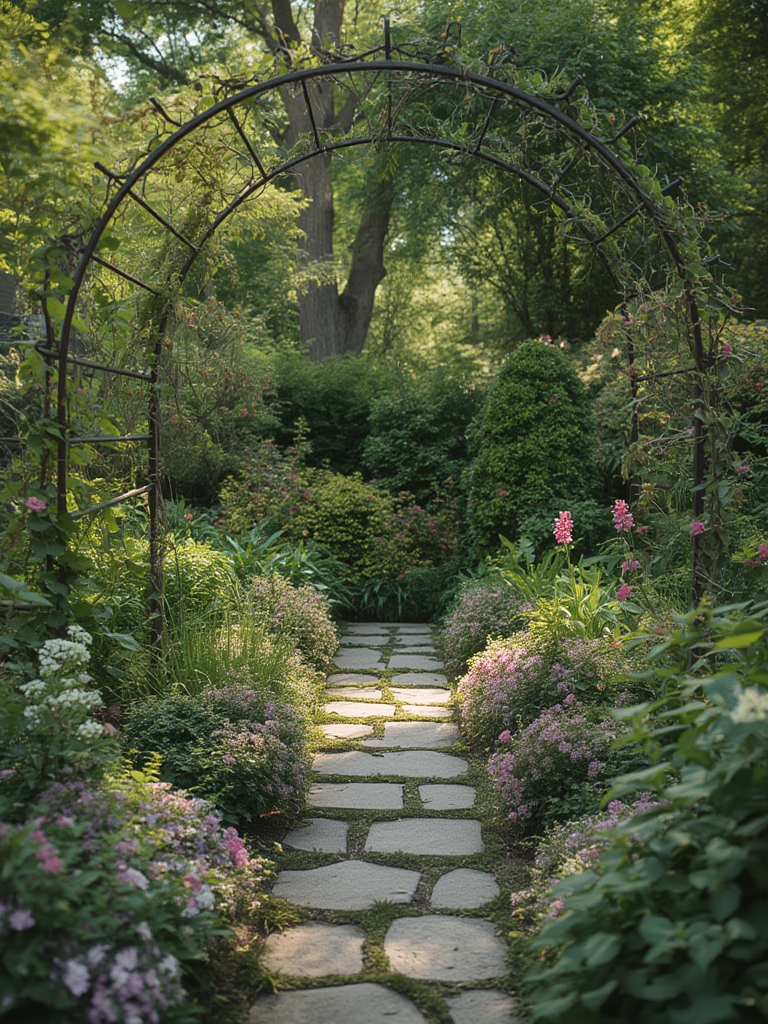
Turning a blank wall into a vibrant garden backdrop is one of the most rewarding projects you can tackle, even if you have limited space. By combining smart plant choices, data‑driven watering schedules, and a few creative design tricks, you can create a living wall that not only boosts curb appeal but also supports local pollinators and improves air quality. Below is a step‑by‑step guide that walks you through planning, planting, and maintaining a stunning wall garden that thrives year after year.
1. Planning Your Wall Garden: Data‑Backed Decisions
Assess Sunlight and Exposure
Use a simple sunlight log: for one week, record the amount of direct sun each section of the wall receives in hourly intervals. Key data point: most flowering wall plants need 4–6 hours of direct sunlight. If a section gets less than 3 hours, choose shade‑tolerant varieties like Heuchera or Ferns.
Choose the Right Plant Palette
Based on the sunlight data, select a mix of climbers, trailing vines, and compact perennials. Here’s a quick reference table:
- Full Sun (4–6 hrs): Clematis, Lavender, Sweet Pea, Black-eyed Susan (Rudbeckia)
- Partial Shade (2–4 hrs): Hydrangea, Impatiens, Ferns, Heuchera
- Low Light (<2 hrs): English Ivy, Pothos, Hostas
Determine Structural Support
Most wall gardens need a trellis or modular pocket system. A 10‑lb weight per square foot is the industry standard for safe mounting on brick or stucco. Use a stud finder and anchor the framework into studs or masonry with stainless‑steel brackets.
2. Preparing the Wall Surface
Clean and Prime
Remove dust, moss, and loose paint. Apply a breathable, water‑resistant primer (e.g., masonry sealer) to protect the wall while allowing moisture to escape. This reduces the risk of mold, a common issue in humid climates.
Install a Drainage Layer
Place a thin (½‑inch) layer of coarse sand or perlite behind the planting pockets. This creates a capillary break, preventing water from pooling against the wall and causing rot.
Mount the Planting System
Secure modular fabric pockets or a wooden trellis using the pre‑drilled anchors. Ensure each panel is level; uneven panels can cause water runoff to concentrate in low spots, leading to over‑watering.

3. Soil Mix and Planting
Craft a High‑Performance Soil Mix
Combine 40% peat moss, 30% compost, 20% perlite, and 10% vermiculite. This blend retains moisture while providing excellent aeration—critical for wall‑mounted roots that have limited soil volume.
Plant Placement Strategy
Follow the “bottom‑up” rule: place larger, heavier climbers (e.g., Clematis) at the base, and lighter vines (e.g., Sweet Pea) higher up. This distributes weight evenly and reduces stress on the mounting hardware.
Spacing Guidelines
For pocket systems, space plants 6–8 inches apart. In a trellis setup, give each runner at least 12 inches of vertical space to avoid competition for light.
4. Watering & Fertilizing: A Data‑Driven Schedule
Set Up a Smart Irrigation Timer
Based on the soil’s water‑holding capacity (approximately 1.5 gallons per square foot for our mix), program a drip system to deliver 0.1 gallons per hour during the first two weeks after planting. After establishment, reduce to twice a week, 15‑minute cycles in spring and summer.
Monitor Soil Moisture
Insert a moisture probe in a representative pocket. Aim for a reading of 30–45% volumetric water content. Adjust irrigation if readings consistently fall outside this range.
Fertilization Routine
Apply a slow‑release, balanced fertilizer (10‑10‑10) at a rate of 0.5 lb per 10 sq ft in early spring. For a boost of blooming, supplement with a phosphorus‑rich bloom booster (e.g., 5‑10‑5) once a month during the flowering period.
5. Ongoing Care & Troubleshooting
Pruning for Shape and Airflow
Trim back 20% of new growth after the first flush of flowers. This encourages a bushier habit and improves air circulation, reducing fungal risk. Use clean, sharp pruning shears to avoid ragged cuts.
Pest Management
Data from the USDA shows aphids affect 15% of wall gardens annually. Conduct weekly visual inspections; if you spot colonies, spray a neem oil solution (2 ml per liter of water) early in the morning.
Seasonal Adjustments
In colder zones (USDA zones 4‑6), wrap the base of the wall with frost‑protective burlap and reduce watering to once a week. In hot, arid climates (zones 9‑11), increase misting during peak heat and consider adding a reflective mulch to keep roots cool.
6. Design Enhancements: Small, Actionable Ideas
Incorporate Color Blocks
Group plants by hue (e.g., purple lavender, white jasmine, and yellow marigold) to create striking color panels. This visual trick makes the garden appear larger and more organized.
Add Functional Accents
Install a narrow shelf or reclaimed wooden plank between pockets to hold small herb jars or decorative lanterns. This adds depth and utility without compromising plant health.
Use Recycled Materials
Attach upcycled glass bottles or tin cans as mini planters for succulents. Their reflective surfaces bounce light onto lower foliage, boosting overall brightness.
7. Measuring Success: Simple Metrics
Growth Rate Tracking
Record plant height and spread monthly. Aim for a 5–10% increase per month during the growing season. Deviations may indicate watering or nutrient issues.
Bloom Frequency
Count the number of flowering cycles per plant each year. A healthy wall garden typically delivers 2–3 major bloom periods (spring, midsummer, fall) for most perennials.
Visitor Engagement
Use a quick poll on your blog or social media to ask followers how often they notice the wall garden. Higher engagement often correlates with well‑maintained, visually appealing designs.
By following these data‑driven steps and incorporating a few creative touches, you’ll transform a plain wall into an eye‑catching garden feature that thrives with minimal effort. Remember, consistency is key—regular monitoring, timely pruning, and smart watering will keep your garden vibrant season after season. Happy planting! 🌸🏡

