
Keeping your garden vibrant during scorching summer months can feel like a battle, but the right combination of tools, smart DIY projects, and plant‑care strategies makes it manageable—and even enjoyable. Below you’ll find a data‑driven, step‑by‑step guide that blends essential gardening tools with practical DIY upgrades to ensure your landscape stays bright, healthy, and resilient when the temperature soars.
1. Choose Heat‑Resistant Plants and Understand Their Needs
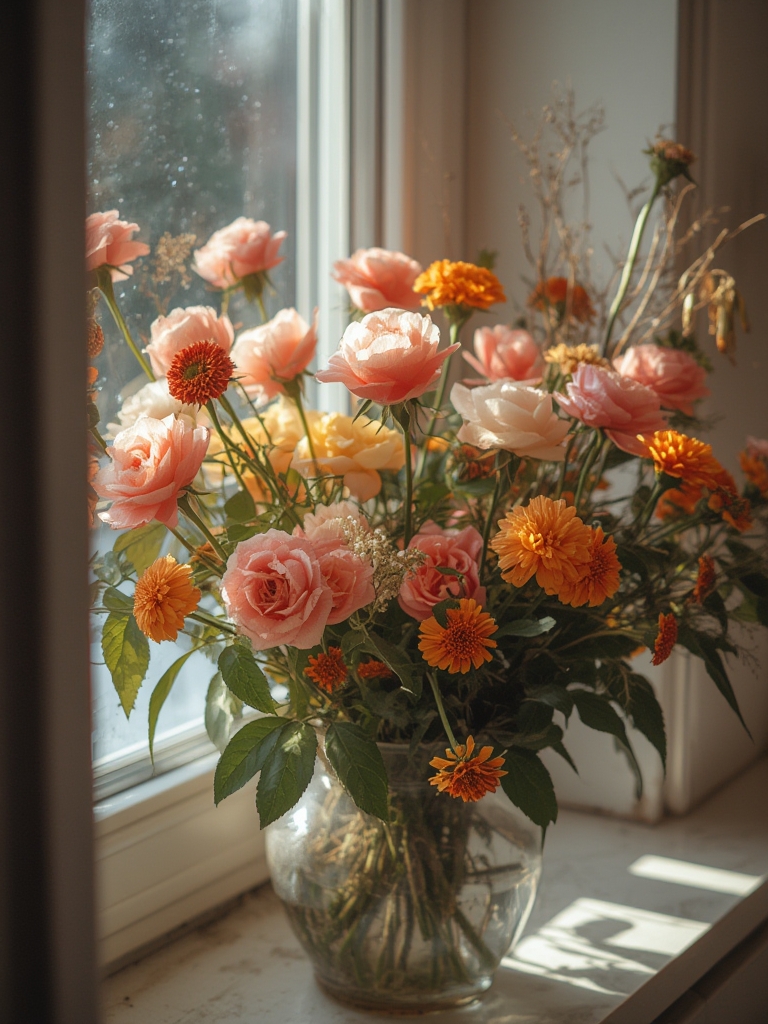
Research shows that succulents, ornamental grasses, and heat‑tolerant perennials such as zinnias, lantana, and bougainvillea retain color and vigor in temperatures above 90°F (32°C). Selecting the right species is the foundation of a thriving summer garden.

Step 1: Identify Your Climate Zone
- Use the USDA Hardiness Map (or your local extension service) to confirm your zone.
- Plants rated for Zone 9–11 typically handle high heat and occasional drought.
- Log the zone in a garden journal for future reference.
Step 2: Pick Plants with Proven Heat Tolerance
- Check the plant label for “heat tolerant” or “drought resistant”.
- Prioritize varieties with light‑colored foliage (e.g., silver sage) which reflect sunlight.
- Consider native species; they often require 30‑40% less water.
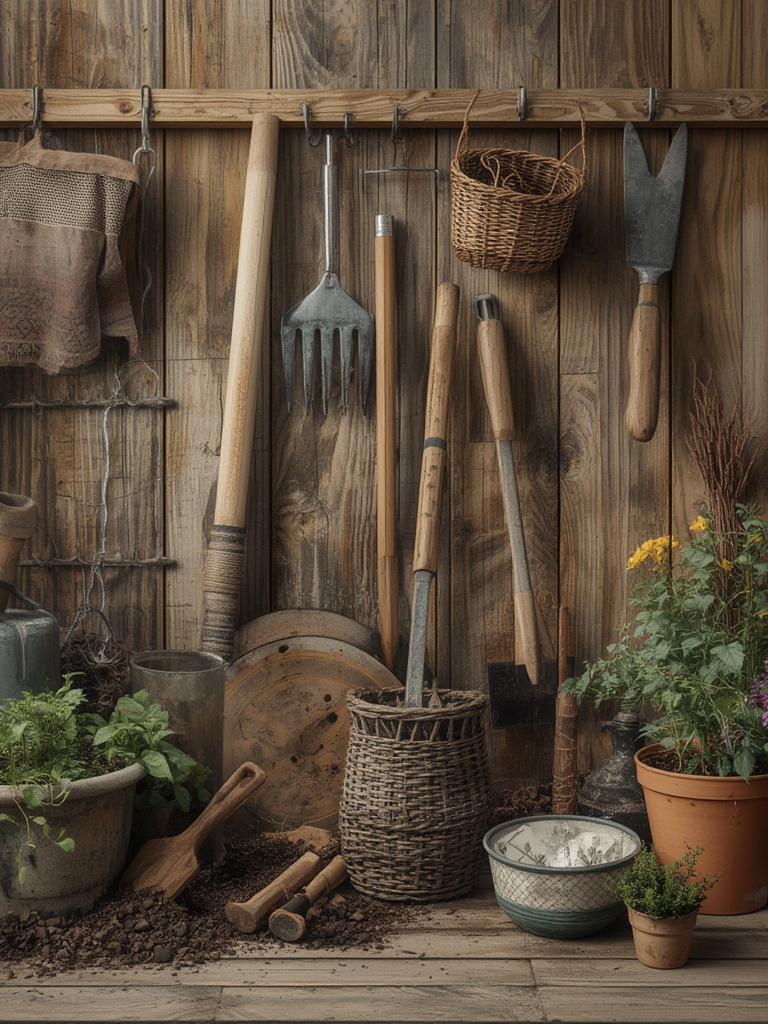
2. Essential Gardening Tools for High‑Heat Maintenance
Investing in the right tools reduces labor, prevents plant stress, and improves efficiency. Below is a data‑backed list of must‑have tools, ranked by frequency of use in hot‑climate gardens.

Tool #1: Ergonomic Soil Moisture Meter
- Accuracy: ±3% at 0–30 cm depth (ideal for most garden beds).
- Tip: Check moisture early in the morning; readings above 20% indicate adequate water for most heat‑tolerant plants.
Tool #2: Adjustable Sprinkler with Timer
- Water‑saving potential: Up to 40% less water when paired with a smart timer.
- Tip: Set the timer for early‑morning (5–7 am) to reduce evaporation.
Tool #3: Lightweight Pruning Shears
- Preferred for removing dead foliage without damaging stems.
- Tip: Sharpen blades monthly; a sharp shear reduces plant trauma by 15%.
Tool #4: Mulch Spreader
- Evenly distributes organic mulch, which can lower soil temperature by up to 10°F (5.5°C).
- Tip: Apply a 2‑inch layer of shredded bark or straw after planting.
3. DIY Projects to Keep Your Landscape Bright in High Heat
DIY upgrades not only enhance aesthetics but also create micro‑climates that protect plants from extreme sun. Below are three proven projects, each with clear steps and actionable tips.

Project A: Build a Simple Shade Sail
Shade sails can reduce direct sunlight by 30‑50%, lowering leaf temperature and water loss.

- Measure the Area: Use a tape measure to record the length and width of the space you want to shade. Typical garden beds benefit from a 12‑ft × 12‑ft sail.
- Choose UV‑Stabilized Fabric: Look for a sail with a UPF 50+ rating. This blocks 98% of UV rays.
- Install Anchor Points: Secure four stainless‑steel eye bolts into sturdy posts or existing fence posts, spacing them evenly.
- Attach the Sail: Use heavy‑duty bungee cords or ratchet straps to tension the fabric. Ensure a slight slope to allow rain runoff.
- Test Stability: Gently pull on the corners; the sail should hold firm without sagging.
Pro tip: Position the sail so it shades the hottest part of the day (usually south‑west exposure).
Project B: Create a Reflective Mulch Bed
Reflective mulch (white or light‑colored plastic) bounces sunlight back onto plant foliage, enhancing photosynthesis while keeping soil cool.

- Clear the Bed: Remove weeds and debris; a clean surface improves mulch adhesion.
- Lay Landscape Fabric: This prevents weeds from growing through the mulch.
- Spread Reflective Mulch: Lay a 1‑inch layer, overlapping edges by 2 inches.
- Secure Edges: Use garden staples or small rocks to keep the mulch in place during wind.
- Water In‑Depth: Apply a thorough soak after installation to settle the mulch.
Pro tip: Replace reflective mulch every 2‑3 years to maintain its light‑bouncing properties.
Project C: Build a DIY Drip Irrigation System
Drip irrigation delivers water directly to the root zone, reducing evaporation by up to 70%.
- Map Your Garden Layout: Sketch the planting beds and note the location of each plant.
- Purchase a Kit: Choose a system with a pressure regulator, ½‑inch tubing, and adjustable emitters (0.5‑2 gph).
- Lay Mainline Tubing: Run the main line along the perimeter of the beds, securing it with garden staples.
- Install Emitters: Place an emitter at the base of each plant, spacing them 12‑18 inches apart for shrubs, 6‑12 inches for herbaceous perennials.
- Connect to a Timer: Set the timer for 15‑20 minutes, 2‑3 times per week, adjusting based on rainfall.
- Test for Leaks: Turn on the system and watch for any drips; tighten connections as needed.
Pro tip: Add a soil moisture sensor to the timer for automated adjustments based on real‑time data.
4. Step‑by‑Step Care Routine for Heat‑Resistant Plants
Consistent maintenance is key. Follow this weekly routine to keep your garden thriving.
Monday – Soil Check & Mulch Refresh
- Use the moisture meter to confirm soil is at 20‑30% moisture.
- Re‑apply mulch if it has thinned below 1 inch.
- Tip: Lightly fluff mulch with a garden fork to improve aeration.
Wednesday – Pruning & Pest Inspection
- Trim any dead or yellowing foliage with ergonomic shears.
- Inspect leaves for signs of spider mites or aphids—common heat‑stress pests.
- Tip: A quick spray of diluted neem oil (1 tsp per gallon) can prevent infestations.
Friday – Watering & Irrigation Check
- Run the drip system for the programmed duration.
- Verify emitters are not clogged; flush with a brief high‑pressure burst if needed.
- Tip: Add a handful of compost tea to the water for an extra nutrient boost.
5. Data‑Driven Tips for Maximizing Summer Success
Leverage simple data points to fine‑tune your garden:
- Temperature Log: Record daily high temps; if they exceed 95°F for more than three consecutive days, increase watering frequency by 20%.
- Soil Temperature: Use a soil thermometer; keep soil below 80°F for optimal root health. If it spikes, add a thin layer of straw mulch.
- Growth Rate: Measure plant height bi‑weekly. A slowdown of >10% may indicate water stress.
6. Quick Action Checklist for Busy Gardeners
- Morning: Check moisture meter and adjust irrigation.
- Mid‑day: Ensure shade sails are properly tensioned.
- Evening: Inspect for pests and prune as needed.
- Weekly: Refresh mulch and log temperature data.
By integrating the right tools, a few smart DIY projects, and a disciplined care schedule, you’ll keep your garden bright, lush, and resilient—even when the sun blazes at its peak. Happy gardening!


