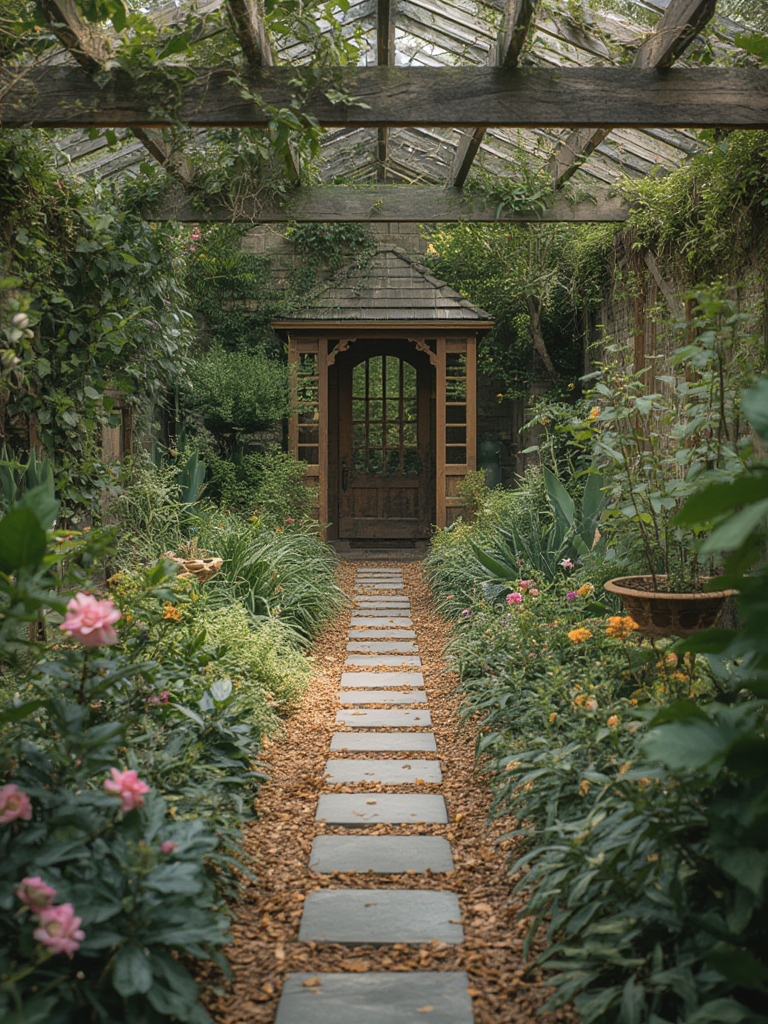
Creating a thriving garden that looks stunning while conserving resources is both an art and a science. By combining data‑driven planting schedules, soil‑health metrics, and smart irrigation techniques, you can cultivate a space that continuously inspires. Below is a step‑by‑step guide that walks you through selecting the right plants, preparing the soil, planting, maintenance, and water‑saving strategies—all backed by practical, actionable tips you can implement today.
1. Choose Plants That Fit Your Climate and Soil
Start with a data‑driven approach: consult USDA Hardiness Zone maps or local extension service climate data to pinpoint which species thrive in your region. Use a soil test kit (available at most garden centers) to measure pH, organic matter, and nutrient levels. Match plant preferences to these results for optimal growth.
Actionable Tips
- Hardiness check: Look up your zone (e.g., 5b–7a) and shortlist 5–7 perennials, shrubs, or vegetables that are rated for that range.
- Soil amendment: If pH is too low, incorporate lime at 5 lb per 100 sq ft; if too high, add elemental sulfur at 3 lb per 100 sq ft. Mix in 2–3 inches of compost to boost organic matter.
- Companion planting: Pair nitrogen‑fixing legumes (e.g., beans) with heavy feeders (e.g., tomatoes) to naturally balance soil nutrients.
2. Prepare the Planting Bed
A well‑prepared bed reduces water loss, improves root development, and minimizes weed competition. Use the “square foot gardening” method to maximize space and simplify layout planning.
Step‑by‑Step Bed Preparation
- Clear the area: Remove existing vegetation, then lay down a 2‑inch layer of cardboard to suppress weeds.
- Build a raised bed (optional): If soil drainage is poor, construct a 12‑inch deep raised bed using untreated lumber.
- Incorporate amendments: Spread a 3‑inch layer of a 1:1 mix of compost and coarse sand, then till to a depth of 8‑10 inches.
- Mulch: Apply a 2‑inch layer of organic mulch (e.g., shredded bark) to retain moisture and regulate temperature.
3. Planting: Timing, Depth, and Spacing
Planting at the right time ensures seedlings avoid frost stress and benefit from optimal temperature windows. Use local frost date data to schedule planting 2–3 weeks after the last average frost for spring crops, or 6–8 weeks before the first frost for fall planting.
Key Planting Guidelines
- Depth: Plant seeds at a depth equal to twice their diameter; for transplants, set the root ball level with the surrounding soil.
- Spacing: Follow seed packet recommendations, but add 10 % extra space for air circulation—this reduces disease pressure.
- Labeling: Use waterproof plant markers with the planting date and variety; this helps track growth rates and harvest times.
4. Smart Irrigation & Water‑Saving Techniques
Water is the most critical resource in garden management. Implementing data‑driven irrigation not only conserves water but also improves plant health by delivering moisture when and where it’s needed.
Efficient Water Delivery Systems
- Drip irrigation: Install a low‑flow drip line (0.5 gph) with emitters spaced 12 inches apart. This targets the root zone directly, reducing evaporation by up to 70 % compared to sprinklers.
- Soil moisture sensors: Place a sensor at 6‑inch depth; connect it to a timer that only activates irrigation when moisture drops below 30 % volumetric water content.
- Rainwater harvesting: Set up a 200‑gallon rain barrel with a first‑flush diverter to collect clean runoff for garden use.
Watering Best Practices
- Early morning watering: Apply water between 4 am–7 am to minimize loss to wind and sun.
- Deep, infrequent watering: Aim for 1‑inch of water per week, delivered in 2–3 sessions; this encourages deeper root growth.
- Mulch maintenance: Replenish mulch annually to maintain its insulating and moisture‑retaining properties.
5. Ongoing Care: Feeding, Pruning, and Pest Management
Consistent, data‑informed maintenance keeps your garden looking fresh and productive throughout the growing season.
Fertilization Schedule
- Baseline feeding: Apply a balanced 10‑10‑10 granular fertilizer at 1 lb per 100 sq ft in early spring.
- Side‑dressing: For heavy feeders (e.g., tomatoes), add ½ cup of compost tea per plant every 3 weeks.
- Soil testing: Re‑test soil every 6 months; adjust nutrient applications based on the results.
Pruning and Deadheading
- Remove spent blooms weekly to encourage continuous flowering and prevent seed set.
- Trim back overgrown perennials by 20 % after the first flush of growth to promote bushier habit.
- For shrubs, conduct a light pruning in late winter (after dormancy) to shape and improve air flow.
Integrated Pest Management (IPM)
Use a combination of monitoring, cultural controls, and targeted treatments:

- Scouting: Walk the garden weekly; record pest sightings in a simple spreadsheet to spot trends.
- Beneficial insects: Plant nectar‑rich flowers (e.g., alyssum, fennel) to attract ladybugs and lacewings.
- Spot treatment: If aphids exceed 10 % of leaf surface, spray a neem oil solution (2 tsp per gallon) early morning.
6. Harvest, Review, and Plan for Next Season
Successful gardening is a cycle of observation, data collection, and adjustment. After each harvest, note yield quantities, plant vigor, and any issues encountered. Use this information to refine your plant selection, spacing, and irrigation settings for the following year.
Actionable End‑of‑Season Checklist
- Record total yields per crop in a garden journal or spreadsheet.
- Take soil moisture readings after the final watering to gauge residual moisture.
- Remove all plant debris to reduce overwintering pests and diseases.
- Apply a 1‑inch layer of compost over the beds to enrich soil for spring.
- Plan crop rotation: move nightshades (tomatoes, peppers) to a different bed to break disease cycles.
By following these data‑driven steps—selecting climate‑appropriate plants, preparing soil with precision, employing smart irrigation, and maintaining vigilant care—you’ll create a garden that not only inspires visually but also stands as a model of sustainable, water‑wise gardening. Happy planting!

