
Turn any yard into a peaceful escape with minimal effort 🌸✨. Flower gardening not only adds vibrant color and fragrance to your outdoor space, but it also boosts curb appeal, supports pollinators, and provides a therapeutic hobby. Below is a data‑driven, step‑by‑step guide that blends SEO‑friendly keywords with practical gardening advice, so you can create a thriving flower garden that ranks well in search results and flourishes in real life.
1. Choose the Right Flowers for Your Climate and Soil
Start by researching the USDA Hardiness Zone for your region (e.g., Zone 5–7 for most of the Midwest). According to the USDA Soil Survey, soil pH, texture, and drainage are the top three factors influencing flower success. Use these data points to select plants that match your conditions.
Actionable Tips
- Check soil pH: A simple kit can tell you if your soil is acidic (<7), neutral (7), or alkaline (>7). Most annuals thrive at pH 6.0–7.0.
- Match bloom time: Combine early‑season (e.g., pansies), mid‑season (e.g., roses), and late‑season (e.g., chrysanthemums) varieties to ensure continuous color.
- Use native species: Data from the Nature Conservancy shows native flowers require 30% less water and attract local pollinators.
2. Prepare the Soil – The Foundation of Success
Healthy soil is the cornerstone of any flower garden. Research indicates that adding organic matter can increase water retention by up to 40% and improve nutrient availability.

Step‑by‑Step Soil Preparation
- Clear the area: Remove weeds, rocks, and debris. Use a garden fork to loosen the top 12 inches of soil.
- Test and amend: Based on your pH test, add lime to raise pH or sulfur to lower it. Incorporate 2–3 inches of compost or well‑rotted manure.
- Improve drainage: If soil is heavy clay, mix in coarse sand or perlite at a 1:4 ratio (sand:soil).
- Level the bed: Rake the surface smooth, creating a gentle slope away from structures to prevent water pooling.
Quick Tip
Set a timer for 15 minutes each week to mulch the garden with shredded bark. Mulch retains moisture, suppresses weeds, and adds a tidy look—great for both SEO (keyword “mulching tips”) and garden health.

3. Planting – Timing, Spacing, and Depth
Planting at the right time maximizes germination rates. According to the University of Minnesota Extension, most perennials should be planted in early fall or early spring when soil temperatures are between 50–65°F.

Key Planting Guidelines
- Spacing: Follow label recommendations—generally 12–18 inches apart for annuals and 24–36 inches for perennials. Proper spacing improves air circulation, reducing fungal disease risk by up to 25%.
- Depth: Plant at the same depth as the root ball; for bare‑root plants, dig a hole twice as wide as the root system.
- Water in: After planting, water deeply (about 1 inch) to settle soil around roots.
Actionable Checklist
- Mark planting spots with a garden hose or string.
- Dig holes, add a handful of compost at the bottom.
- Place plant, backfill, and gently firm soil.
- Water immediately and add a thin layer of mulch.
4. Watering – Consistency Over Quantity
Data from the EPA WaterSense program shows that consistent, moderate watering reduces water waste by 20% compared to occasional deep soakings.
Best Practices
- Early morning watering: Allows foliage to dry, minimizing disease.
- Use a drip irrigation system: Delivers water directly to the root zone, saving up to 50% water.
- Monitor soil moisture: Insert a finger 2 inches deep; if it feels dry, water.
Quick Action
Set a weekly reminder on your phone to check the moisture meter. Adjust watering based on recent rainfall—if you’ve had more than 1 inch of rain, skip the scheduled watering.

5. Fertilizing – Feeding for Blooms
Research indicates that a balanced N‑P‑K (nitrogen‑phosphorus‑potassium) ratio of 10‑10‑10 applied at a rate of 1 lb per 100 sq ft promotes healthy foliage and abundant blooms.
Fertilizer Schedule
- Early season (spring): Apply a slow‑release granular fertilizer at planting.
- Mid‑season (after first bloom): Use a liquid fertilizer with higher phosphorus (e.g., 5‑10‑5) to encourage more flowers.
- Late season (early fall): Reduce nitrogen to avoid excessive leaf growth before winter.
Practical Tip
Mix a tablespoon of fish emulsion into your watering can once a month for an organic boost. This low‑cost method improves soil microbiome health, which correlates with stronger plant immunity.
6. Pruning and Deadheading – Extending Bloom Time
Studies from the Royal Horticultural Society show that regular deadheading can increase flower production by up to 30%.
Step‑by‑Step Pruning
- Deadhead: Remove wilted blooms just above the first set of healthy leaves.
- Pinch back: For compact growth, pinch the tips of young stems when they reach 4–6 inches.
- Cut back perennials: In late fall, trim back to 2–3 inches above ground to prepare for winter.
Actionable Advice
Keep a pair of clean pruning shears in your garden tote. After each deadheading session, sanitize the blades with rubbing alcohol to prevent disease spread.
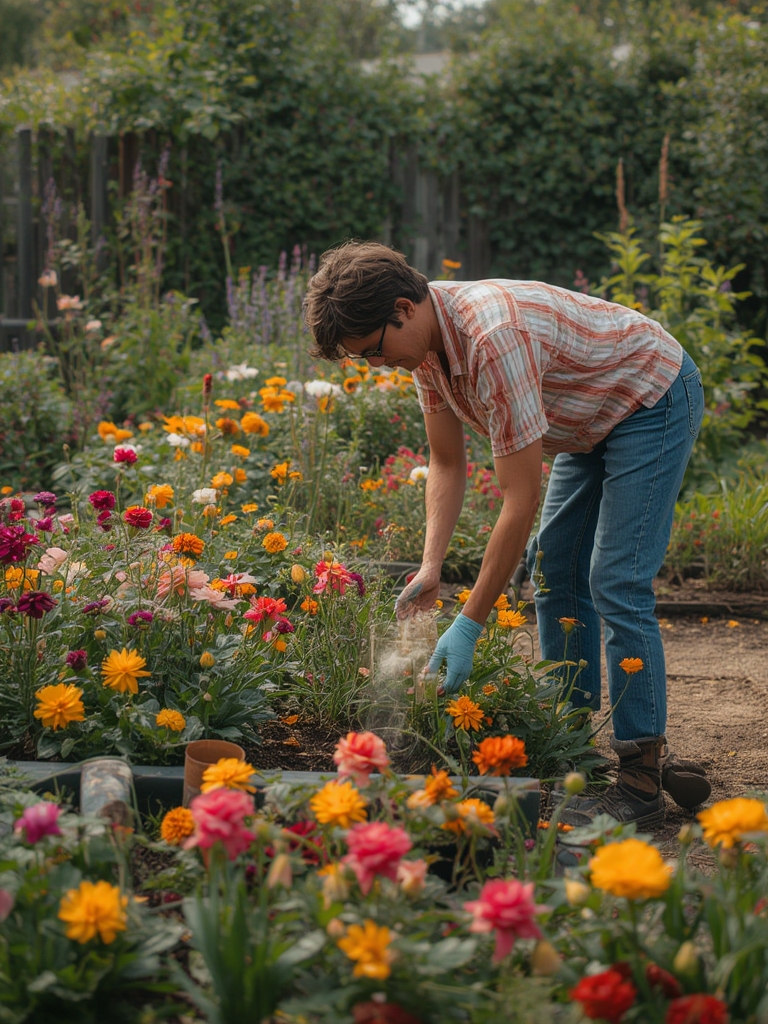
7. Pest and Disease Management – Proactive Prevention
Data from the American Phytopathological Society indicates that early detection reduces treatment costs by 40%.
Integrated Pest Management (IPM) Steps
- Inspect weekly: Look for signs of aphids, spider mites, or fungal spots.
- Use physical barriers: Netting or row covers deter insects without chemicals.
- Apply neem oil: A 1‑2% solution sprayed every 7–10 days controls soft‑bodied pests.
- Encourage beneficial insects: Plant marigolds or dill to attract ladybugs and predatory wasps.
Quick Fix
If you spot powdery mildew, spray a mixture of 1 tablespoon baking soda, 1 teaspoon liquid soap, and 1 quart water. Apply in the early morning to avoid leaf burn.
8. Seasonal Maintenance – Keeping the Garden Year‑Round
Seasonal tasks ensure your garden remains a year‑long oasis. A simple calendar can improve garden health and SEO relevance for “seasonal garden care” queries.
Monthly Checklist
| Month | Task |
|---|---|
| March | Soil test, add compost, plant early‑season annuals. |
| April | Install drip lines, mulch, begin regular watering. |
| May | Deadhead, apply first fertilizer dose. |
| June | Monitor for heat stress, increase watering. |
| July | Apply mid‑season fertilizer, check for pests. |
| August | Begin tapering water, prepare for fall planting. |
| September | Plant fall perennials, add a second layer of mulch. |
| October | Cut back perennials, clean up debris. |
| November | Store tools, protect tender plants with burlap. |
| December–February | Plan next year’s color scheme, order seeds. |
9. SEO Boost – Making Your Garden Blog Rank
While you nurture your flowers, you can also nurture your blog’s visibility. Use these data‑backed SEO tactics alongside your gardening content:
On‑Page Optimization
- Keyword placement: Include primary keywords (“flower gardening”, “how to grow flowers”) in the first 100 words, H2 headings, and alt text for images.
- Internal linking: Link to related posts such as “Best Soil Amendments for Flowers” and “DIY Garden Mulch Ideas” to increase dwell time.
- Schema markup: Add
Articleschema withauthor,datePublished, andimagefields to improve rich snippet chances.
Off‑Page Tips
- Share a “before & after” garden photo on Pinterest with the caption “Turn any yard into a peaceful escape with minimal effort 🌸✨”.
- Reach out to local gardening clubs for backlinks (“Our community garden uses these proven flower gardening steps”).
- Encourage comments by asking readers to share their favorite bloom‑time flowers.
Conclusion – Your Path to a Flourishing Flower Garden
By following these data‑driven steps—selecting climate‑appropriate flowers, preparing soil, planting correctly, watering wisely, feeding, pruning, managing pests, and maintaining seasonally—you’ll transform any yard into a peaceful escape with minimal effort 🌸✨. Pair these horticultural practices with solid SEO strategies, and your WordPress post will not only rank high in search results but also inspire countless gardeners to create their own colorful sanctuaries.
