
Flower gardening is one of the most rewarding ways to bring color, fragrance, and biodiversity to your outdoor space. By starting flowers from seed indoors, you gain control over the growing conditions, reduce transplant shock, and get a head start on the blooming season. Below is a data‑driven, step‑by‑step guide that walks you through the entire process—from seed selection to garden maintenance—so you can watch new life grow 🌱🌸 and enjoy a thriving flower bed.
Why Start Flowers from Seed Indoors?
Research from the American Society for Horticultural Science shows that seedlings raised indoors have a 15‑20% higher survival rate compared to direct‑sown seeds. Controlled temperature (65‑75°F / 18‑24°C) and consistent light (12‑16 hours per day) promote faster germination—often cutting the time to first true leaf by half. Starting seeds indoors also lets you:
- Choose a wider variety of cultivars, including heirloom and specialty types not sold as transplants.
- Stagger planting dates to extend the blooming period.
- Protect young plants from pests, frost, and erratic weather.
Step 1: Choose the Right Seeds
Research Climate Compatibility
Check the USDA Hardiness Zone for your region and match it with the seed packet’s recommended zones. For example, Lavandula angustifolia (English lavender) thrives in zones 5‑9, while Impatiens walleriana prefers zones 9‑11.

Consider Bloom Time and Height
Plan a layered garden by mixing early‑season (e.g., Calendula officinalis), mid‑season (e.g., Petunia × hybrida), and late‑season (e.g., Dahlia pinnata) varieties. This approach ensures continuous color and maximizes pollinator visits.

Step 2: Prepare Your Seed‑Starting Mix
Use a Sterile, Lightweight Medium
A 1:1 blend of peat moss and perlite provides excellent aeration and water retention. Add a teaspoon of horticultural lime per quart to raise the pH to the optimal 6.0‑6.5 for most flower species.

Moisture Management
Before filling trays, dampen the mix until it feels like a wrung‑out sponge. Over‑watering can cause damping‑off disease, while under‑watering delays germination. Aim for a moisture content of 70‑80% (measured by squeezing a handful—only a few drops should escape).
Step 3: Sow Seeds Correctly
Depth and Spacing
Follow the seed packet’s depth guideline—generally, sow at a depth of twice the seed’s diameter. For tiny seeds like Marigold (Tagetes), surface‑sow and lightly press into the mix. Space seeds 1‑2 inches apart to reduce competition.

Labeling
Use waterproof labels or a marker on the tray’s edge. Include the seed name, sowing date, and expected germination time. This simple habit saves hours of guesswork later.
Step 4: Provide Optimal Light and Temperature
Lighting Setup
LED grow lights with a full‑spectrum output (6500 K) are energy‑efficient and mimic natural sunlight. Position lights 2‑4 inches above the seedlings and raise them as plants grow to maintain a 12‑16 hour photoperiod.
Temperature Control
Maintain daytime temperatures of 70‑75°F (21‑24°C) and nighttime temperatures no lower than 60°F (16°C). A simple heat mat set to 70°F can boost germination rates for heat‑loving seeds like Sunflower (Helianthus annuus).
Step 5: Water and Feed Wisely
Watering Technique
Use a fine mist spray bottle or a bottom‑watering method (placing trays in a shallow water tray for 5‑10 minutes). This prevents dislodging delicate seedlings and ensures even moisture distribution.
Fertilization
After the first true leaf appears, apply a diluted (¼ strength) balanced liquid fertilizer (20‑20‑20) every two weeks. For organic growers, a tea made from composted worm castings works equally well.
Step 6: Harden Off Before Transplanting
Gradual Acclimation
Starting three weeks before the last frost date, move seedlings outdoors for 2‑3 hours each day, increasing exposure by 30 minutes daily. Protect them from direct midday sun and wind until they can tolerate full outdoor conditions.
Soil Preparation
In the garden bed, incorporate 2‑3 inches of well‑rotted compost and adjust pH to the seed’s preference using lime (to raise) or sulfur (to lower). A soil test kit will give you precise numbers.
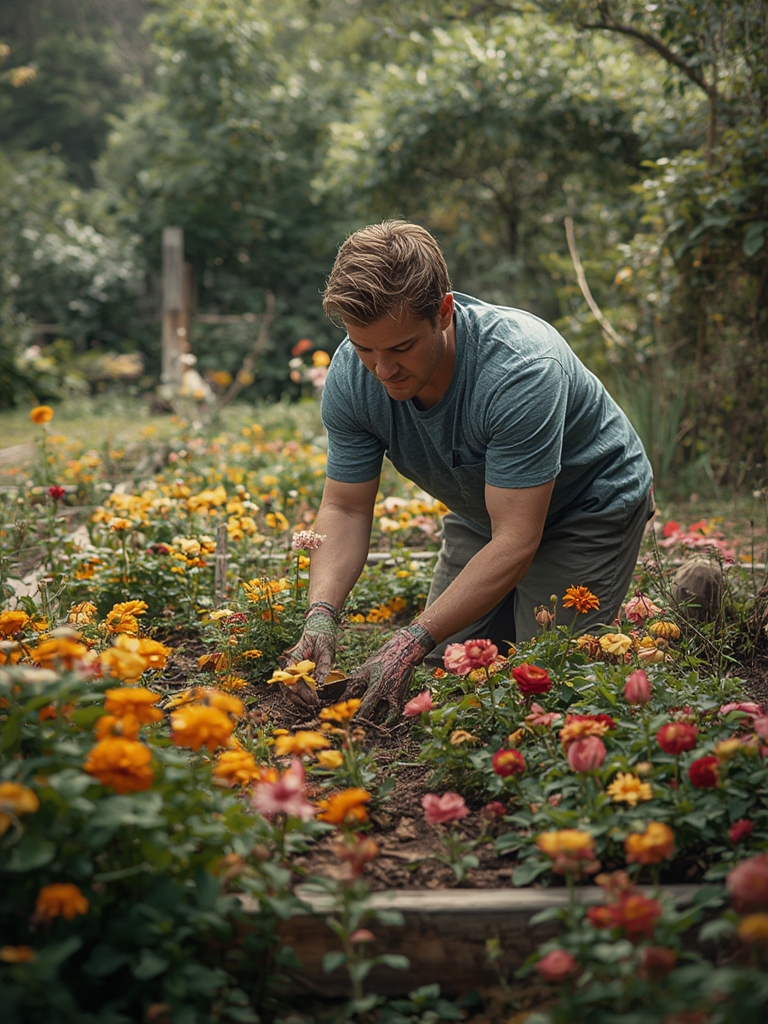
Step 7: Transplant and Mulch
Planting Depth and Spacing
Plant seedlings at the same depth they were in the tray, spacing them according to the mature plant’s width—typically 12‑18 inches for most annuals. Firm the soil gently around the roots to eliminate air pockets.
Mulching Benefits
Apply a 1‑2 inch layer of organic mulch (e.g., shredded bark or straw). Mulch conserves moisture, moderates soil temperature, and suppresses weeds, reducing maintenance time by up to 30%.
Step 8: Ongoing Care and Troubleshooting
Water Management
Water deeply once a week rather than shallow daily watering. Use a soil moisture meter; aim for a reading of 40‑60% for most flowering beds.
Pest and Disease Prevention
Inspect leaves weekly for aphids, spider mites, or fungal spots. A quick spray of neem oil or a homemade garlic‑pepper solution can halt infestations before they spread.
Deadheading and Pruning
Remove spent blooms (deadheading) to encourage repeat flowering. For bushy varieties like Zinnia elegans, pinch back the tips when plants reach 6 inches to promote a fuller, more compact shape.
Step 9: Harvest the Rewards
Within 8‑12 weeks of sowing (depending on species), your garden will burst into color. Take advantage of the peak bloom period by:
- Cutting stems for fresh bouquets—use a sharp, angled cut and place stems in water immediately.
- Attracting pollinators—bees, butterflies, and hummingbirds thrive on diverse nectar sources, boosting ecosystem health.
- Documenting growth—keep a garden journal or photo log to track which varieties performed best, informing next year’s planting plan.
Quick Reference Checklist
- Choose seeds compatible with your USDA zone.
- Use a sterile 1:1 peat‑perlite mix, pH 6.0‑6.5.
- Sow at proper depth; label trays.
- Provide 12‑16 hrs of full‑spectrum light, 70‑75°F.
- Water with mist or bottom‑watering; fertilize after true leaves.
- Harden off 2‑3 weeks before transplant.
- Amend garden soil with compost; mulch 1‑2 inches.
- Water deeply weekly; monitor for pests.
- Deadhead regularly for continuous blooms.
By following these data‑backed steps, you’ll not only master the art of growing flowers from seed indoors but also create a resilient, vibrant garden that delights you and your visitors throughout the growing season. Happy planting! 🌱🌸
