
Flower gardening is a rewarding hobby that blends creativity with science. By starting seeds indoors, you gain control over germination, protect young seedlings from harsh weather, and enjoy the excitement of watching new life unfold. Below is a data‑driven, step‑by‑step guide that walks you through every stage—from seed selection to blooming—so you can cultivate a vibrant garden that thrives season after season.
1. Choose the Right Flowers for Your Climate and Space
Successful flower gardening begins with smart plant selection. Use USDA hardiness zone data (or local climate maps) to match species to your region. For example:
- Zones 3‑7: Coneflower (Echinacea), Black-eyed Susan (Rudbeckia)
- Zones 8‑10: Marigold (Tagetes), Zinnia, Impatiens
- Shade‑loving options (any zone): Hostas, Bleeding Heart (Dicentra)
Consider the garden’s sunlight exposure (full sun ≥ 6 hrs, partial shade ≈ 3‑6 hrs, full shade < 3 hrs) and soil type (sandy, loam, clay). A quick soil test (available at most garden centers) will tell you pH and nutrient levels, guiding you toward the best‑fit varieties.

2. Gather Supplies and Set Up Your Indoor Seed‑Starting Station
Essential Materials
- Seed trays or biodegradable peat pots
- Seed‑starting mix (light, sterile, and well‑draining)
- Grow lights (LED or fluorescent) with a 12‑14 hour photoperiod
- Thermometer and hygrometer (maintain 65‑75°F / 18‑24°C, 50‑70% RH)
- Label stickers and waterproof marker
Practical Setup Tips
Place trays on a sturdy shelf 12‑18 inches below the light source. Adjust the height as seedlings grow to keep the light 2‑3 inches above the foliage, preventing leggy growth. Use a timer to automate the light cycle, ensuring consistency and reducing daily maintenance.

3. Sow Seeds with Precision
Seed‑Sowing Guidelines
- Read the packet: Note depth (most flower seeds are sown at a depth equal to 2‑3× their size) and spacing.
- Moisten the mix: Lightly spray water until the medium feels damp but not soggy.
- Plant the seeds: Use a small dibbler or the back of a spoon to create uniform holes.
- Cover lightly: Gently press soil over the seed; avoid compacting.
- Label immediately: Write the species, sowing date, and expected germination time.
Data shows that seeds sown in a consistently moist medium germinate 20‑30% faster than those left to dry out between waterings.

4. Provide Optimal Growing Conditions
Light, Temperature, and Water
Maintain a temperature of 70°F (21°C) for most annuals; cool‑season perennials (e.g., Pansies) prefer 60‑65°F (15‑18°C). Water using a fine mist to keep the surface evenly moist—over‑watering can cause damping‑off disease, which kills seedlings.
Air Circulation
Place a small oscillating fan on low speed to create gentle airflow. Studies indicate that a 0.5 m/s breeze reduces fungal infection rates by up to 40% without drying out seedlings.

5. Harden Off Seedlings Before Transplanting
Hardening off acclimates indoor‑grown plants to outdoor conditions, reducing transplant shock. Follow this 7‑day schedule:
- Day 1‑2: Place seedlings in a shaded, protected spot for 2 hours.
- Day 3‑4: Increase exposure to 4 hours, adding a few minutes of indirect sun.
- Day 5‑6: Extend to 6 hours, introduce gentle wind by opening a window.
- Day 7: Full outdoor exposure for the remainder of the day; water in the evening.
Monitor soil moisture closely—outdoor conditions dry faster than indoor trays.
6. Transplant to the Garden Bed
Site Preparation
Loosen the top 12 inches of soil and amend with 2‑3 inches of compost or well‑rotted manure. For heavy clay, add coarse sand to improve drainage. A soil test should guide any additional pH adjustments (lime for acidic soils, sulfur for alkaline).
Planting Technique
- Dig a hole slightly larger than the root ball.
- Gently tease out the seedling, keeping the root ball intact.
- Place the seedling at the same depth it was growing in the pot.
- Backfill with soil, firm lightly, and water thoroughly.
Space plants according to the recommended spacing on the seed packet—crowding reduces air flow and increases disease risk.
7. Ongoing Care: Watering, Feeding, and Maintenance
Water Management
Use the “soak‑and‑dry” method: water deeply until water runs off the bottom, then allow the top inch of soil to dry before the next watering. A drip‑irrigation system with a moisture sensor can automate this, saving up to 30% water compared to hand watering.
Fertilization Schedule
- Early growth (first 4 weeks): Apply a balanced 10‑10‑10 fertilizer at ¼ strength.
- Mid‑season (once blooms appear): Switch to a high‑phosphorus formula (5‑10‑5) to encourage flower production.
- Late season (after first flush): Reduce feeding to avoid excessive foliage at the expense of blooms.
Practical Pest & Disease Tips
Implement Integrated Pest Management (IPM):
- Inspect leaves weekly for aphids, spider mites, or fungal spots.
- Introduce beneficial insects (ladybugs, lacewings) to control pests naturally.
- Apply neem oil or insecticidal soap early at the first sign of infestation.
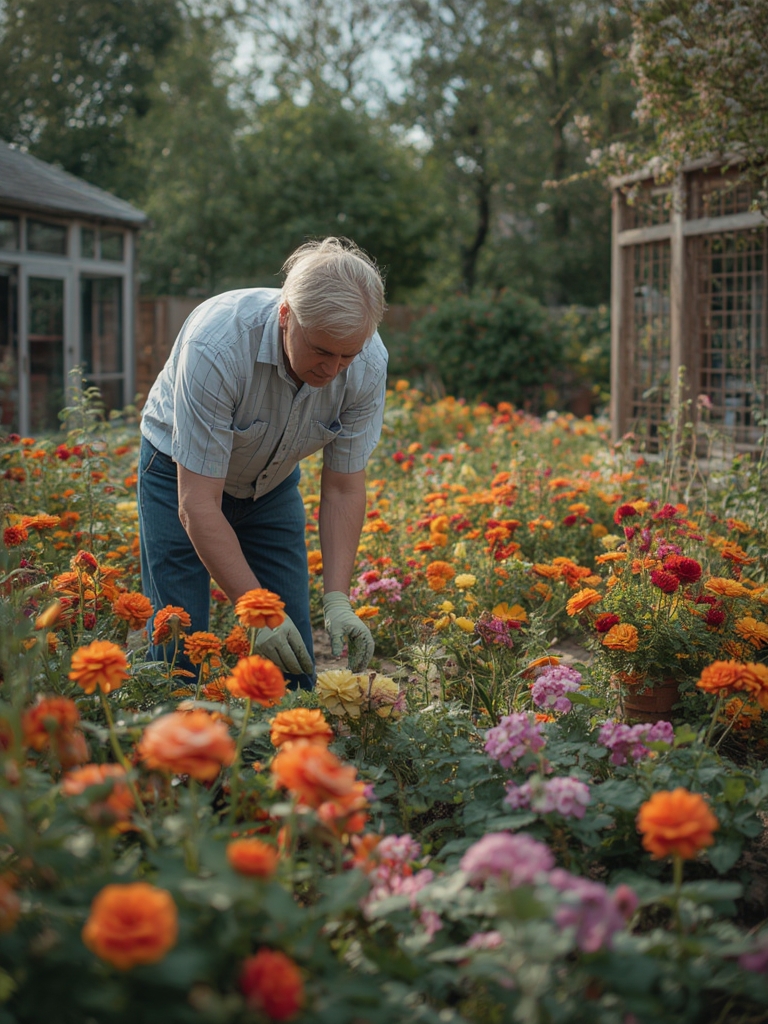
Removing spent blooms (deadheading) encourages the plant to produce a second wave of flowers and improves air circulation.
8. Harvesting and Enjoying Your Blooms
Most annuals reach peak bloom 8‑10 weeks after transplant. Cut stems early in the morning when nectar levels are highest for the freshest cut flowers. Use clean, sharp scissors and place stems in a bucket of water immediately to prevent wilting.
9. Seasonal Wrap‑Up and Soil Renewal
At the end of the growing season, clear all plant debris to prevent overwintering pests. Add a layer of compost or leaf mulch to replenish organic matter. In colder zones, consider planting a cover crop (e.g., clover) to protect soil structure and fix nitrogen for the next planting cycle.
10. Track Your Results for Continuous Improvement
Maintain a simple garden journal—digital or paper—with the following columns:
| Date | Species | Germination Time (days) | Bloom Start | Yield (stems) | Notes/Issues |
|---|---|---|---|---|---|
| 2024‑04‑15 | Marigold | 7 | 2024‑06‑01 | 45 | Minor aphids, treated with neem oil |
Analyzing this data year over year reveals patterns—such as which varieties perform best in your microclimate—allowing you to refine seed choices and care routines for even better results.
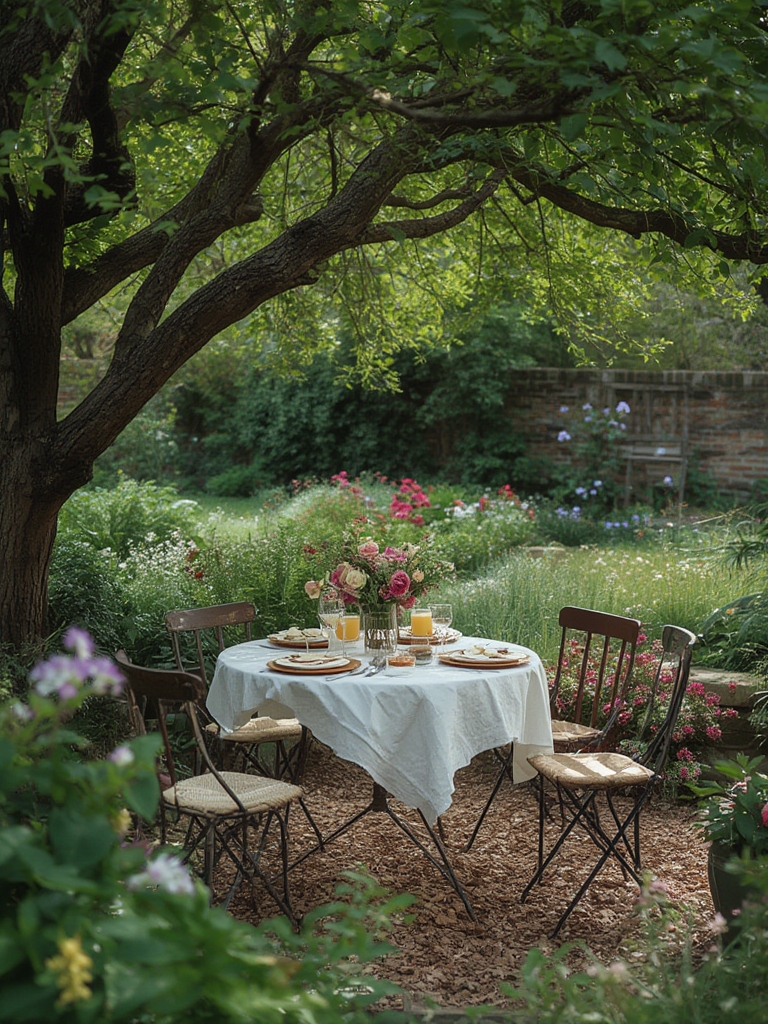
By following these evidence‑based steps, you’ll transform a handful of seeds into a flourishing flower garden that not only beautifies your space but also boosts pollinator activity and personal satisfaction. Happy planting, and enjoy watching new life grow 🌱🌸!
