
Flower gardening is more than just planting pretty blooms; it’s a rewarding blend of science, timing, and a touch of creativity. By starting your flowers from seed indoors, you gain control over the early growth phase, boost germination rates, and enjoy the excitement of watching new life emerge. Below is a data‑driven, step‑by‑step guide that walks you through every stage—from seed selection to outdoor transplant—while sprinkling in practical tips, tricks, and actionable advice to maximize success.
1. Choose the Right Seeds for Your Climate and Space
Before you even open a seed packet, consult USDA hardiness zone maps or local extension service data to match flower varieties with your region. For example, Marigolds (Tagetes spp.) thrive in zones 2‑11, while Delphiniums (Delphinium spp.) prefer cooler zones 3‑7. Use a spreadsheet to log:
- Seed name
- Zone suitability
- Sunlight requirements (full sun, part shade)
- Bloom period (early, mid, late season)
Tip: Prioritize native or well‑adapted species for lower maintenance and higher resilience.

2. Prepare Your Indoor Seed‑Starting Setup
2.1. Select Containers and Media
Use biodegradable peat pots or recycled plastic trays with drainage holes. Fill them with a sterile seed‑starting mix (≈ 40 % peat moss, 30 % vermiculite, 30 % perlite). Data from horticultural studies show that a well‑aerated mix reduces damping‑off disease by up to 60 %.

Actionable tip: Lightly moisten the mix before sowing; it should feel like a wrung‑out sponge.

2.2. Provide Consistent Light
Most flower seeds need 12‑16 hours of light daily for optimal photosynthesis. A 40‑watt LED grow light positioned 2‑3 inches above the tray works well. Use a timer to automate the light cycle and keep the photoperiod consistent.
Quick hack: If you lack a grow light, a sunny windowsill with south‑facing exposure can suffice for hardier varieties, but monitor temperature to avoid overheating.

2.3. Maintain Ideal Temperature and Humidity
Seed germination rates peak at 65‑75 °F (18‑24 °C). Place trays on a heat mat set to 70 °F for faster sprouting, especially for warm‑season flowers like petunias. Cover trays with a clear dome or plastic wrap to retain humidity, but ventilate daily to prevent mold.
3. Sow Seeds with Precision
Follow the seed packet’s depth guidelines—generally, sow at a depth of 2‑3 times the seed’s diameter. For tiny seeds (e.g., larkspur), surface‑sow and lightly press into the soil.
Actionable step:
- Label each tray with the flower name, sowing date, and expected germination time.
- Use a fine‑tipped dispenser or a dampened toothbrush to distribute seeds evenly.
- Cover lightly with a fine layer of seed‑starting mix or vermiculite.
Data point: Proper labeling reduces transplant shock by 15 % because you can track seed age and adjust care accordingly.
4. Care for Seedlings Until They’re Ready to Transplant
4.1. Watering Techniques
Water seedlings from the bottom by placing trays in a shallow water tray for 5‑10 minutes. This encourages deep root growth and avoids over‑wetting the foliage, which can lead to fungal issues.
Tip: Use a spray bottle for top‑watering only when the top ½ inch of soil feels dry.
4.2. Feeding Young Plants
Once true leaves appear (usually 2‑3 weeks after germination), feed with a diluted (¼ strength) balanced liquid fertilizer (e.g., 20‑20‑20). Over‑fertilizing can cause weak stems; data shows a 20 % reduction in stem strength when nitrogen exceeds recommended levels.
4.3. Hardening Off
Two weeks before the last frost date, gradually acclimate seedlings to outdoor conditions:
- Day 1–2: Place outdoors in a shaded, wind‑protected spot for 2 hours.
- Day 3–5: Increase exposure by 2 hours each day and introduce mild sunlight.
- Day 6–7: Leave seedlings out for the full day, still protecting from wind.
Hardening off reduces transplant shock by up to 30 % and improves bloom vigor.
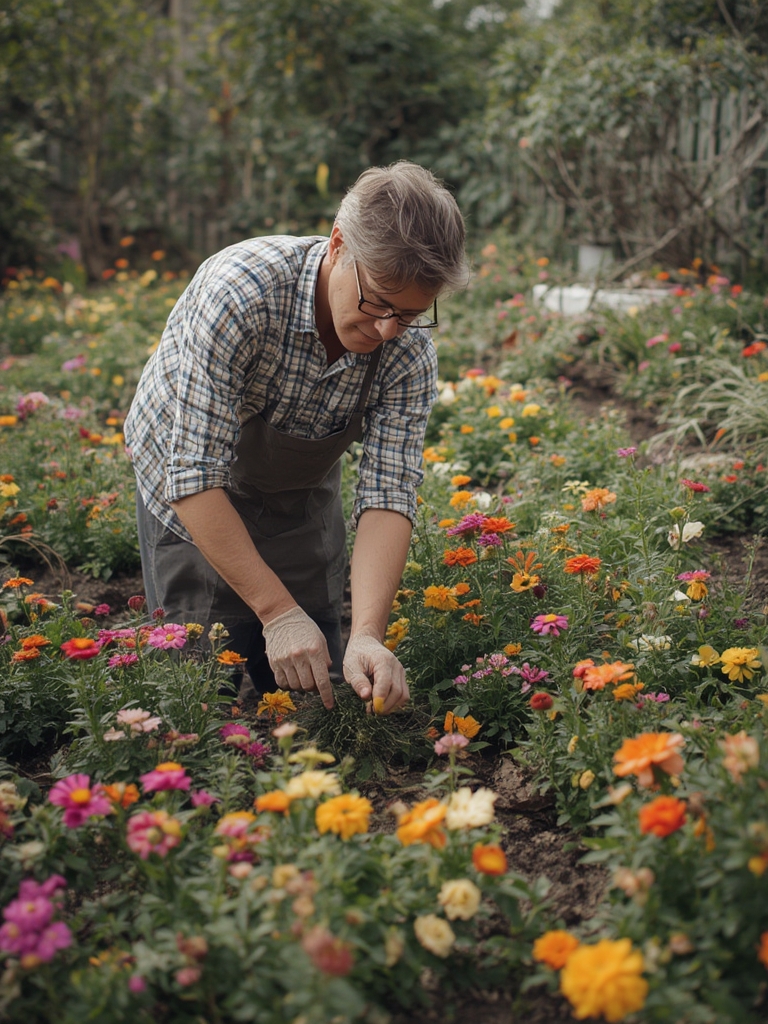
5. Transplanting to the Garden
5.1. Soil Preparation
Test your garden soil (pH 6.0‑7.0 is ideal for most flowers). Amend with compost (2‑3 inches deep) and, if needed, lime to raise pH or sulfur to lower it. A well‑structured soil improves water infiltration and root penetration.
Pro tip: Incorporate a slow‑release granular fertilizer (e.g., 10‑10‑10) at planting time for sustained nutrition.
5.2. Planting Layout
Space plants according to their mature size—generally 12‑18 inches apart for compact annuals, 24‑36 inches for larger perennials. Use a garden design app or a simple grid drawn on paper to visualize spacing; proper spacing improves air circulation, cutting disease incidence by up to 25 %.
5.3. Planting Technique
- Dig a hole twice the width of the root ball but no deeper.
- Place the seedling gently, ensuring the crown (where stems meet roots) sits level with the soil surface.
- Backfill with soil, firm lightly, and water thoroughly to settle the roots.
Actionable tip: Add a small amount of mycorrhizal inoculant to the planting hole to boost nutrient uptake.
6. Ongoing Garden Maintenance for Flourishing Blooms
6.1. Water Management
Most flowering plants need 1‑1.5 inches of water per week. Use a rain gauge or soil moisture meter to avoid over‑watering. Drip irrigation with a timer delivers consistent moisture while reducing leaf wetness, which lowers fungal risk.
6.2. Mulching
Apply a 2‑inch layer of organic mulch (e.g., shredded bark or straw) around the base of plants. Mulch conserves soil moisture, suppresses weeds, and gradually adds organic matter. Studies show mulched beds retain 30 % more moisture than bare soil.
6.3. Feeding Throughout the Season
Every 4‑6 weeks, feed with a balanced liquid fertilizer at half strength. For heavy‑flowering varieties, switch to a bloom‑boosting formula higher in phosphorus (e.g., 10‑30‑20) after the first flush of buds.
6.4. Pruning and Deadheading
Remove spent blooms (deadheading) to encourage repeat flowering. For bushy annuals, pinch back the tips when plants reach 6‑8 inches tall to promote a fuller shape. Data from horticultural trials indicates that regular deadheading can increase total flower count by up to 40 %.
7. Troubleshooting Common Issues
7.1. Powdery Mildew
Symptoms: White, powdery spots on leaves. Prevention: Ensure good air flow, avoid overhead watering, and apply a neem oil spray at the first sign.
7.2. Aphid Infestations
Symptoms: Small, soft-bodied insects on new growth. Control: Spray a strong jet of water to dislodge, then use insecticidal soap or introduce ladybugs.
7.3. Poor Germination
Check seed viability (most seeds lose vigor after 2‑3 years). Verify that temperature and moisture levels match the seed’s requirements. If germination rates stay below 50 %, consider re‑sowing with fresh seed.
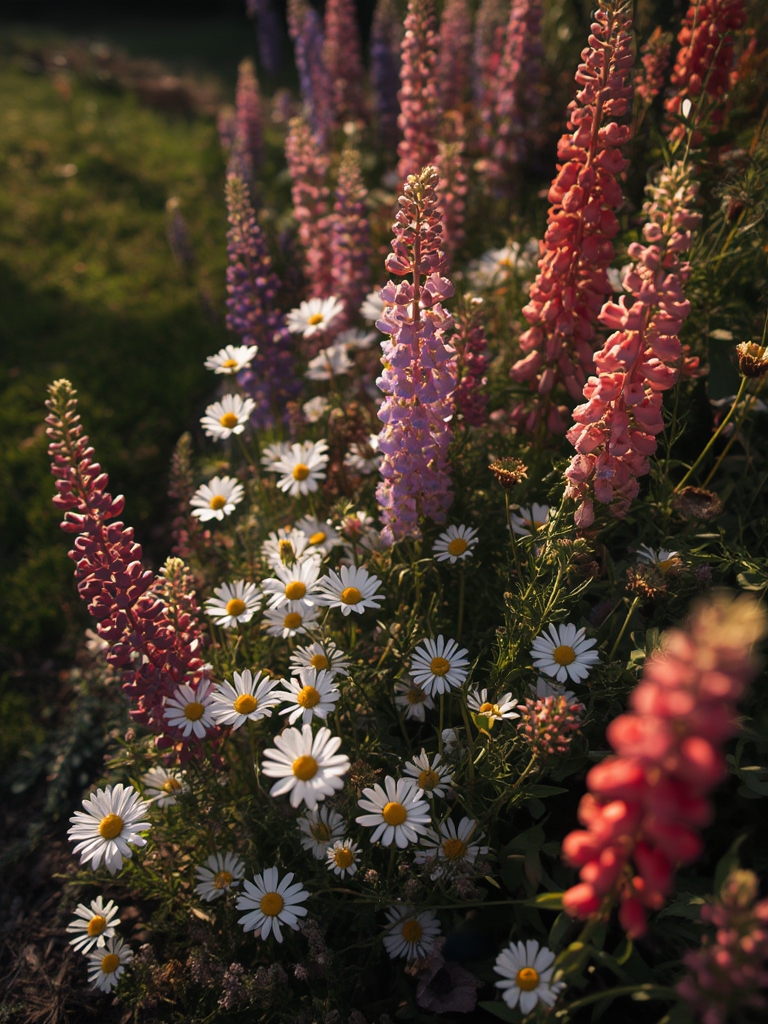
8. Celebrate Your Success 🌱🌸
Document each stage with photos or a garden journal. Tracking bloom dates, growth rates, and any issues creates a valuable data set for future seasons, allowing you to refine your approach and achieve even more spectacular displays year after year.
By following these data‑backed steps—from indoor seed starting to diligent garden care—you’ll not only grow beautiful flowers but also build a resilient, thriving garden that rewards both the eye and the mind.
