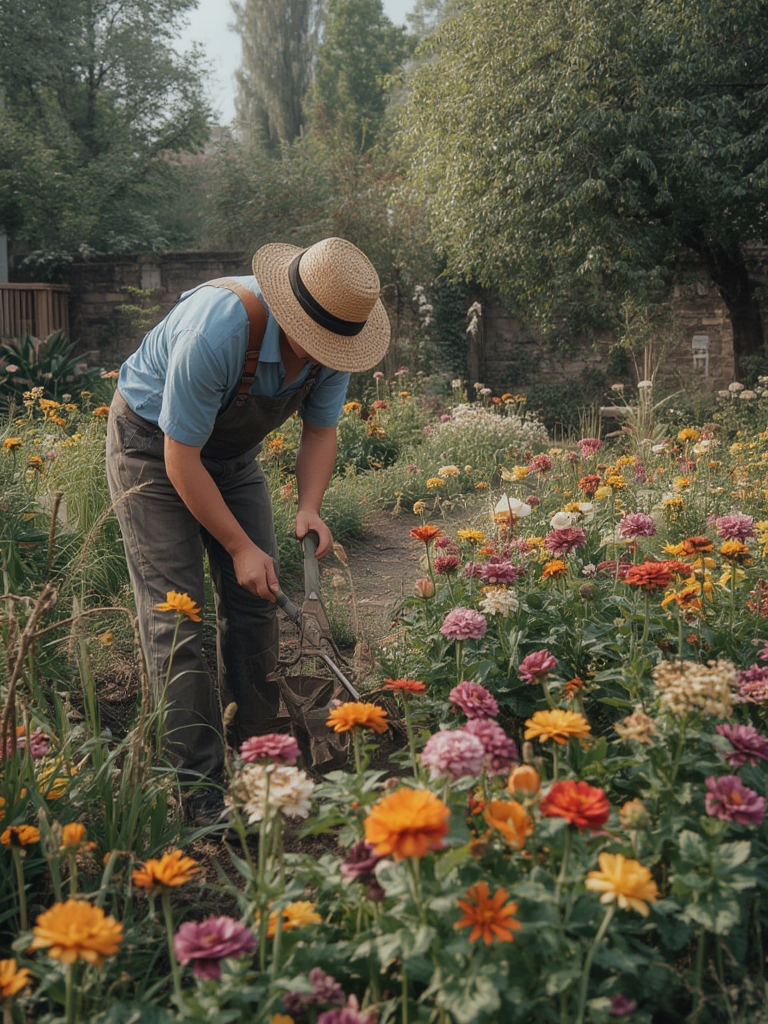

Welcome to your ultimate guide to flower gardening! Whether you’re a beginner or looking to refresh your green thumb, this data‑driven, step‑by‑step post will help you grow vibrant blooms while keeping your workspace tidy and efficient. Follow the practical tips, tricks, and actionable advice below to turn any patch of soil into a colorful oasis.
1. Plan Your Garden with Data‑Backed Decisions
Assess Light, Soil, and Climate
Start by mapping the sunlight exposure of your garden. Use a simple sunlight‑tracking app or a manual chart: full sun (6‑8 hrs), partial shade (3‑6 hrs), or full shade (<3 hrs). Match flower varieties to these zones—sun‑loving roses, partial‑shade impatiens, and shade‑tolerant ferns. Check your USDA hardiness zone (easily found online) to select plants that thrive in your temperature range, reducing the risk of winter kill.
Set Measurable Goals
Define clear objectives: “I want 30 % more blooms than last season” or “Reduce watering by 20 % using mulch.” Write these goals in a garden journal or a digital note‑taking app. Tracking progress with photos and growth metrics will help you tweak practices for better results.

2. Prepare the Soil – The Foundation of Success
Test and Amend
Grab a soil test kit (available at most garden centers) and record pH, nitrogen, phosphorus, and potassium levels. Ideal pH for most flowers is 6.0‑6.5. If the test shows acidity, add garden lime; for alkaline soils, incorporate sulfur. Amend with compost at a rate of 2‑3 inches per square foot to boost organic matter and improve drainage.

Build Raised Beds for Cleaner Workspaces
Constructing raised beds (12‑18 inches high) not only improves soil structure but also keeps tools off the ground, reducing mess. Use untreated cedar or recycled composite boards, line the bottom with a weed barrier, and fill with a 50/50 mix of high‑quality topsoil and compost. This setup makes weeding, mulching, and harvesting easier and more ergonomic.

3. Choose the Right Flowers for Your Conditions
Seasonal Selections
Pick a mix of perennials (e.g., lavender, coneflower) for long‑term structure and annuals (e.g., marigold, petunia) for instant color. Data from the Royal Horticultural Society shows that planting a 3‑month staggered schedule increases continuous bloom time by up to 40 %.
Companion Planting for Pest Control
Integrate natural pest deterrents: plant marigolds near tomatoes to repel nematodes, or surround roses with garlic to ward off aphids. This reduces the need for chemical sprays and keeps the garden healthier.

4. Planting Techniques That Maximize Growth
Spacing and Depth
Follow seed packet or plant label recommendations for spacing—generally 12‑18 inches apart for medium‑sized blooms. Plant at the same depth they were growing in their containers; burying too deep can cause stem rot.
Water‑In Right After Planting
Use a gentle soaker hose or a watering can with a rose attachment to deliver a slow, deep soak (about 1 inch of water). This encourages root penetration and reduces transplant shock.
5. Ongoing Care – Watering, Feeding, and Pruning
Smart Watering Schedule
Apply the “soak‑dry‑soak” method: water deeply twice a week, then allow the top 2 inches of soil to dry before the next cycle. Install a rain gauge to track natural precipitation and adjust accordingly, saving up to 30 % of water usage.
Fertilize with Precision
Choose a balanced, slow‑release fertilizer (10‑10‑10) and apply at the start of the growing season. For a data‑driven boost, use a soil moisture sensor that triggers a micro‑sprinkler delivering a measured dose of liquid feed every 14 days.
Prune for Longevity
Deadhead spent blooms weekly to redirect energy into new flower production. In early spring, cut back perennials to about 2‑3 inches above ground to stimulate fresh growth. Use clean, sharp pruning shears to avoid disease transmission.
6. Build a Workspace That Keeps Gardening Clean & Efficient
Organize Tools in a Mobile Caddy
Invest in a sturdy, wheeled tool caddy with compartments for trowels, pruners, gloves, and seed packets. Keep the caddy stocked at the garden edge so you never have to run back to the house for a missing item.
Create a Dedicated Potting Station
Set up a small table covered with a waterproof mat. Store pots, seed trays, and a spray bottle within arm’s reach. A nearby trash bin for plant debris and a compost bin for organic waste will keep the area tidy and reduce cleanup time.
Use Mulch Mats for Cleanliness
Lay biodegradable mulch mats (e.g., straw or coir) around planting zones. They suppress weeds, retain moisture, and prevent soil from splashing onto pathways, keeping the garden path clean and safe.
7. Seasonal Maintenance Checklist
Spring
- Remove winter mulch and inspect for frost damage.
- Apply a balanced fertilizer and plant new annuals.
- Set up drip irrigation timers for consistent watering.
Summer
- Monitor soil moisture daily; increase watering during heatwaves.
- Deadhead regularly to sustain bloom cycles.
- Apply a light foliar spray of neem oil for pest control.
Fall
- Cut back perennials and add a layer of compost.
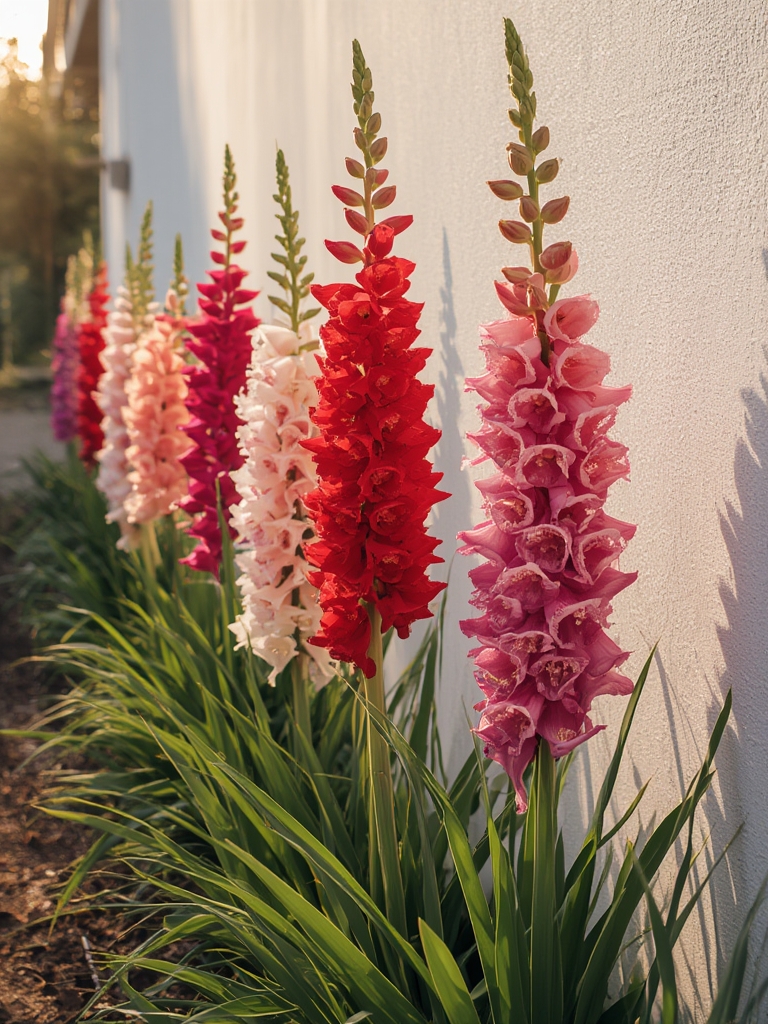
- Plant cool‑season flowers like pansies and snapdragons.
- Cover beds with a thin mulch blanket to protect roots.
Winter
- Use a garden journal to record successes and challenges.
- Plan next year’s layout based on bloom performance data.
- Store tools in a dry, organized shed to prevent rust.
8. Troubleshooting Common Issues Quickly
Yellow Leaves – Nutrient Deficiency
If leaves turn yellow while veins stay green, you likely have nitrogen deficiency. Apply a nitrogen‑rich fertilizer or side‑dress with compost tea.
Wilting – Water Stress
Check soil moisture with a finger test. If the top inch feels dry, water deeply. Persistent wilting may indicate root rot; improve drainage by aerating the soil.
Spots and Powdery Mildew – Disease Management
Remove affected foliage, increase air circulation by spacing plants properly, and spray a homemade solution of 1 tbsp baking soda, 1 tsp liquid soap, and 1 gallon water.
9. Wrap‑Up: Your Path to a Flourishing Flower Garden
By combining data‑driven planning, precise soil preparation, smart plant selection, and a clean, organized workspace, you set the stage for a thriving flower garden. Remember to track your progress, adjust based on seasonal feedback, and enjoy the process—because the best gardens grow alongside the gardener’s knowledge.
