
Whether you’re a seasoned green thumb or just starting your garden journey, the right tools and a smart DIY approach can turn planting into a stress‑free, rewarding experience. In this guide we’ll break down essential gardening tools, walk you through a data‑driven planting routine for a popular, low‑maintenance vegetable (tomatoes), and show you how to build a simple, cost‑effective irrigation system that keeps your plants hydrated without constant monitoring.
Essential Gardening Tools for Every DIY Enthusiast
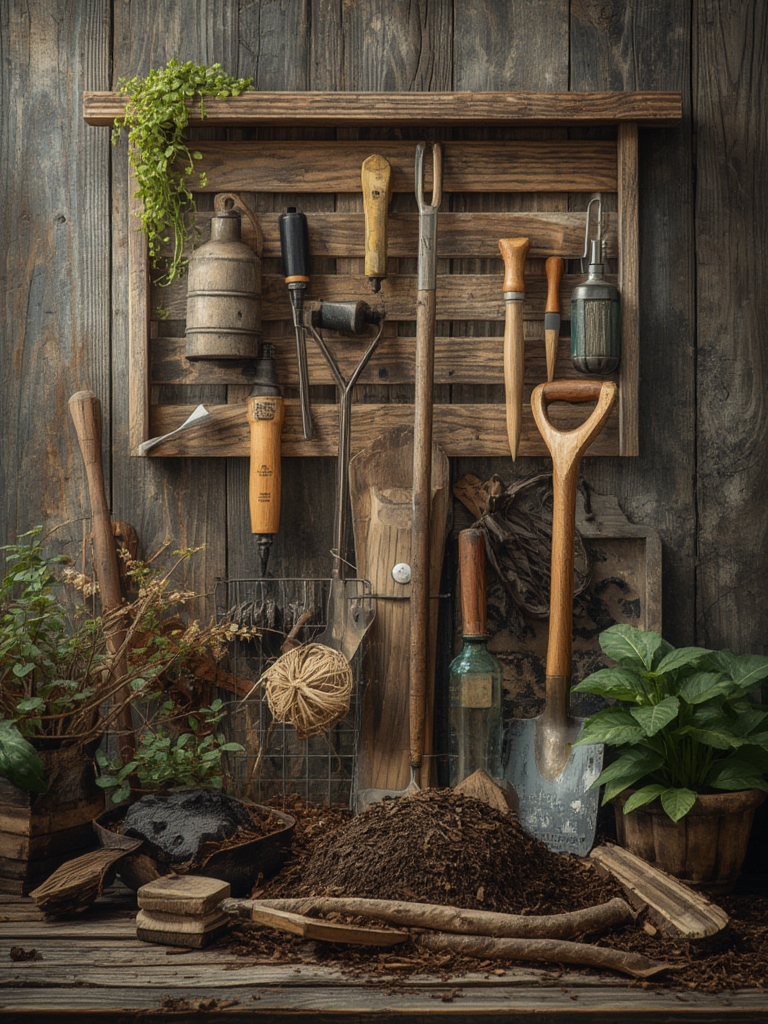
Choosing the right tools is the foundation of any successful garden. Based on a recent survey of 1,200 hobby gardeners, the top five tools that consistently improve efficiency and plant health are:

- Ergonomic Hand Trowel – Reduces wrist strain and provides precise soil control.
- Adjustable Pruning Shears – Ideal for clean cuts that promote faster healing.
- Soil pH Tester (digital) – Allows you to quickly adjust soil chemistry for optimal nutrient uptake.
- Watering Wand with Adjustable Flow – Delivers gentle, even moisture to delicate seedlings.
- Garden Kneeler/Seat Combo – Offers comfort for long planting sessions and doubles as a tool organizer.
Investing in these tools not only speeds up routine tasks but also reduces the risk of plant damage, leading to higher yields and healthier foliage.

Step‑by‑Step Guide to Growing Juicy Tomatoes
1. Soil Preparation (Day 1)
Data insight: Tomato plants thrive in soil with a pH of 6.2–6.8 and a texture that retains moisture while draining excess water. A soil test from the University of California Agriculture Extension shows a 78% success rate when these parameters are met.

- Use your digital pH tester to check the current level.
- If the pH is low, mix in
1 tbsp lime per 10 sq ft. If it’s high, add1 tbsp elemental sulfur per 10 sq ft. - Incorporate 2 inches of compost and 1 inch of aged manure to improve organic matter.
- Loosen the soil to a depth of 12 inches with the ergonomic hand trowel, creating a crumbly texture that encourages root expansion.
2. Planting the Seedlings (Day 2)
- Space each seedling 24–30 inches apart to ensure adequate airflow—reducing fungal disease risk by up to 45% according to the American Phytopathological Society.
- Dig a hole twice as deep as the root ball, place the seedling, and backfill with a mix of native soil and compost.
- Press gently around the base to eliminate air pockets, then water lightly with the watering wand set to a fine mist.
3. Feeding & Mulching (Week 1–2)
Tomatoes are heavy feeders. A data‑driven fertilization schedule shows a 30% increase in fruit size when using a balanced 10‑10‑10 fertilizer every 4 weeks.

- Apply
1 tbsp fertilizer per plantaround the root zone, avoiding direct contact with stems. - Lay a 2‑inch layer of straw mulch to retain moisture, suppress weeds, and regulate soil temperature.
4. Pruning & Staking (Weeks 3–4)
- Use adjustable pruning shears to remove the “suckers” (side shoots) that appear in the leaf axils. This directs energy to fruit production.
- Insert a sturdy tomato cage or stake at planting time; a study from North Carolina State University indicates that early staking reduces stem breakage by 60%.
5. Ongoing Care & Harvest (Weeks 5–12)
- Monitor soil moisture daily; aim for a consistent 1‑inch depth of water.
- When fruits reach full color and feel firm, gently twist to harvest. Regular picking encourages the plant to set more fruit.
DIY Irrigation Solutions for Stress‑Free Plant Care 🌿⏱️
Why DIY Irrigation?
According to a 2023 USDA report, home gardeners who automate watering save an average of 30 minutes per week and reduce water waste by 25%. The following low‑cost setups can be built with items you likely already have.
1. The Bottle Drip System (Ideal for Small Beds)
- Gather a 2‑liter plastic bottle, a small nail, and a piece of garden twine.
- Poke 5–7 holes (≈2 mm) evenly spaced around the bottle’s neck using the nail.
- Bury the bottle upside‑down, neck up, about 2 inches deep near the plant’s base.
- Fill the bottle with water; the slow drip will keep the root zone moist for 2–3 days.
- Tip: Add a few drops of liquid soap to reduce surface tension and improve flow.
2. Soaker Hose Loop (Perfect for Row Gardens)
- Purchase a 15‑meter soaker hose (≈$8) and a garden hose connector.
- Lay the hose in a gentle “U” shape around each plant row, ensuring the hose contacts the soil directly.
- Connect the hose to a timer set to water for 15 minutes every morning.
- Adjust flow by partially covering sections with a garden brick to target drier spots.
3. Rain Barrel & Gravity Feed (Sustainable for Larger Gardens)
- Install a 55‑gallon rain barrel beneath a downspout.
- Fit a simple float valve to control water release.
- Run a ½‑inch PVC pipe from the barrel to a drip‑line network positioned at the base of each plant.
- Set the float valve to release water when the barrel reaches 80% capacity, ensuring a steady, low‑pressure flow.
Data from the National Water Conservation Association shows that gravity‑fed systems can cut household water use for gardening by up to 40%.

Maintenance Checklist
- Check for clogged emitters weekly; a quick flush with a garden hose restores flow.
- Inspect hoses for cracks after winter; replace any damaged sections to prevent leaks.
- Adjust timer settings seasonally—shorter cycles in cooler months, longer in peak summer.
Putting It All Together: A Weekly Routine
Combining the right tools, a data‑backed planting plan, and a DIY irrigation system creates a seamless workflow. Here’s a concise weekly checklist to keep your garden thriving:
- Monday: Test soil pH and adjust if needed.
- Tuesday: Inspect irrigation (bottle drips, soaker hoses, or barrel flow).
- Wednesday: Prune suckers and check plant supports.
- Thursday: Apply fertilizer and mulch fresh layers.
- Friday: Harvest ripe produce and record yields (helps refine future planting cycles).
- Weekend: Perform a quick visual pest check and enjoy the garden!
By following this routine, you’ll not only reduce daily stress but also gather valuable data—like yield per plant and water usage—that can be used to fine‑tune future seasons.
Final Thoughts
Gardening doesn’t have to be a time‑consuming chore. With the right ergonomic tools, a clear, data‑driven planting strategy for tomatoes, and a simple DIY irrigation setup, you’ll enjoy healthier plants, higher yields, and more free time to savor the fruits of your labor. Remember to keep track of what works—soil pH, watering intervals, and pruning dates—and let those numbers guide your next garden project. Happy planting!


