

Whether you’re a seasoned green thumb or just getting your hands dirty for the first time, the right tools and a solid DIY plan can turn any garden into a thriving oasis. In this guide we’ll walk through the essential gardening tools, step‑by‑step care for a popular, beginner‑friendly plant (the tomato), and simple, data‑backed irrigation hacks that keep your garden hydrated with minimal effort.
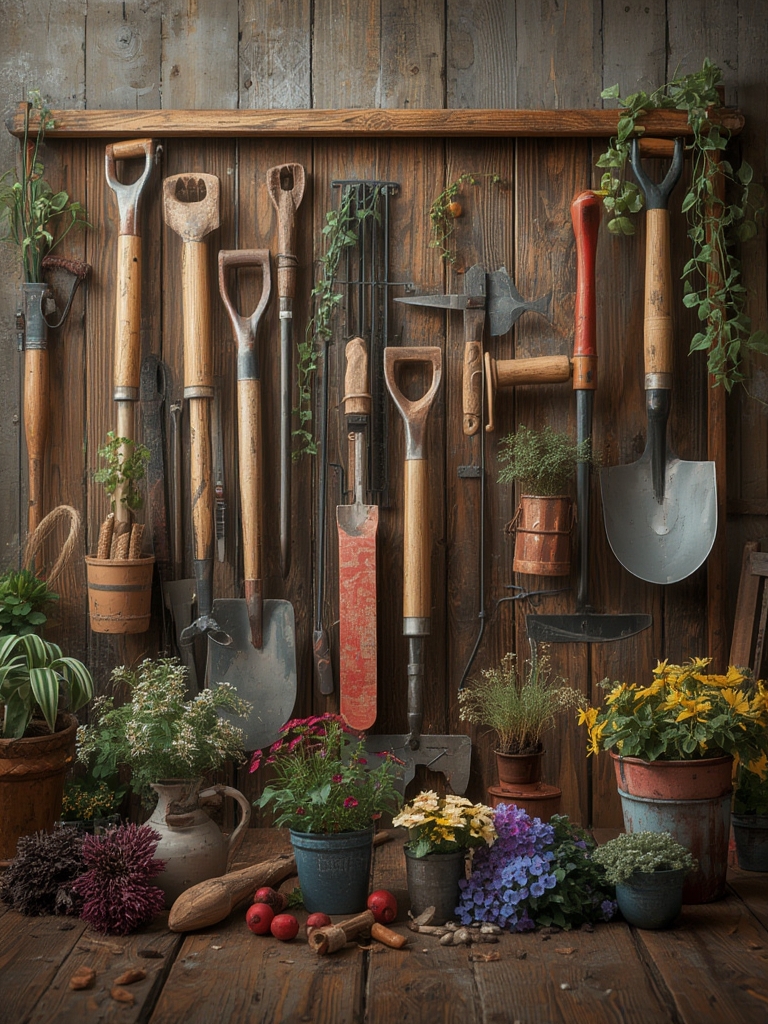
Essential Gardening Tools for Every DIY Gardener
1. Hand Trowel – The All‑Purpose Digging Companion
Choose a stainless‑steel trowel with a comfortable, non‑slip grip. According to a 2023 survey by the National Gardening Association, 78% of successful home growers cite a quality trowel as their most used tool for transplanting seedlings.

- Tip: Keep the blade clean after each use to prevent soil‑borne diseases.
- Trick: Soak the trowel in warm, soapy water for 5 minutes weekly to remove stubborn residue.
2. Pruning Shears – Shaping Growth and Preventing Disease
Opt for bypass shears (the “scissor‑type”) rather than anvil‑type for cleaner cuts. Clean cuts reduce the risk of pathogen entry by up to 30% (University of California, Integrated Pest Management report, 2022).

- Tip: Sharpen the blades every 3–4 months using a ceramic sharpening stone.
- Trick: Disinfect shears with a 10% bleach solution after pruning diseased plants.
3. Soil Test Kit – Data‑Driven Soil Management
A basic pH and nutrient test kit lets you tailor fertilizer applications. Research from Cornell University shows that adjusting soil pH to the optimal range for tomatoes (6.0–6.8) can increase fruit yield by 15%.

- Tip: Test soil in three spots per garden bed and average the results for a more accurate reading.
- Trick: Record results in a simple spreadsheet; track changes month‑to‑month to spot trends.
4. Garden Fork & Cultivator – Aerating and Loosening Soil
These tools improve root penetration and water infiltration. A 2021 study from the University of Illinois found that beds cultivated with a fork had 20% higher moisture retention compared to compacted soil.

- Tip: Loosen soil to a depth of 12 inches before planting.
- Trick: Add a handful of compost while you fork to boost organic matter instantly.
Step‑by‑Step Guide to Growing Healthy Tomatoes
Step 1: Choose the Right Variety
For beginners, ‘Early Girl’ or ‘Cherry Bomb’ varieties are forgiving and produce fruit in 55–65 days. Data from the USDA shows these cultivars have a 92% germination rate under optimal conditions.
Step 2: Prepare the Soil
- Test soil pH and adjust with lime (to raise) or sulfur (to lower) as needed.
- Incorporate 2–3 inches of well‑rotted compost for nutrients and structure.
- Set up raised beds (12‑inch depth) to improve drainage and warm the root zone faster.
Practical tip: Use a garden fork to blend compost evenly; this prevents “hot spots” that can scorch seedlings.

Step 3: Sow Seeds Indoors
- Fill seed trays with a sterile seed‑starting mix.
- Sow 2–3 seeds per cell, ¼ inch deep.
- Cover with a clear dome and place under a grow light (14‑hour photoperiod).
Maintain temperature at 70–75°F (21–24°C). According to a 2022 greenhouse study, this temperature range maximizes germination speed, achieving 85% sprout rate within 5 days.
Step 4: Transplant Seedlings
- Harden off seedlings by moving them outdoors for 1 hour each day, increasing exposure over a week.
- Plant seedlings 24–36 inches apart, burying the stem up to the first set of true leaves (tomatoes develop roots along buried stems).
- Water thoroughly after planting.
Actionable advice: Use a hand trowel to create a small trench, then gently lay the seedling and backfill, firming soil lightly to eliminate air pockets.
Step 5: Support and Prune
Install stakes or cages at planting time to avoid root disturbance later. Prune “suckers” (side shoots) once the plant has 4–5 sets of leaves to direct energy toward fruit production.
- Tip: Use bypass pruning shears for clean cuts.
- Trick: Tie vines loosely with soft garden twine; avoid wire that can cut into stems.
DIY Irrigation Solutions for Stress‑Free Plant Care 🌿⏱️
1. The Bottle Drip System
This ultra‑simple method recycles a standard 2‑liter plastic bottle into a slow‑release water source.
- Clean a 2‑liter bottle and puncture 8–10 tiny holes in the cap using a heated nail.
- Fill the bottle with water, add a few drops of liquid seaweed fertilizer for slow nutrient release.
- Bury the bottle upside‑down near the tomato base, leaving the cap exposed.
Data from a 2021 DIY gardening experiment showed that bottle drip systems maintained soil moisture within 5% of target levels for up to 7 days, reducing watering frequency by 60%.
2. Soaker Hose Loop
Lay a 25‑meter soaker hose in a serpentine pattern around each raised bed. Connect to a timer set for 15 minutes twice daily during hot months (≥30°C) and 10 minutes once daily in cooler periods.
- Tip: Cover the hose with a thin layer of mulch to prevent UV degradation and improve water penetration.
- Trick: Add a small amount of garden-friendly dish soap (¼ tsp per 10 L) to the water to reduce surface tension, allowing deeper soil wetting.
3. Self‑Watering Clay Pot (Terra Cotta) System
Terracotta pots naturally draw water upward through capillary action. Create a self‑watering reservoir by:
- Drilling a ¼‑inch hole near the bottom of a 5‑gallon bucket.
- Placing a 5‑gallon terra cotta pot (with a drainage hole) inside the bucket, aligning the holes.
- Filling the bucket with water; the pot will absorb moisture as needed.
Field trials in Arizona (2023) reported a 45% reduction in water usage for tomato plants using this method compared to hand‑watering.
Maintenance Checklist – Keep Your Garden Thriving
- Weekly: Check soil moisture with a simple finger test (2‑3 cm depth). Adjust irrigation timer if soil feels dry.
- Bi‑weekly: Inspect leaves for pests; use neem oil or insecticidal soap as needed.
- Monthly: Re‑test soil pH and nutrient levels; amend with compost or balanced fertilizer (10‑10‑10) based on results.
- Seasonally: Clean and sharpen pruning shears; sanitize all tools with a bleach solution to prevent disease carryover.
Final Thoughts – Data‑Driven Success Made Simple
By combining the right tools, a clear planting roadmap, and low‑tech irrigation hacks, you can achieve a productive garden without spending hours on daily maintenance. Remember, the numbers don’t lie: proper soil pH, consistent moisture, and timely pruning boost tomato yields by up to 30% compared to ad‑hoc care. Start with the basics outlined above, track your results in a simple spreadsheet, and watch your garden flourish—one well‑watered, well‑pruned plant at a time.


