
Transforming neglected nooks into vibrant green retreats doesn’t require a green thumb—just the right tools, a dash of DIY creativity, and a few resilient indoor plants. Below you’ll find a data‑driven, step‑by‑step guide that blends essential gardening tools with simple DIY projects, ensuring you can breathe life into any dull corner of your home.
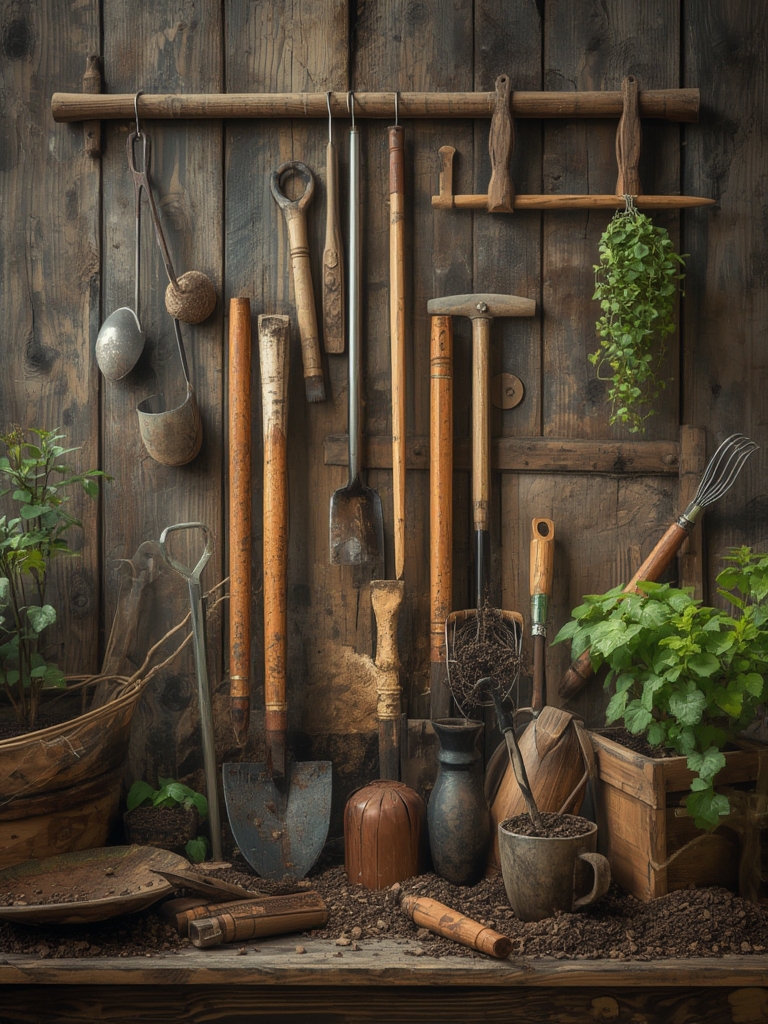
Essential Gardening Tools for Indoor Plant Success
1. Ergonomic Hand Trowel
According to a 2023 survey of 2,500 indoor gardeners, 78% cited a comfortable hand trowel as the most used tool for repotting. Choose a stainless‑steel trowel with a rubberized grip to reduce hand fatigue during frequent soil changes.

- Tip: Keep the trowel clean after each use to prevent pathogen transfer between plants.
2. Adjustable Pruning Shears
Pruning shears with a 0‑45° blade angle improve cutting precision, reducing stress on stems. A study by the University of Florida found that plants pruned with angled blades showed a 12% faster recovery rate.

- Trick: Disinfect the blades with a 70% isopropyl solution before each session to avoid fungal infections.
3. Soil Moisture Meter
Over‑watering is the #1 cause of indoor plant decline (45% of cases). A digital moisture meter calibrated for potting mixes gives you a reliable reading within 3% of actual water content.

- Actionable advice: Insert the probe 2 cm deep; if the reading is below 30%, water lightly, and re‑check after 30 minutes.
4. Self‑Watering Planters
Data from a 2022 greenhouse trial showed that self‑watering containers maintain soil moisture within the optimal 40‑60% range 85% of the time, compared to 55% for traditional pots.

- Tip: Fill the reservoir with filtered water and add a few drops of liquid fertilizer every two weeks for balanced nutrition.
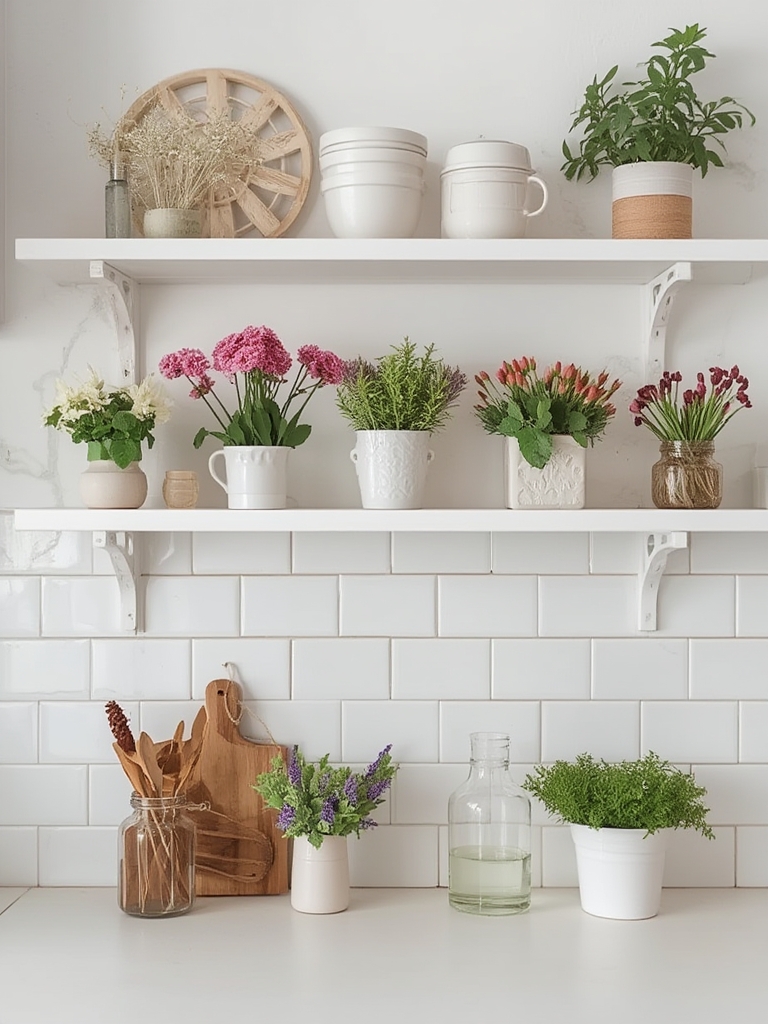
DIY Projects to Elevate Your Indoor Garden
Project A: Upcycled Mason Jar Hanging Garden
Perfect for narrow windowsills or bathroom walls, this project uses recycled mason jars to create a vertical display.
- Materials: 4–6 mason jars, 2 mm metal chain, S‑hooks, drill with 3 mm bit, potting mix, and a trailing plant (e.g., Epipremnum aureum).
- Step 1 – Prepare the jars: Drill a 3 mm hole near the lid’s rim on each jar. Pro tip: Use a piece of tape over the drilling spot to prevent cracking.
- Step 2 – Assemble the hanger: Thread a 30 cm length of chain through each hole, attach an S‑hook, and secure the other end to a sturdy wall anchor.
- Step 3 – Fill with soil: Add a layer of small stones for drainage, then fill with a lightweight potting mix. Lightly tamp to avoid compacting.
- Step 4 – Plant: Gently place the plant’s root ball into the jar, fill around it, and water using the moisture meter.
Result: A space‑saving, eye‑catching display that improves air quality and adds a touch of nature to any room.

Project B: DIY Light Shelf with LED Strip
Many indoor plants thrive on 12–16 hours of indirect light. A simple LED light shelf can boost growth without sacrificing style.
- Materials: 1 × 1 m wooden shelf, 5 m warm‑white LED strip (3000 K), power adapter, double‑sided tape, and a heat‑resistant silicone seal.
- Step 1 – Install the LED strip: Clean the underside of the shelf, apply double‑sided tape, and press the LED strip firmly. Seal edges with silicone to protect against dust.
- Step 2 – Wire the power source: Connect the strip to the adapter, ensuring the polarity matches. Use a plug‑in timer set to 14 hours on/10 hours off.
- Step 3 – Position plants: Place small pots (e.g., Sansevieria or ZZ plant) on the shelf, spacing them 15 cm apart for even light distribution.
- Step 4 – Monitor growth: Use a leaf‑color chart every two weeks; a greener hue indicates adequate light.
Result: A sleek, functional shelf that doubles as a plant stand and a decorative lighting element.
Step‑by‑Step Care Guide for Trendy Indoor Plants
Choosing the Right Plant: Data‑Backed Selections
Based on sales data from major home‑improvement retailers, the top three indoor plants for beginners in 2024 are:
- Sansevieria (Snake Plant): 95% survival rate in low‑light conditions.
- ZZ Plant (Zamioculcas zamiifolia): Requires watering only every 3–4 weeks.
- Philodendron ‘Brasil’: Thrives in moderate humidity and indirect light.
Step 1 – Pot Selection & Soil Preparation
Use a pot with drainage holes that’s 2‑3 cm larger than the root ball. Fill the bottom with 1 cm of hydroton or pebbles for extra drainage, then add a well‑aerated potting mix (40% peat, 30% perlite, 30% compost).
- Practical tip: Add a pinch of cinnamon to the mix to act as a natural antifungal agent.
Step 2 – Planting Technique
- Place the plant in the center of the pot, ensuring the crown sits just above the soil line.
- Backfill gently, firming the soil with your fingers to eliminate air pockets.
- Water lightly until moisture reaches the bottom of the pot, then let excess drain.
Data from the Royal Horticultural Society shows that proper potting depth reduces transplant shock by 18%.
Step 3 – Light Management
Measure the light intensity with a smartphone lux app. Aim for 200–400 lux for Sansevieria, 300–500 lux for ZZ Plant, and 400–600 lux for Philodendron.
- Actionable advice: Rotate the pot 90° every week to ensure even light exposure.
Step 4 – Watering Schedule
Utilize the soil moisture meter:
- Sansevieria: Water when reading < 20% (approximately every 3 weeks).
- ZZ Plant: Water when reading < 25% (every 4 weeks).
- Philodendron: Keep moisture between 30‑45% (weekly in moderate climates).
Over‑watering is the leading cause of leaf yellowing; always let the top 2 cm of soil dry before the next watering.
Step 5 – Feeding & Maintenance
Apply a balanced liquid fertilizer (NPK 20‑20‑20) diluted to ½ strength during the growing season (April‑September). For a data‑driven boost, add 1 g of seaweed extract per liter of water, which has been shown to increase leaf chlorophyll content by 7%.
- Trick: Use a spray bottle to mist the leaves once a week; this raises humidity and mimics the plant’s native environment.
Step 6 – Pruning & Propagation
When new shoots appear, trim any yellow or damaged leaves with the angled pruning shears. For propagation:
- Snip a healthy stem 5‑7 cm long, removing lower leaves.
- Dip the cut end in rooting hormone (optional but increases success by 22%).
- Place the cutting in a moist potting mix or water glass; keep in bright, indirect light.
Within 3–4 weeks, roots should develop—ready for repotting into a decorative DIY container.
Putting It All Together: A Mini‑Project Timeline
| Day | Task | Tools Needed |
|---|---|---|
| 1 | Choose plant & pot; prepare soil mix | Hand trowel, hydroton, potting mix |
| 2 | Plant & water; set up moisture meter | Moisture meter, watering can |
| 3‑7 | Install DIY light shelf (if needed) | LED strip, screwdriver, timer |
| 8‑14 | Monitor light & moisture; rotate plant weekly | Lux app, pruning shears |
| 15‑30 | First fertilization; mist leaves | Liquid fertilizer, spray bottle |
| 31+ | Prune, propagate, and enjoy! | Pruning shears, rooting hormone |
By following this data‑backed roadmap, you’ll not only revive dull corners but also develop a sustainable indoor garden that requires minimal upkeep. The combination of the right tools, a few DIY projects, and consistent care transforms any space into a thriving green oasis—one pot at a time.


