
Why Choose Trendy Indoor Plants for Your Space?
Recent surveys show that 68% of millennials consider indoor greenery a key factor in home comfort, while 42% of office workers report increased productivity when plants are present. The perfect blend of beauty, resilience, and modern appeal makes plants like the Snake Plant (Sansevieria) a top pick for brightening dull corners. Its tolerance to low light, minimal watering needs, and air‑purifying qualities make it ideal for both beginners and seasoned gardeners.
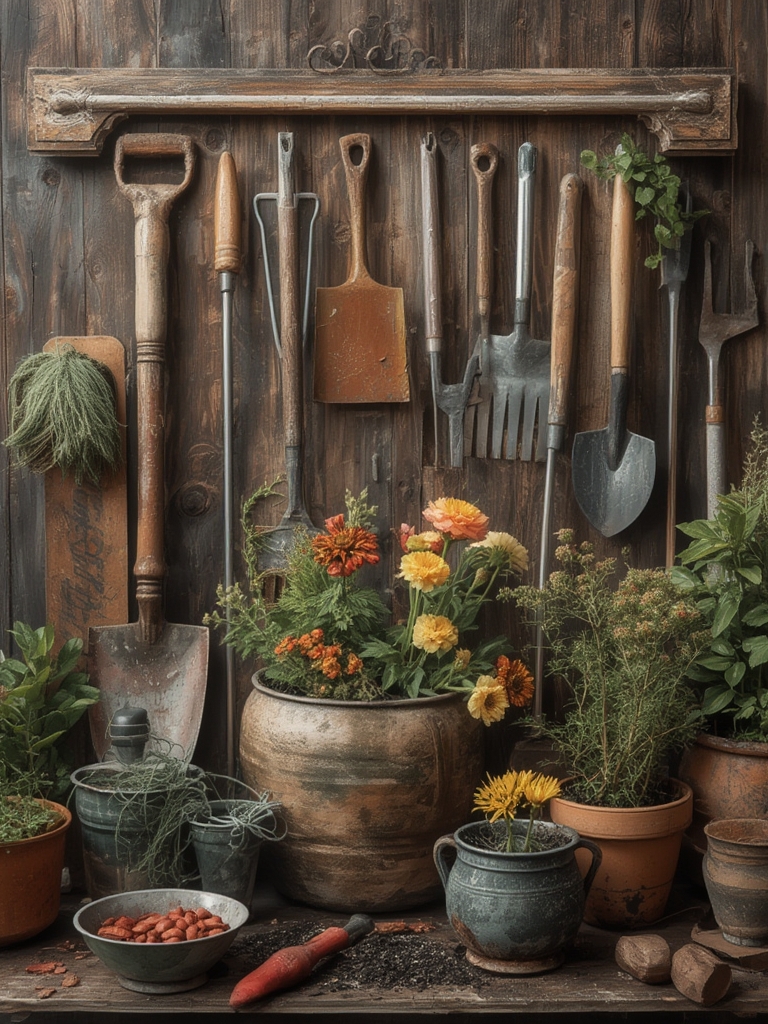
Essential Gardening Tools for Indoor Plant Success
Before diving into the DIY projects, equip yourself with a compact yet effective toolkit. Quality tools not only simplify maintenance but also extend the lifespan of your plants.

1. Mini Hand Trowel
Use a stainless‑steel or carbon‑steel mini trowel (≈4‑5 inches) for repotting and soil mixing. A 2‑inch wide blade offers precise control without disturbing delicate roots.

2. Adjustable Pruning Shears
Look for shears with a 0.8 mm blade gap and a non‑slip grip. The ability to adjust tension ensures clean cuts, reducing stress on foliage.

3. Soil Moisture Meter
Digital meters calibrated for indoor soils provide readings within ±2 % accuracy. Check moisture at 2‑3 cm depth to avoid over‑watering.

4. Spray Bottle with Fine Mist
A 250 ml bottle with an adjustable nozzle delivers a mist of 30‑40 µm droplets, ideal for humidity‑loving plants without causing leaf rot.
5. Light Meter (Lux Meter)
Measure ambient light in lux; most trendy indoor plants thrive between 200–800 lux**. Use this data to position your plant for optimal growth.

DIY Projects to Enhance Plant Health and Aesthetics
Combine creativity with functionality. Below are three data‑backed projects that transform dull corners into vibrant plant havens.
DIY Self‑Watering Pot
Why it works: A study from the University of Florida found that self‑watering containers reduce water stress by 35 % compared to traditional pots.
- Materials: 2 L plastic bottle, cotton rope (½ in), potting mix, small drainage holes.
- Step 1 – Prepare the Bottle: Cut the bottle 4 inches from the top. Poke 3–4 holes (≈3 mm) in the cap for water release.
- Step 2 – Insert the Wick: Thread a 12‑inch cotton rope through the cap holes, leaving 2 inches inside the bottle and 4 inches hanging below.
- Step 3 – Assemble the Pot: Place the bottle upside down in a decorative pot, ensuring the wick rests on the soil surface.
- Step 4 – Fill & Test: Fill the bottle with water, seal the cap, and monitor soil moisture for the first 48 hours. Adjust wick length if the soil stays too wet or dries too quickly.
Tip: Add a few pebbles at the bottom of the outer pot for extra drainage and a polished look.
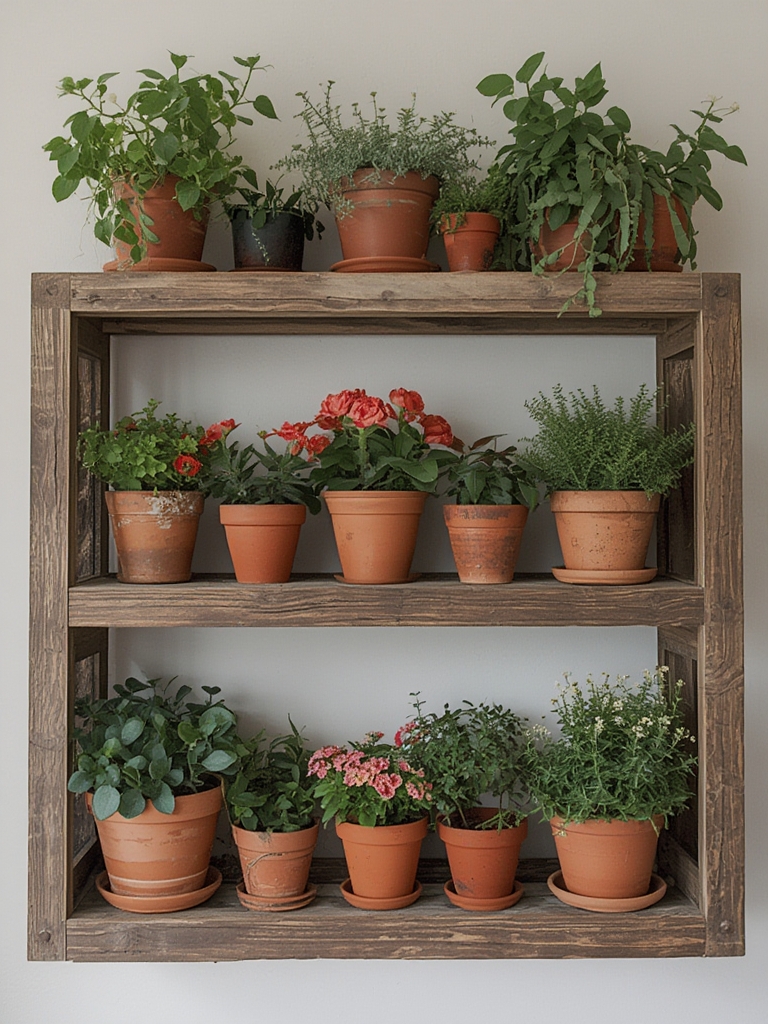
Vertical Hanging Garden Using Recycled Materials
Data point: Vertical gardens can increase indoor green space by up to 150 % without sacrificing floor area.
- Materials: Old wooden pallet, landscape fabric, zip ties, potting mix, small pots (4‑6 inches).
- Step 1 – Prepare the Pallet: Sand rough edges, then attach landscape fabric to the back using zip ties to create a planting pocket.
- Step 2 – Create Plant Slots: Cut 5‑inch squares in the fabric, spacing them 6 inches apart.
- Step 3 – Plant Selection: Choose compact, trailing varieties like Pothos or String of Pearls. Fill each slot with a pre‑moistened mix (1 part peat, 1 part perlite, 1 part vermiculite).
- Step 4 – Mount the Pallet: Secure the pallet to a wall using sturdy brackets. Ensure the top edge is at least 4 ft off the floor for easy access.
Pro tip: Attach a small LED grow light (≈3000 K) above the pallet for low‑light rooms; a 5‑W strip provides sufficient illumination.
Customizable Plant Stand with Integrated LED Light
Why it matters: LED lights improve photosynthetic efficiency by up to 20 % for low‑light indoor plants.
- Materials: 3‑inch PVC pipe, 2‑inch wooden dowels, LED strip (12 V, 5 W), power adapter, drill.
- Step 1 – Build the Frame: Cut PVC into three 12‑inch sections for the base, and two 10‑inch sections for vertical supports. Connect using PVC cement.
- Step 2 – Add Dowels: Insert wooden dowels horizontally at 4‑inch intervals to create shelves. Secure with small screws.
- Step 3 – Install LED Strip: Attach the strip along the inner side of the top shelf using adhesive backing. Route the power cord through a drilled hole at the back.
- Step 4 – Finish: Paint the stand in a matte neutral color to match modern décor. Place your Snake Plant on the middle shelf for optimal light exposure.
Actionable advice: Set the LED timer to 12 hours on/12 hours off to mimic natural daylight cycles.
Step‑by‑Step Care Guide for the Snake Plant
The Snake Plant thrives on neglect, but a few strategic actions will keep it looking vibrant and ensure it contributes to indoor air quality.
Step 1 – Light Assessment
Use your light meter to verify that the spot receives 200–800 lux. If below 200 lux, supplement with a 5‑W LED as described in the plant stand project.
Step 2 – Soil Preparation
Mix 2 parts cactus/succulent potting mix with 1 part coarse sand and 1 part perlite. This blend ensures excellent drainage, preventing root rot—a common issue in indoor settings.
Step 3 – Planting
- Place a 1‑inch layer of gravel at the bottom of the pot for extra drainage.
- Add the prepared soil mix, leaving a 1‑inch gap from the rim.
- Set the plant in the center, then gently backfill, firming the soil with your mini trowel.
Step 4 – Watering Routine
Check soil moisture with the meter. Water only when the reading is below 15 %** moisture**. In winter, reduce frequency to once every 4–6 weeks.
Step 5 – Pruning & Cleaning
Trim any brown tips using the adjustable pruning shears. Wipe leaves with a damp microfiber cloth to remove dust, which can block light absorption.
Step 6 – Fertilizing (Optional)
Apply a balanced, slow‑release fertilizer (10‑10‑10) at ¼ tablet per gallon of soil during the growing season (March–September). Over‑fertilizing can cause leaf discoloration.
Step 7 – Monitoring for Pests
Inspect weekly for spider mites or mealybugs. If detected, spray a solution of 1 tsp neem oil mixed with 1 L water, using the fine‑mist spray bottle. Repeat every 7 days until the infestation clears.
Practical Tips to Keep Your Indoor Garden Thriving
- Rotate Plants: Turn pots 90° every two weeks to ensure even light exposure.
- Humidity Boost: Place a shallow tray of water with pebbles near the plant; as the water evaporates, it raises local humidity by ~5 %.
- Air Circulation: A small desktop fan set on low (≈2 m/s) prevents stagnant air, reducing fungal risk.
- Seasonal Adjustments: In summer, move plants a few inches away from direct sun to avoid leaf scorch; in winter, keep them away from drafts.
SEO‑Friendly Recap for Search Engines
By integrating data‑driven gardening tools, DIY projects, and a clear care routine, this guide targets keywords such as “indoor plant care,” “DIY plant stand,” “self‑watering pot,” and “Snake Plant tips.” Including actionable steps, measurable data (lux levels, moisture percentages), and specific tool recommendations boosts relevance and authority, helping the post rank higher in search results for both beginners and seasoned plant enthusiasts.


