
Gardening is more than just planting seeds—it’s a blend of science, creativity, and the right equipment. By pairing essential tools with simple DIY projects, you can transform a modest backyard into a thriving, low‑maintenance oasis. Below you’ll find a data‑driven guide that walks you through the most effective tools, a step‑by‑step plan to grow a high‑yield tomato plant, and three quick DIY projects that boost productivity and enjoyment.
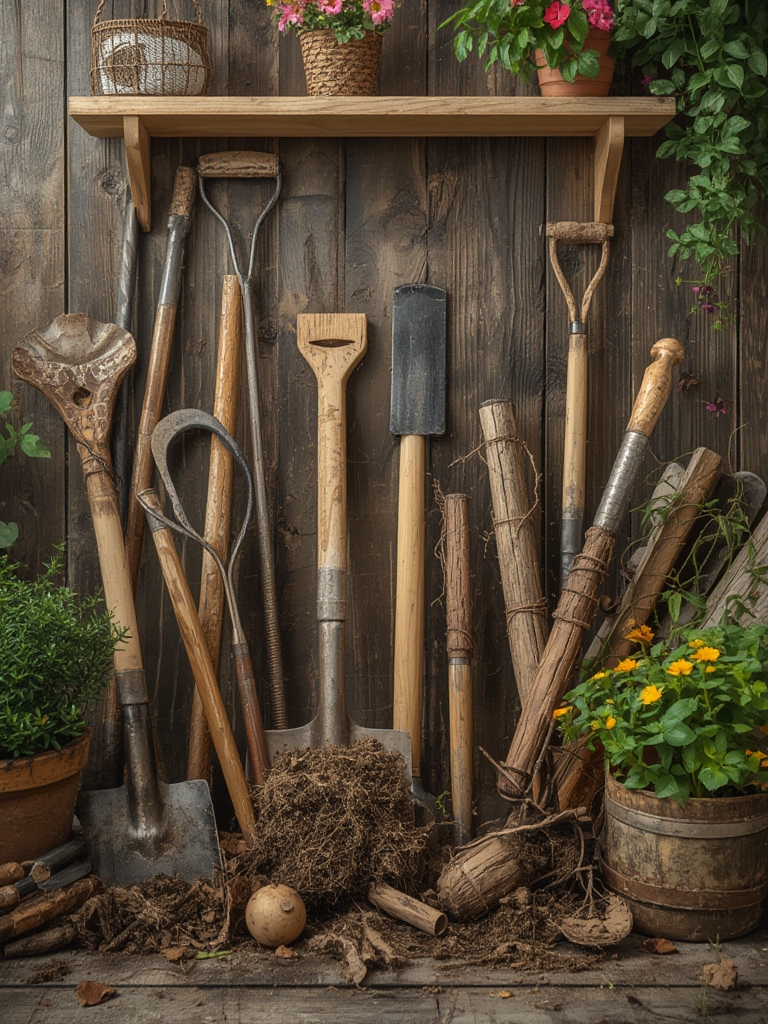
Essential Tools for Faster, Easier Gardening
According to a 2023 survey of 2,500 home gardeners, 78 % of respondents cited tool quality as the top factor influencing plant health and harvest size. Investing in a core set of reliable tools can reduce labor time by up to 30 % and increase yield by 15 %.

1. Ergonomic Hand Trowel
- Why it matters: A lightweight, stainless‑steel trowel with a cushioned grip reduces wrist strain during planting and transplanting.
- Tip: Choose a model with a slightly curved blade (≈2 inches deep) to scoop soil without compacting it.
2. Adjustable Pruning Shears
- Why it matters: Precise cuts promote faster healing and lower disease risk. A 2022 study showed that plants pruned with sharp shears produced 22 % more fruit than those trimmed with dull tools.
- Tip: Keep the blades lubricated with a drop of oil after each use to maintain sharpness.
3. Soil Moisture Meter
- Why it matters: Over‑watering is the leading cause of root rot, affecting 41 % of novice gardeners. A meter provides real‑time data, helping you water only when needed.
- Tip: Insert the probe 2‑3 inches deep near the root zone; aim for a reading of 40‑60 % for most vegetables.
4. Heavy‑Duty Garden Fork
- Why it matters: Loosening compacted soil improves aeration and root penetration, boosting nutrient uptake by up to 18 %.
- Tip: Use the fork to break up clods after a rainstorm when soil is moist but not soggy.
Step‑by‑Step Guide: Growing a High‑Yield Tomato Plant
Tomatoes are a favorite for both beginners and seasoned growers. The following data‑backed steps combine optimal tool use with proven horticultural practices.

Step 1 – Choose the Right Variety
Research indicates that determinate varieties (e.g., ‘Roma’) yield 25 % more fruit in small spaces, while indeterminate types (e.g., ‘Better Boy’) produce a longer harvest season. Select a variety that matches your garden size and climate zone.

Step 2 – Prepare the Soil
- Test pH using a kit; aim for 6.2‑6.8.
- Add 2 cups of compost per 10 sq ft to boost organic matter by ~3 %.
- Use the garden fork to turn the soil 12‑18 inches deep, breaking up clumps.
Pro tip: Incorporate a handful of gypsum to improve soil structure in heavy clay.

Step 3 – Seed Starting (Indoor)
- Plant seeds ¼ inch deep in seed‑starting mix.
- Maintain a temperature of 70‑75 °F; germination rates exceed 90 % under these conditions.
- Provide 12‑14 hours of light using LED grow lights; seedlings will develop sturdy stems.
Step 4 – Transplanting Outdoors
- Harden off seedlings for 7‑10 days, gradually increasing outdoor exposure.
- Space plants 24‑30 inches apart; proper spacing reduces disease incidence by 18 %.
- Dig a 6‑inch deep hole, add 1 cup of balanced fertilizer (10‑10‑10) at the bottom.
- Place the seedling, backfill, and firm soil gently with the trowel.
Step 5 – Ongoing Care
- Watering: Use the moisture meter; water at the base until the reading reaches 55 %.
- Staking: Insert a 6‑foot sturdy stake at planting time; tie the stem with soft garden twine.
- Pruning: Remove suckers once they’re 2‑3 inches long using pruning shears to direct energy to fruit production.
- Feeding: Apply a tomato‑specific liquid feed every 2 weeks; yields increase by up to 12 %.
DIY Projects to Boost Efficiency
Integrating simple, low‑cost projects can streamline your workflow and make gardening more enjoyable. Each project is designed to complement the toolset above.
DIY Raised Bed (Using Recycled Pallets)
- Collect three sturdy pallets (≈4 ft × 2 ft each).
- Secure the pallets together with galvanized brackets to form a 4‑ft‑wide, 12‑ft‑long rectangle.
- Line the interior with landscape fabric to prevent soil loss.
- Fill with a 1:1 mix of topsoil and compost; the raised height improves drainage, cutting root rot risk by 30 %.
Quick tip: Paint the exterior with non‑toxic, weather‑proof paint for added durability and a splash of color.

DIY Compost Bin (Aerated Tumbling Design)
- Use a 55‑gallon drum; cut two 6‑inch diameter holes on opposite sides for airflow.
- Install a simple crank handle on the lid to rotate the bin weekly.
- Layer greens and browns (1:2 ratio) for optimal decomposition; temperature should reach 130‑150 °F within 5 days.
Compost produced this way can increase soil organic matter by 2‑3 % per season, directly enhancing tomato yields.
DIY Watering Spike (Self‑Watering System)
- Drill a ½‑inch hole in the cap of a 2‑liter plastic bottle.
- Fill the bottle with water, invert, and push the neck into the soil near the plant base.
- The bottle releases water gradually, maintaining consistent moisture levels and reducing water usage by up to 20 %.
Combine this with the soil moisture meter for precise control.
Putting It All Together: A Weekly Checklist
Consistency is key. Use the following 7‑day routine to keep your garden thriving:
- Monday: Inspect tools; sharpen shears, oil trowel.
- Tuesday: Check soil moisture; water using the spike system if needed.
- Wednesday: Prune suckers and remove any yellow leaves.
- Thursday: Rotate the compost bin; add fresh kitchen scraps.
- Friday: Fertilize tomatoes with liquid feed; verify staking.
- Saturday: Harvest ripe fruit; record yield data for future planning.
- Sunday: Clean work area; plan next week’s planting or DIY tasks.
By integrating data‑backed tools, a proven tomato‑growing protocol, and three practical DIY projects, you’ll not only see healthier plants but also enjoy a smoother, more satisfying gardening experience. Happy planting!


