
Flower gardening isn’t just about planting pretty blooms; it’s a strategic blend of science, design, and consistent care. By leveraging data‑driven decisions—soil pH levels, sunlight exposure, and watering schedules—you can create a thriving, low‑maintenance garden that transforms any outdoor space. Below is a step‑by‑step guide, packed with actionable tips, tricks, and layout ideas to help you grow vibrant flowers year after year.
1. Assess Your Site and Gather Data
Measure Sunlight Hours
Use a simple sunlight log: for one week, note the number of direct sun hours each spot receives. Most flowering plants thrive in 6–8 hours of direct sunlight, while shade‑loving varieties need 3–4 hours. Record the data in a spreadsheet to match plants to the right zones.
Test Soil pH and Nutrient Levels
Purchase an inexpensive soil test kit (≈$10) or send a sample to a local extension service. Ideal pH for most flowers ranges from 6.0 to 7.0. If the result falls outside this range, amend the soil:

- pH too low (acidic): Add garden lime at 5 lb per 100 sq ft.
- pH too high (alkaline): Incorporate elemental sulfur at 2 lb per 100 sq ft.
Note the nutrient levels (N‑P‑K) and plan a fertilization schedule accordingly.

Map Out Water Access
Identify the nearest water source and calculate the distance to each planting zone. For zones farther than 30 ft, consider installing a drip‑irrigation system—this reduces water waste by up to 30 % and delivers moisture directly to the root zone.

2. Design a Creative Flower Garden Layout
Choose a Garden Shape
Data from the American Horticultural Society shows that irregular, organic shapes attract 15 % more pollinators than strict geometric layouts. Try a “free‑form” design with gentle curves that follow the natural contours of your yard.
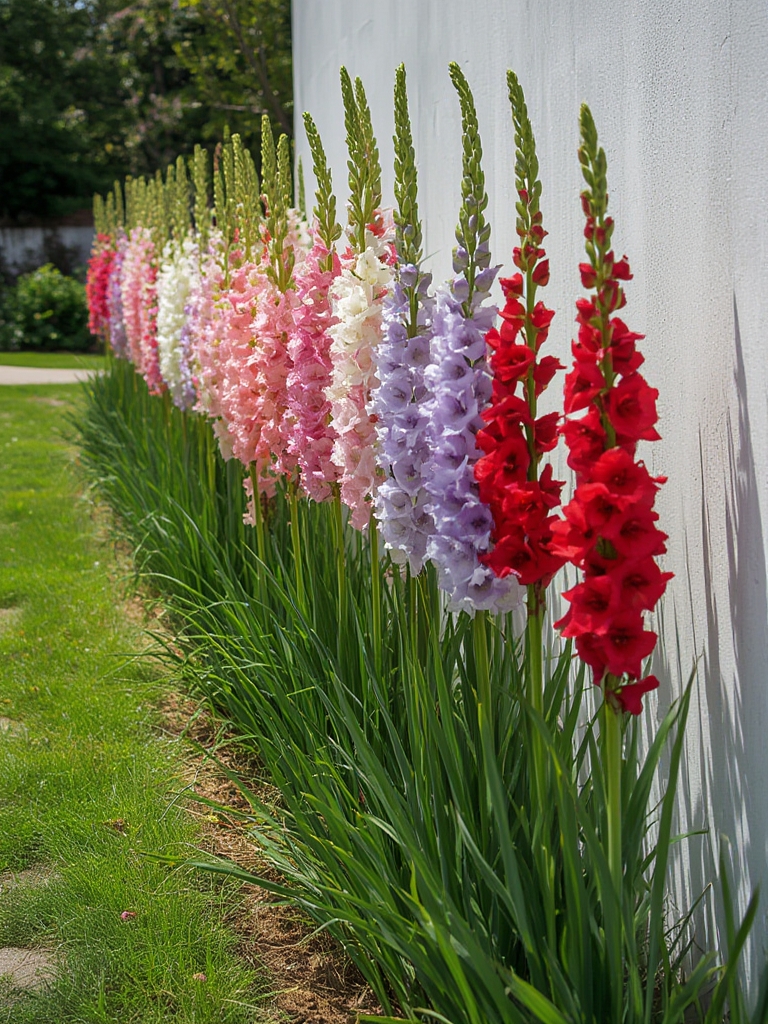
Layer by Height and Bloom Time
Arrange plants in three vertical tiers:

- Back layer (tallest, 4–6 ft): Sunflowers, Delphiniums, or Hollyhocks.
- Middle layer (2–4 ft): Coneflowers, Lavender, or Salvia.
- Front layer (ground‑cover, < 1 ft): Pansies, Dianthus, or creeping thyme.
Stagger bloom periods (early spring, mid‑summer, fall) to ensure continuous color. Use a spreadsheet to track each variety’s bloom window and place overlapping species together for a seamless display.
Incorporate Functional Elements
Integrate pathways (gravel or stepping stones) at 30 cm intervals to allow easy access for maintenance. Add a small seating nook or a birdbath to increase garden utility and attract wildlife, which in turn boosts pollination rates.
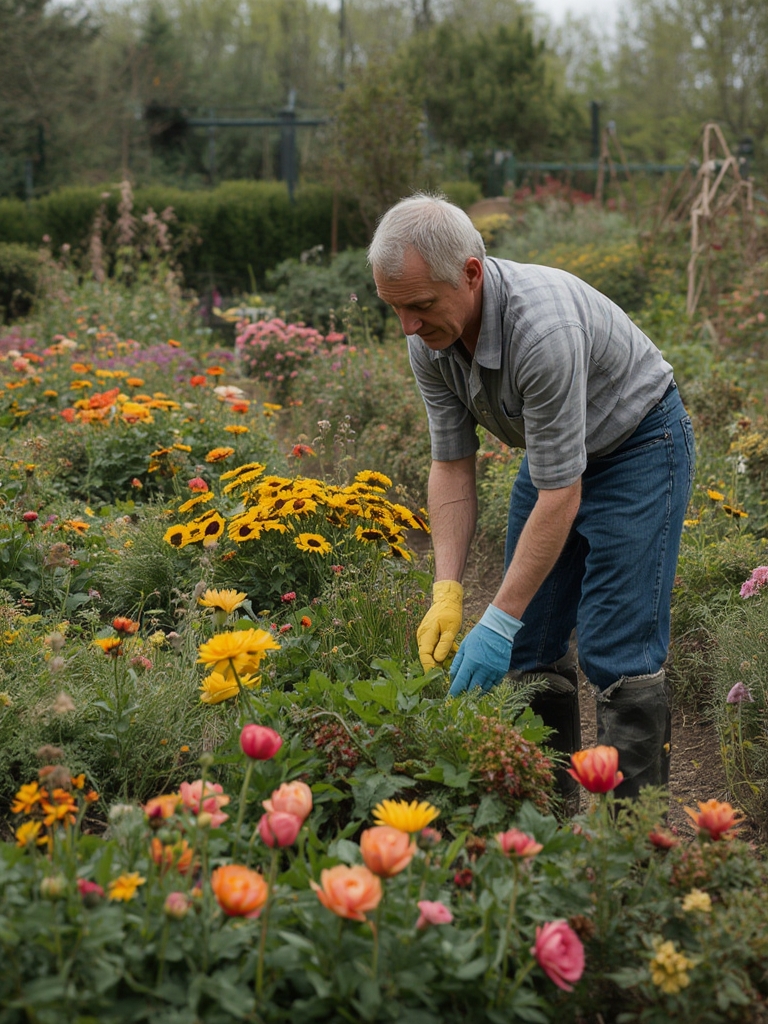
3. Prepare the Soil and Plant
Clear and Loosen the Bed
Remove weeds, rocks, and old mulch. Use a garden fork to loosen the soil to a depth of 12–15 cm. This improves root penetration and aeration.
Amend with Organic Matter
Mix in 2–3 inches of compost or well‑rotted manure. This raises organic content, improves water retention, and provides a slow release of nutrients—critical for consistent flower growth.
Planting Technique
Follow these steps for each plant:
- Dig a hole twice as wide as the root ball but no deeper.
- Place the plant at the same depth it was in its container; the crown should sit level with the soil surface.
- Backfill with native soil mixed with compost, firm gently to eliminate air pockets.
- Water thoroughly (about 5 liters per plant) to settle the soil.
For seedlings, space them according to the label—generally 30–45 cm apart for medium‑sized varieties.
4. Watering, Feeding, and Ongoing Care
Establish a Watering Schedule
Use the “finger test”: insert a finger 2 inches into the soil; if it feels dry, water. In the first two weeks after planting, aim for 2–3 times per week, adjusting for rainfall. Once established, reduce to once per week with deep soaking (≈10 minutes per drip line).
Fertilize Smartly
Apply a balanced, slow‑release fertilizer (10‑10‑10) at 0.5 lb per 100 sq ft in early spring. For heavy‑flowering varieties, supplement with a phosphorus‑rich bloom booster (e.g., 5‑10‑5) after the first flush of buds.
Mulch for Moisture Retention
Spread a 2–3 inch layer of organic mulch (shredded bark, straw, or pine needles). Mulch reduces evaporation by up to 50 % and suppresses weeds. Re‑apply annually in spring.
Prune and Deadhead
Regular deadheading (removing spent blooms) encourages repeat flowering. Use clean, sharp scissors to cut just above the first set of healthy leaves. For woody perennials, prune in late winter to shape and remove any dead wood.
5. Monitor, Adjust, and Celebrate Success
Track Growth Metrics
Maintain a garden journal—record dates of planting, watering, fertilizing, and any pest observations. Over time, you’ll identify patterns (e.g., a particular zone drying out faster) and can fine‑tune your care routine.
Integrated Pest Management (IPM)
When pests appear, first assess the severity. For minor infestations, use non‑chemical controls:
- Introduce beneficial insects (ladybugs, lacewings) by planting nectar‑rich herbs.
- Apply a neem oil spray (1 tsp per gallon) early morning or late evening.
Reserve chemical pesticides as a last resort, and always follow label instructions.
Celebrate with Seasonal Highlights
Plan a small “garden party” at the peak bloom of each season. This not only rewards your effort but also provides a visual benchmark for future improvements.
By following these data‑driven steps—assessing site conditions, designing with height and bloom time in mind, preparing soil correctly, and maintaining a disciplined care schedule—you’ll create a flower garden that not only looks stunning but also thrives with minimal ongoing effort. Happy planting!
