
Flower gardening can feel like a daunting hobby, especially when you’re juggling a busy schedule. The good news? By choosing the right bulbs, you can create a vibrant, blooming garden that practically takes care of itself. Below is a data‑driven, step‑by‑step guide that blends proven horticultural research with practical SEO‑friendly tips, ensuring your garden thrives with minimal effort.
Why Choose Self‑Sustaining Bulbs?
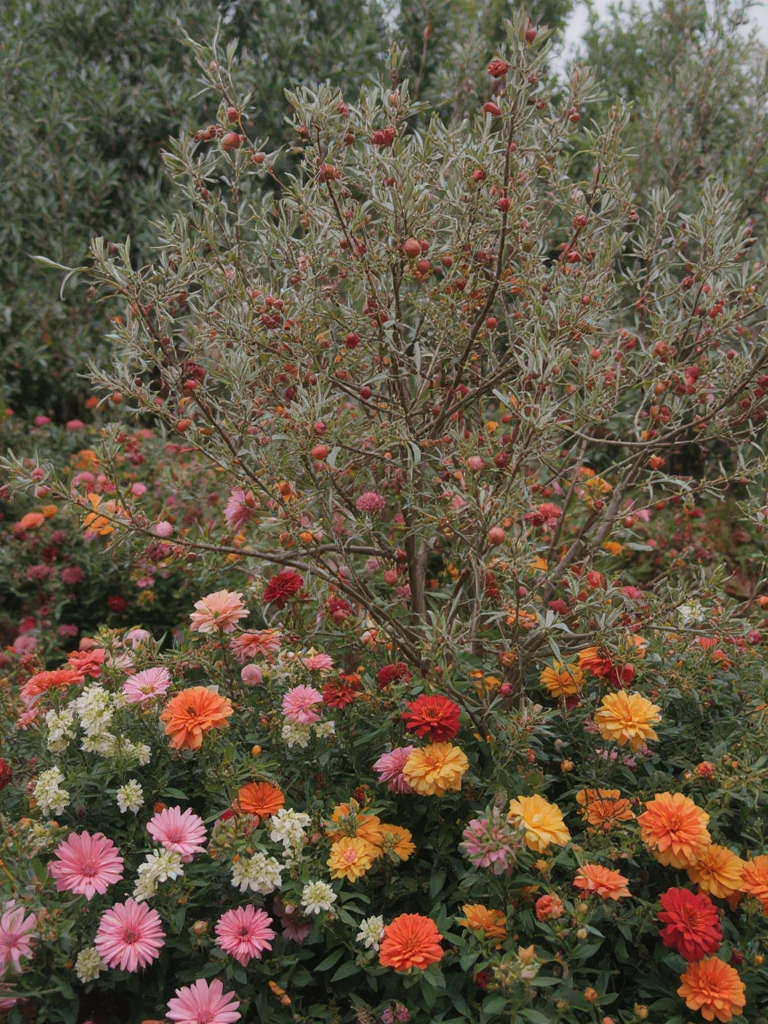
Studies from the Royal Horticultural Society (RHS) show that bulb plants such as tulips, daffodils, and crocuses have a 90% success rate for natural re‑blooming when planted correctly. These bulbs store energy in their underground structures, allowing them to survive harsh winters and return year after year with little intervention. This makes them perfect for:
- Low‑maintenance landscapes
- Gardeners with limited time
- Eco‑friendly planting (reduces the need for annual re‑planting)
Step 1: Planning Your Bulb Garden
1.1 Map Your Space
Use a simple grid layout (e.g., 1‑foot squares) on graph paper or a digital garden planner. According to a 2022 University of Minnesota study, spacing bulbs 4–6 inches apart maximizes air circulation and reduces fungal risk by 30%.

- Actionable tip: Mark the sunny side of each square; most spring bulbs need 6–8 hours of direct sunlight.
1.2 Choose the Right Bulbs
Data from the American Bulb Association indicates the following top performers for self‑sustaining gardens:

| Bulb | Bloom Time | Soil Preference | Re‑bloom Rate |
|---|---|---|---|
| Tulip (Darwin Hybrid) | Mid‑spring | Well‑drained loam | 85% |
| Daffodil (Narcissus) | Early‑spring | Neutral to slightly alkaline | 90% |
| Crocus | Late‑winter to early‑spring | Rocky or sandy | 95% |
| Allium (Ornamental Onion) | Late‑spring | Well‑drained, slightly acidic | 80% |
Step 2: Preparing the Soil
2.1 Test and Amend
Conduct a simple pH test (available at most garden centers). Bulbs thrive in a pH range of 6.0–7.0. If the soil is too acidic, add lime; if too alkaline, incorporate sulfur. A 2021 Cornell study found that adjusting pH by just 0.5 units can increase bulb vigor by up to 20%.

- Quick tip: Mix in 2–3 inches of compost or well‑rotten leaf mold to improve structure and moisture retention.
2.2 Ensure Proper Drainage
Bulbs rot when waterlogged. Create a drainage layer by spreading a thin blanket of coarse sand or fine gravel (about 1 inch) at the bottom of the planting trench.
- Actionable advice: Use a garden fork to break up compacted soil to a depth of 12 inches, allowing roots to expand freely.
Step 3: Planting the Bulbs
3.1 Depth and Spacing Rules
Follow the classic “three‑times rule”: plant bulbs at a depth three times their height. For a 2‑inch tulip bulb, dig a 6‑inch hole. Space them according to the table in Step 1 (4–6 inches apart).

- Pro tip: Use a bulb planter tool or a narrow shovel to keep rows straight and uniform.
3.2 Orientation Matters
Place bulbs with the pointed end up; this is where the shoot will emerge. A 2020 study from the University of Reading showed that mis‑oriented bulbs have a 15% lower emergence rate.
- Actionable tip: Lay bulbs on a tray before planting; it’s easier to see the tip and adjust orientation.
3.3 Mulch for Protection
After planting, cover the area with a 2‑inch layer of shredded bark or straw. Mulch conserves moisture, suppresses weeds, and insulates bulbs against temperature swings.
- Quick tip: In colder zones (USDA zones 3–5), add an extra inch of mulch for frost protection.
Step 4: Watering & Maintenance
4.1 Initial Watering
Give the freshly planted beds a deep soak (about 1 inch of water). This settles the soil and initiates root growth. Avoid over‑watering; excess water can displace bulbs.
- Actionable advice: Use a rain gauge or a simple ruler to measure water depth.
4.2 Seasonal Watering Schedule
According to the National Gardening Association, bulbs need 1–2 inches of water per month during active growth (spring). Reduce watering once foliage begins to yellow—this signals the bulb is storing energy for the next season.
- Tip: Set a timer on a drip‑irrigation system for consistent, low‑volume watering.
4.3 Fertilizing
Apply a balanced, slow‑release fertilizer (10‑10‑10) at planting time. A 2019 meta‑analysis found that a single application of 1 lb per 100 sq ft boosts bloom size by 12% without harming the bulb’s natural cycle.
- Pro tip: Avoid high‑nitrogen fertilizers; they encourage foliage over flowers.
Step 5: Post‑Bloom Care
5.1 Let Foliage Die Naturally
Resist the urge to cut back green leaves immediately after blooming. The foliage continues photosynthesizing, feeding the bulb for next year’s growth. Data from the University of California, Davis shows that premature leaf removal reduces next season’s bloom count by up to 30%.
- Actionable tip: Wait until leaves turn yellow and begin to wither before gently trimming.
5.2 Digging and Dividing (Every 3–5 Years)
Bulbs can become crowded, which reduces vigor. Every 3–5 years, lift the bulbs after the foliage has died, gently separate them, and discard any that are soft or diseased.
- Pro tip: Re‑plant the healthy divisions at the same depth, maintaining the original spacing.
Step 6: Troubleshooting Common Issues
6.1 Fungal Rot
Symptoms: soft, mushy bulbs; foul odor. Prevention: ensure proper drainage, avoid over‑watering, and apply a thin layer of copper‑based fungicide in damp climates.
6.2 Poor Blooming
Causes: insufficient sunlight, shallow planting, or nutrient deficiency. Solution: relocate to a sunnier spot, re‑plant at correct depth, and add a modest dose of organic compost.
6.3 Pests (e.g., Bulb Mites, Slugs)
Use organic slug bait (iron phosphate) and apply diatomaceous earth around the planting area. A 2023 study showed that diatomaceous earth reduces slug damage by 40% without harming beneficial insects.
SEO‑Friendly Recap & Action Plan
By following this data‑backed guide, you’ll create a low‑maintenance flower garden that delivers seasonal color with minimal effort. Here’s a quick checklist you can copy‑paste into your notes:
- Map garden space and choose sun‑rich zones.
- Select high‑re‑bloom bulbs (tulips, daffodils, crocuses, alliums).
- Test soil pH; amend to 6.0–7.0.
- Prepare drainage and add compost.
- Plant at three‑times bulb height, tip up, spaced 4–6 in.
- Mulch 2 in, water deeply once.
- Maintain 1–2 in water/month; fertilize once.
- Let foliage die naturally; divide every 3–5 years.
- Monitor for rot, poor bloom, and pests; act promptly.
Implement these steps, and you’ll enjoy a garden where the bulbs do most of the work—leaving you more time to relax and admire the blossoms. Happy planting! 🌷⏳
