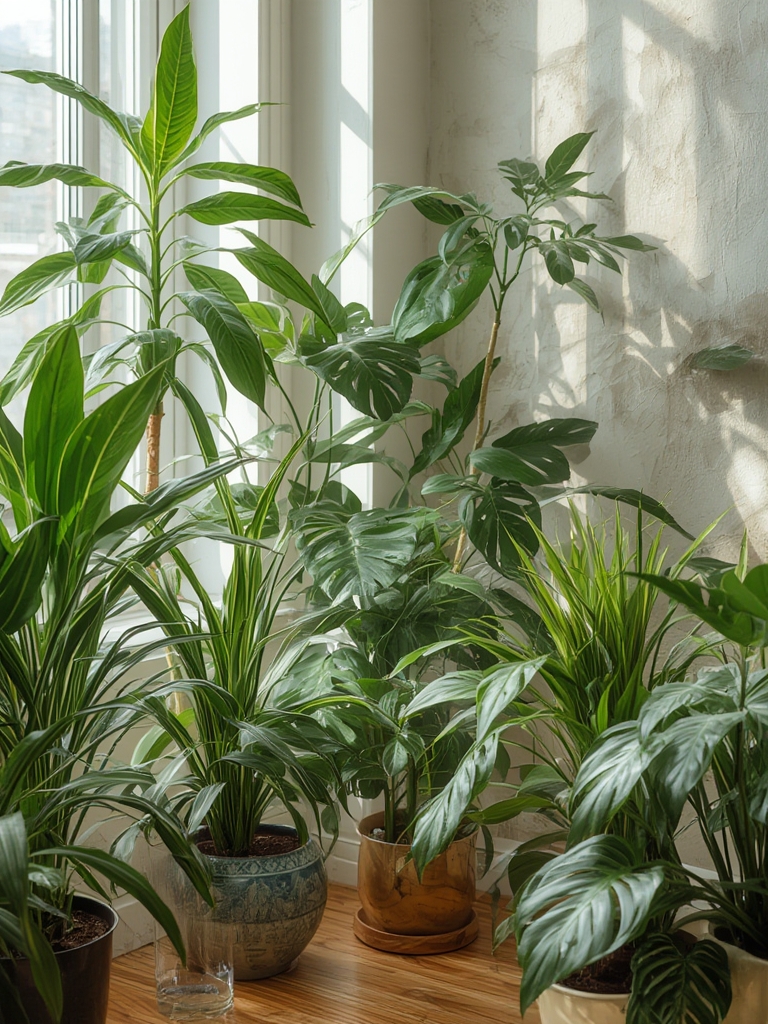
Indoor plants are more than just décor; they improve air quality, boost mood, and bring a touch of nature into any space. By choosing the right species and following a data‑driven care routine, you can enjoy thriving greenery year‑round. Below is a step‑by‑step guide that blends scientific insights with practical tricks, ensuring you “fill your garden with long‑lasting, easy‑care blooms” even when your garden is a windowsill.
1. Choose the Right Plant for Your Environment
Assess Light Levels
- Low light (≤50 µmol m⁻² s⁻¹): Snake plant, ZZ plant, and pothos thrive with minimal natural light.
- Medium light (50‑150 µmol m⁻² s⁻¹): Spider plant, peace lily, and philodendron perform best near east‑facing windows.
- Bright indirect light (150‑300 µmol m⁻² s⁻¹): Fiddle‑leaf fig, rubber plant, and succulents need a sunny spot without direct scorching rays.
Use a cheap handheld lux meter or a smartphone app to verify the light intensity where you plan to place the plant. This data point reduces guesswork and prevents over‑ or under‑exposure.
Match Humidity & Temperature
- Most tropical indoor plants prefer 60‑80 % relative humidity. If your home is dry (common in winter), consider a pebble tray or a small humidifier.
- Keep temperature between 18‑24 °C (65‑75 °F). Sudden drafts or heating vents can cause leaf scorch.
2. Prepare the Growing Medium
Select the Right Soil Mix
Research shows that well‑draining media reduces root rot risk by up to 40 %. For most indoor foliage, combine:
- 40 % high‑quality potting compost
- 30 % perlite or pumice (improves aeration)
- 30 % coconut coir or peat (retains moisture without becoming soggy)
Mix these components in a clean bucket before filling the pot.
Pot Selection & Drainage
- Choose a pot that is 2‑3 cm larger in diameter than the root ball.
- Ensure at least one drainage hole; add a layer of 2‑3 cm of broken pottery shards or coarse gravel at the bottom to further enhance flow.
3. Planting – The First Critical Step
Position the Plant Correctly
- Place the pot on a saucer to catch excess water.
- Fill the bottom with a thin layer of the prepared soil mix.
- Set the plant in the center, ensuring the crown (where stems meet roots) sits just above the soil line to prevent rot.
- Backfill gently, firming the soil with your fingers to eliminate air pockets.
Watering Technique
Data from horticultural studies suggest watering to field capacity (the point where water begins to drain) is optimal. Follow these steps:
- Insert a clean finger 2‑3 cm into the soil; if it feels dry, water.
- Use lukewarm water to avoid shocking the roots.
- Water slowly until you see water exit the drainage holes—this ensures even saturation.
- Empty the saucer after 5‑10 minutes to prevent standing water.
4. Ongoing Care – Routine Maintenance
Light Adjustments
Rotate the pot 90° every two weeks. This simple habit prevents one side from becoming leggy and promotes balanced growth.
Fertilization Schedule
- Use a balanced 20‑20‑20 liquid fertilizer diluted to half strength.
- Apply once every 4‑6 weeks during the active growth period (spring‑summer).
- Skip feeding in fall and winter when most indoor plants enter dormancy; over‑fertilizing can cause leaf burn.
Pruning & Grooming
Regular pruning removes dead or yellowing foliage, reduces pest habitat, and encourages new shoots. Follow this protocol:

- Sanitize scissors with 70 % isopropyl alcohol.
- Cut just above a node (the point where a leaf meets the stem) to stimulate branching.
- Remove any brown tips immediately; they are often a sign of low humidity.
Pest Management
Common indoor pests include spider mites, mealybugs, and aphids. A data‑driven approach uses visual inspection weekly:
- If you spot < 5 % of leaves with pests, spray a mild neem oil solution (1 ml neem oil per 250 ml water) and wipe leaves with a soft cloth.
- For infestations > 5 %, isolate the plant and treat with an insecticidal soap, repeating every 7 days until the pest count drops below 1 %.
5. Seasonal Adjustments & Long‑Term Success
Winter Care
During colder months, indoor heating can dry out the air. Increase humidity by:
- Grouping plants together to create a micro‑climate.
- Misting leaves lightly once daily (avoid over‑misting, which can promote fungal growth).
Summer Boost
When daylight hours lengthen, consider moving light‑loving plants closer to a south‑facing window. However, protect them from direct afternoon sun by using a sheer curtain, which reduces leaf scorch risk by up to 30 %.
6. Quick‑Reference Checklist
Daily
- Check light exposure; rotate pot if needed.
- Inspect leaves for pests or discoloration.
Weekly
- Water only if the top 2‑3 cm of soil feels dry.
- Wipe dust off leaves with a damp cloth.
Monthly
- Fertilize (spring‑summer only).
- Prune dead or leggy growth.
- Refresh soil surface with a thin layer of fresh mix to improve aeration.
Seasonally
- Adjust humidity levels (humidifier or pebble tray).
- Re‑evaluate light conditions as the sun’s angle changes.
By following this data‑backed roadmap, you’ll transform any indoor space into a thriving oasis. Consistency, observation, and a few simple tools are all you need to “fill your garden with long‑lasting, easy‑care blooms” that delight year after year.

