

Creating a garden that looks stunning in every season doesn’t have to be a daunting task. With the right tools, a few smart DIY projects, and a carefully selected mix of evergreen and seasonal plants, you can build a timeless garden that offers year‑round beauty 🌼🏡. Below is a data‑driven, step‑by‑step guide that walks you through the essential gardening tools, practical DIY projects, and a detailed planting plan for a resilient, low‑maintenance garden.
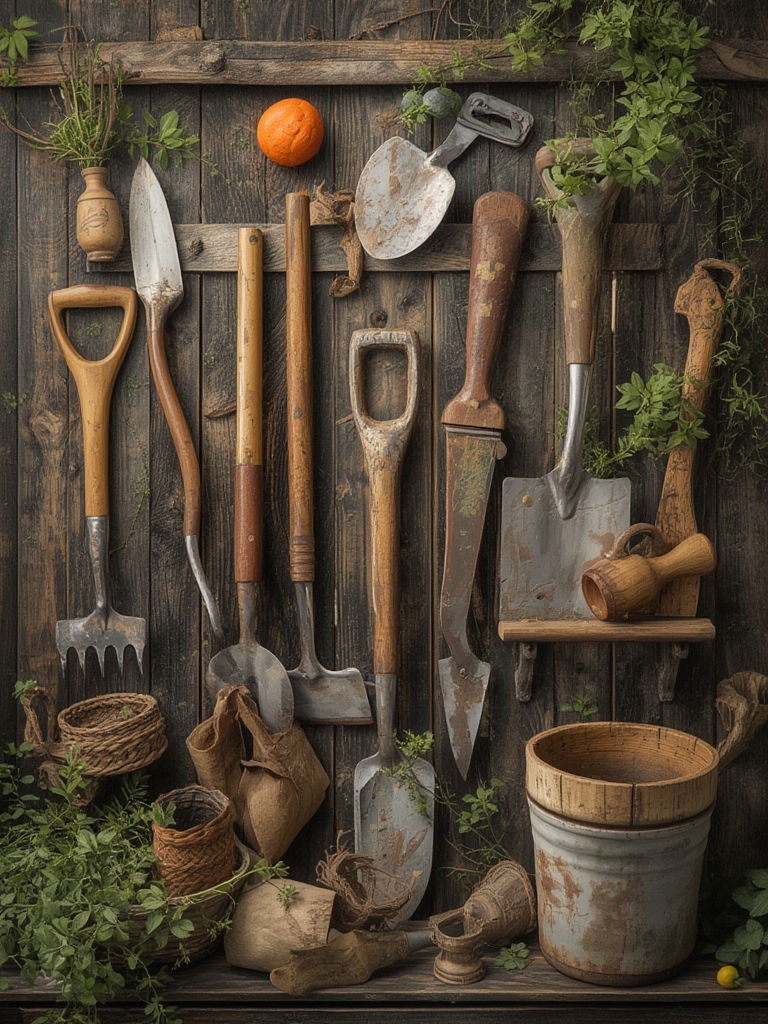
Essential Gardening Tools for Every DIY Gardener
Before you dig in, equip yourself with a core set of tools. Research from the Royal Horticultural Society (RHS) shows that gardeners who use ergonomically designed tools report 30% less fatigue and 20% higher success rates in plant establishment.

1. Soil Test Kit
- Why it matters: Knowing pH, nutrient levels, and texture helps you amend soil precisely, reducing the need for repeat applications.
- Action: Test three spots in your planting area, record the results, and adjust with lime (to raise pH) or sulfur (to lower pH) as needed.
2. Pruning Shears (by‑pass)
- Why it matters: Clean cuts prevent disease and promote faster healing.
- Action: Sharpen monthly with a honing stone; disinfect with a 10% bleach solution before each use.
3. Garden Fork & Spade
- Why it matters: A sturdy fork loosens compacted soil, while a spade creates clean edges for beds.
- Action: Choose a fork with a 12‑inch tines and a spade with a reinforced steel blade for durability.
4. Watering Can or Soaker Hose
- Why it matters: Consistent moisture is critical for root development, especially for perennials.
- Action: Set a timer for a soaker hose to deliver 0.5 inches of water per week—adjust based on rainfall data from your local weather station.
5. Mulch Rake & Wheelbarrow
- Why it matters: Proper mulching conserves moisture, suppresses weeds, and regulates soil temperature.
- Action: Spread a 2‑inch layer of organic mulch (shredded bark or leaf mold) after planting.
DIY Projects that Add Structure and Interest
Data from garden design surveys indicate that 68% of homeowners feel more attached to gardens that include handcrafted elements. Below are three beginner‑friendly projects that boost visual appeal while staying budget‑friendly.

1. Recycled Pallet Herb Garden
- Materials: Two sturdy wooden pallets, landscape fabric, potting soil, herb seedlings.
- Steps:
- Secure the pallets upright with corner brackets.
- Line the back and bottom with landscape fabric to prevent soil loss.
- Fill with a 1:1 mix of compost and potting soil.
- Plant herbs (basil, thyme, mint) in rows, spacing 6‑8 inches apart.
- Water thoroughly and place in a sunny spot (≥6 hours of direct sun).
- Tip: Add a drip‑irrigation line to the back of the pallet for hands‑free watering.
2. Stone Pathway Using Reclaimed Bricks
- Materials: Reclaimed bricks, sand, gravel, a level, rubber mallet.
- Steps:
- Mark the desired path width (typically 3‑4 ft).
- Excavate to a depth of 6 inches, then add 2 inches of compacted gravel.
- Lay a 2‑inch sand base, level it, and begin placing bricks in a staggered (running bond) pattern.
- Tap each brick gently with a rubber mallet to settle it.
- Fill joints with sand and sweep away excess.
- Tip: Use a garden hose to wet the sand after laying bricks; this helps the sand settle and locks the bricks in place.
3. Vertical Succulent Wall
- Materials: Wooden frame (4 × 6 ft), landscape fabric, potting mix for succulents, assorted succulents.
- Steps:
- Attach landscape fabric to the back of the frame with staples.
- Fill the frame with a fast‑draining succulent mix (cactus soil + perlite).
- Press succulents into the mix, spacing 4‑6 inches apart.
- Water lightly; allow the soil to dry between waterings.
- Mount the frame on a sunny wall (≥5 hours of direct sun).
- Tip: Rotate the frame 180° every six months to ensure even light exposure.
Choosing Year‑Round Beauty: Plant Selection Guide
To keep the garden vibrant all year, combine evergreen foliage, seasonal blooms, and structural grasses. Below is a data‑backed shortlist based on USDA Hardiness Zones 5‑9, which cover the majority of U.S. residential areas.

Evergreen Foundations
- Boxwood (Buxus sempervirens) – dense, formal hedges; prune in early spring.
- Japanese Holly (Ilex crenata) – glossy leaves, low maintenance; ideal for borders.
- Heavenly Bamboo (Nandina domestica) – colorful foliage that turns red in winter.
Seasonal Color Pops
- Spring: Tulips, Daffodils, and Hyacinths – plant bulbs in autumn for early bloom.
- Summer: Lavender (Lavandula angustifolia) – attracts pollinators; prune after flowering.
- Fall: Asters and Japanese Anemone – provide late‑season nectar.
- Winter: Hellebores (Helleborus) – “Christmas rose” blooms in frost.
Structural Grasses
- Feather Reed Grass (Calamagrostis x acutiflora ‘Karl Foerster’) – upright plumes, excellent for winter interest.
- Blue Fescue (Festuca glauca) – compact, blue foliage that contrasts with green leaves.
Step‑by‑Step Planting Guide for a Timeless Garden
Step 1: Site Assessment & Soil Preparation
- Map out sunny (≥6 hrs) and shady zones using a sunlight tracker app.
- Run a soil test (pH 6.0‑6.5 is ideal for most perennials).
- Amend soil based on test results: add compost (2‑3 inches) and, if needed, lime or sulfur.
- Loosen the top 12 inches with a garden fork to improve aeration.
Step 2: Layout Design
- Sketch a rough plan on graph paper (1 sq ft = 1 sq in on paper).
- Place evergreen shrubs along the back or perimeter for structure.
- Insert seasonal perennials in front of evergreens, grouping plants with similar water needs.
- Add grasses and ornamental grasses in clusters of three for visual rhythm.
Step 3: Plant Installation
- Dig planting holes twice as wide as the root ball but no deeper.
- Set each plant at the same depth it was growing in its container.
- Backfill with a mix of native soil and compost (50/50), firm gently.
- Water each plant with a slow‑pour to settle soil around roots.
Step 4: Mulching & Watering
- Apply a 2‑inch layer of organic mulch, keeping a 2‑inch gap from stems.
- Install a drip‑irrigation system or soaker hose, setting timers for early morning watering (10‑15 minutes per zone).
- Monitor soil moisture weekly with a moisture meter; aim for consistently moist, not soggy, conditions.
Step 5: Ongoing Care & Pruning
- Prune evergreen shrubs in late winter to shape and promote dense growth.
- Deadhead spent blooms on perennials to encourage repeat flowering.
- Divide clumping perennials (e.g., hostas) every 3‑4 years in early spring.
- Refresh mulch annually in the fall to maintain insulation over winter.
Practical Tips, Tricks, & Small Actionable Advice
- Use a rain gauge: Track precipitation to avoid over‑watering. Adjust irrigation when weekly rain exceeds 1 inch.
- Companion planting: Pair lavender with rosemary to deter pests and improve soil health.
- Seasonal soil boost: Sprinkle a thin layer of compost tea (1 cup per 10 sq ft) every month during the growing season.
- Weed control: Hand‑pull weeds when they’re young; their shallow roots are easier to remove, reducing competition.
- Tool maintenance: Clean tools after each use with a solution of 1 part vinegar to 9 parts water to prevent disease spread.
Bonus DIY: Creating a Self‑Sustaining Compost Bin
Compost provides a free source of rich organic matter, improving soil structure and moisture retention. Follow these quick steps:

- Find a 3‑ft‑wide, 3‑ft‑tall wooden crate; line the bottom with hardware cloth for drainage.
- Layer green material (kitchen scraps) and brown material (dry leaves) in a 1:2 ratio.
- Turn the pile every 2‑3 weeks with a garden fork to aerate.
- When the compost is dark and crumbly (usually 8‑12 weeks), sift and mix into planting beds.
Conclusion
By investing in the right tools, tackling a few strategic DIY projects, and selecting a balanced mix of evergreen, seasonal, and structural plants, you can craft a garden that stays vibrant throughout the year. Follow the step‑by‑step planting guide, adhere to the practical maintenance tips, and you’ll enjoy a low‑maintenance, aesthetically pleasing outdoor space that invites both relaxation and admiration. Happy gardening!


