
Essential Gardening Tools for Every DIY Enthusiast
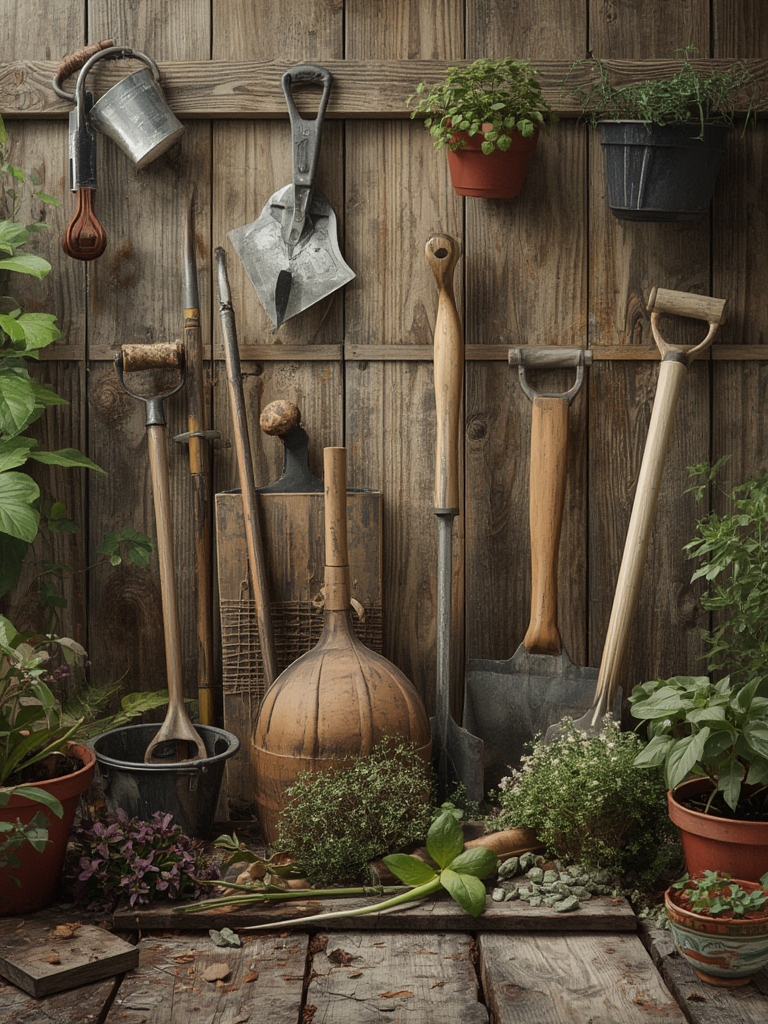
Before you dive into any project, a well‑stocked toolbox is the foundation of success. Here are the must‑have items that blend functionality with ergonomic design, ensuring you work efficiently and comfortably:
- Ergonomic Hand Trowel: Look for a stainless‑steel blade with a padded grip. It’s perfect for transplanting seedlings and loosening soil in tight spots.
- Pruning Shears (Secateurs): Choose a bypass model with a spring‑assisted action. This reduces hand fatigue when shaping shrubs or harvesting herbs.
- Garden Fork & Cultivator: A lightweight carbon‑steel fork helps break up compacted soil, while a cultivator aerates the top layer for better root penetration.
- Adjustable Garden Hoe: Ideal for creating clean rows for planting. Opt for a wooden handle that absorbs shock and a sharp, replaceable steel blade.
- Watering Can with Rose Head: A rose‑shaped spout distributes water gently, preventing soil erosion around delicate seedlings.
- Measuring Tape & Soil Test Kit: Accurate spacing and pH levels are crucial for plant health. A simple test kit lets you adjust soil amendments on the spot.
DIY Project: Build a Charming Raised Bed Using Harmonious Colors
Raised beds not only improve drainage and soil quality but also give you a canvas to play with color. Follow these steps to create a visually balanced garden feature that invites both plants and eyes to thrive.

Materials & Color Palette
- Four 2×6 cedar boards (8 ft long) – natural wood tone
- Galvanized corner brackets – soft matte gray
- Exterior‑grade wood stain in sage green and warm terracotta
- Landscape fabric, mulch, and high‑quality potting mix
Step‑by‑Step Construction
- Plan the Layout: Measure a 4 × 8 ft area with at least 12 inches of clearance around the bed for easy access. Mark the corners with spray paint.
- Cut & Stain the Boards: Saw the cedar to size (four 4‑ft lengths for the short sides, two 8‑ft lengths for the long sides). Apply sage‑green stain to the interior faces and terracotta to the exterior faces. This dual‑tone approach creates depth and a harmonious contrast.
- Assemble the Frame: Secure the boards with galvanized brackets, tightening bolts with a wrench. Ensure the corners are square (90°) by measuring diagonally.
- Line the Bed: Lay landscape fabric inside the frame to prevent weeds while allowing water to drain. Overlap seams by 6 inches and staple them down.
- Fill with Soil: Combine two parts compost, one part peat moss, and one part perlite. This mix retains moisture yet stays airy—perfect for most vegetables and herbs.
- Finish with Mulch: Spread a 2‑inch layer of shredded bark mulch. The earthy brown tones tie the terracotta exterior to the surrounding garden, reinforcing the harmonious color scheme.
Plant Spotlight: Growing Basil (Ocimum basilicum) in Your New Raised Bed
Basil is a versatile herb that thrives in warm, sunny spots—making it an ideal candidate for a raised bed. Follow these data‑driven steps to ensure vigorous growth and a bountiful harvest.

Step 1 – Soil Preparation
Use a soil thermometer to confirm the temperature is between 65‑70 °F (18‑21 °C). Adjust pH to 6.0‑6.5 using a lime amendment if needed. Incorporate a slow‑release balanced fertilizer (10‑10‑10) at a rate of 1 lb per 100 sq ft.

Step 2 – Sowing Seeds
- Space seeds 12 inches apart in rows 18 inches apart.
- Plant seeds ¼ inch deep, then gently tamp the soil.
- Water with a fine mist until the soil is uniformly moist but not soggy.
Step 3 – Light & Water Management
Basil requires 6‑8 hours of direct sunlight daily. Use a light meter to verify intensity (aim for 10,000‑12,000 lux). Water consistently—apply 1 inch of water per week, adjusting for rainfall. A drip‑irrigation line with a timer ensures even delivery and conserves water.

Step 4 – Pruning & Harvesting
Begin pinching off the top leaves once the plant reaches 6 inches tall. This encourages a bushier habit and delays flowering, which can make leaves bitter. Harvest leaves in the morning after the dew has dried for the best flavor. Use clean scissors to cut just above a leaf node.
Step 5 – Pest Prevention
Monitor for aphids and spider mites using yellow sticky traps placed at the base of the bed. If infestations appear, spray a neem‑oil solution (2 tablespoons per gallon of water) every 7‑10 days. This organic approach protects beneficial insects while keeping basil healthy.

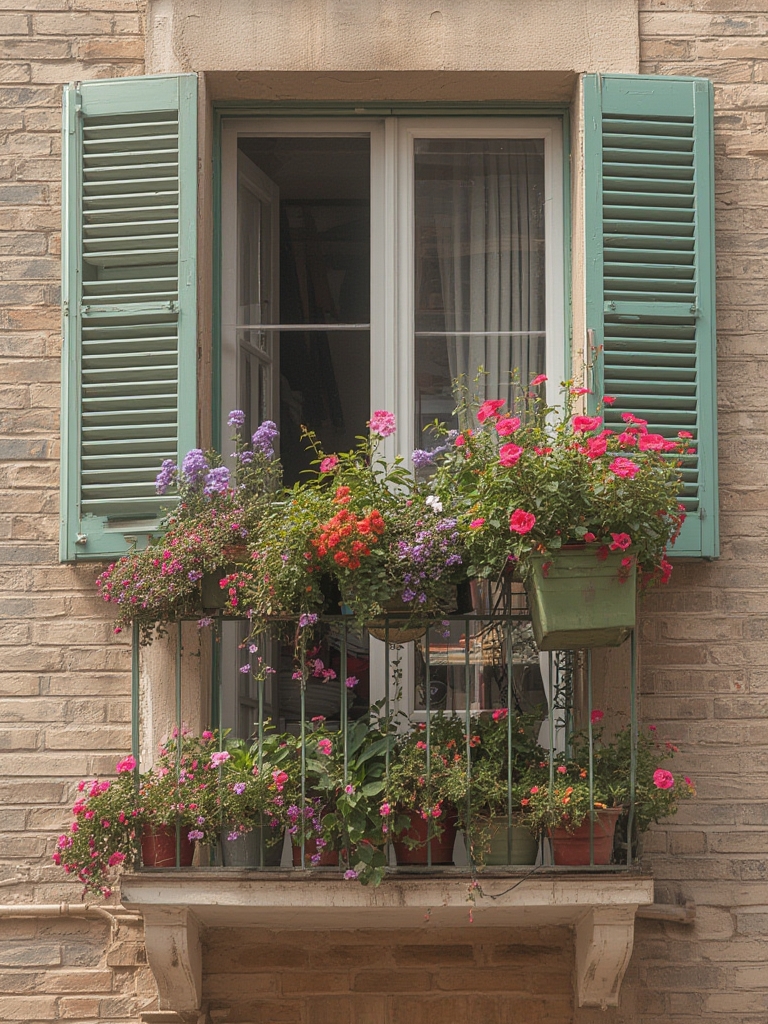
Practical Tips for Maintaining Color Harmony in Your Garden
Beyond the raised bed, the overall palette of your garden influences mood and visual balance. Here are actionable ideas to weave harmonious colors throughout:
- Choose Companion Plants with Complementary Hues: Pair the sage‑green basil with purple lavender and golden marigolds. The triadic scheme (green‑purple‑yellow) creates vibrancy without clashing.
- Use Colored Pottery: Select pots in muted terracotta or soft teal to echo the raised bed’s exterior tones. Position them in clusters of odd numbers for a natural look.
- Incorporate Seasonal Blooms: Plant early‑season pansies (soft blues) and late‑season asters (lavender). This ensures a continuous flow of color, keeping the garden alive year‑round.
- Lighting Accents: Install solar lanterns with warm‑white LEDs along the bed’s edge. The gentle glow enhances the terracotta hue after dusk, extending the garden’s visual appeal into the evening.
Quick Action Checklist for a Successful Gardening Season
- Inspect tools for rust; sharpen blades and oil wooden handles.
- Test soil pH and adjust before planting.
- Build or refresh raised beds using the color‑balanced method.
- Sow basil seeds, maintaining proper spacing and moisture.
- Set up drip irrigation with a timer for consistent watering.
- Apply organic pest controls at the first sign of insects.
- Rotate companion plants every 4‑6 weeks to sustain color harmony.
- Harvest basil regularly to promote bushier growth and flavor.
- Review plant performance monthly; record yields and any issues.
- Enjoy the garden’s balanced palette and share your harvest!
By combining the right tools, a thoughtfully designed DIY raised bed, and data‑backed planting practices, you’ll create a garden that not only thrives but also radiates harmonious colors. Happy gardening! 🌸


