Welcome to your ultimate guide to sustainable gardening—where eco‑friendly practices meet thriving, delicious harvests. Whether you’re a seasoned green thumb or just planting your first seed, this data‑driven post walks you through every step, from soil preparation to preserving herbs without sacrificing flavor. Let’s dig in and turn your garden into a low‑impact, high‑yield oasis.
Why Sustainable Gardening Matters
Studies show that home gardens can reduce a household’s carbon footprint by up to 30% when they replace store‑bought produce. By using native plants, conserving water, and minimizing synthetic inputs, you not only protect local biodiversity but also cut long‑term garden costs. The key is to make each decision measurable: track water usage, soil health metrics, and yield per square foot to continuously improve.

Step 1: Assess Your Site and Soil
Conduct a Soil Test
Start with a simple DIY soil test kit or send a sample to your local extension service. Look for pH (ideal 6.0–6.8 for most vegetables) and nutrient levels (N‑P‑K). Record the results in a spreadsheet; this data will guide amendments and help you avoid over‑fertilizing.
- Tip: Add organic matter (compost, leaf mold) at a rate of 2–3 inches per 10 sq ft to boost microbial activity and improve water retention.
- Trick: Use a rain gauge to log monthly precipitation. If rainfall consistently exceeds 1 inch per week, you can reduce irrigation by up to 40%.
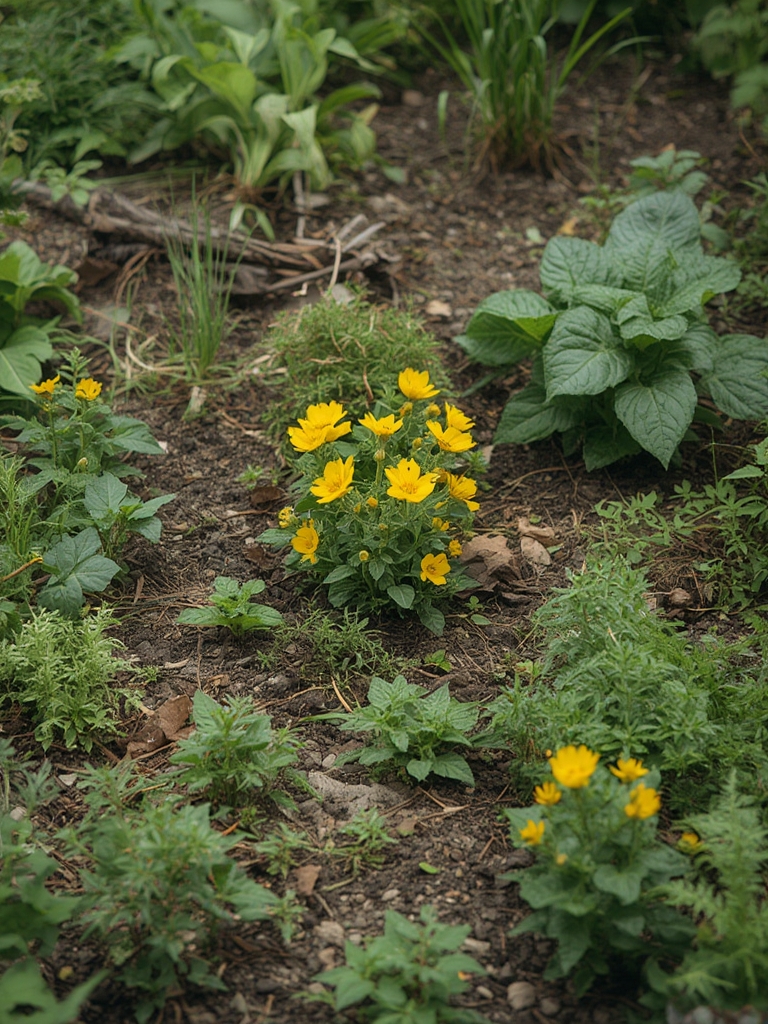
Step 2: Choose Native, Low‑Maintenance Plants
Best Sustainable Picks
Native species are adapted to local climate, requiring less water and fewer pesticides. Consider these crowd‑pleasers:
- Herbs: Mint, thyme, oregano, and sage thrive in most zones and are excellent for preservation.
- Vegetables: Kale, Swiss chard, and bush beans are resilient and produce high yields per square foot.
- Perennials: Asparagus and rhubarb return year after year, reducing planting labor.
Use a planting calendar (available from most agricultural extensions) to schedule sowing dates that align with optimal temperature windows, ensuring faster germination and lower disease pressure.
Step 3: Implement Water‑Smart Irrigation
Drip Systems & Mulching
Drip irrigation delivers water directly to the root zone, cutting evaporation losses by up to 60%. Pair it with a 2‑inch layer of organic mulch (straw, wood chips, or shredded leaves) to retain moisture and suppress weeds.
- Actionable Advice: Install a timer with a rain sensor. Set it to water early morning for 15‑20 minutes, adjusting based on weekly rainfall data.
- Quick Fix: If a drip system isn’t feasible, use soaker hoses placed in planting rows and cover with mulch.
Step 4: Adopt Integrated Pest Management (IPM)
Monitor, Identify, Act
IPM relies on data: scout your garden weekly, noting pest numbers and damage levels. Use the economic threshold—the point at which pest populations cause more loss than the cost of control.

Effective, low‑impact tactics include:
- Companion Planting: Plant marigolds next to tomatoes to deter nematodes.
- Beneficial Insects: Release ladybugs or lacewings to target aphids.
- Organic Sprays: Neem oil or insecticidal soap applied only when thresholds are met.
Step 5: Harvest and Preserve Herbs for Year‑Round Use
Freeze, Dry, or Store Without Losing Flavor
Herbs are the crown jewels of a sustainable garden. Proper preservation extends their shelf life while retaining essential oils and nutrients.
Freezing
- Harvest herbs in the early morning after the dew has dried.
- Rinse, pat dry, and chop coarsely.
- Spread on a baking sheet and flash‑freeze for 1–2 hours.
- Transfer frozen pieces to airtight freezer bags, removing excess air.
- Label with date and variety; use within 6 months for optimal flavor.
Tip: Add a teaspoon of olive oil per cup of chopped herbs before freezing to preserve aromatic compounds.
Drying
- Bundle stems in small bunches (3‑4 stems) and tie with twine.
- Hang upside‑down in a dark, well‑ventilated area (45–55°F) for 1‑2 weeks.
- Once leaves crumble easily, strip them from stems and store in glass jars.
- Keep jars in a cool, dark pantry; dried herbs retain potency for up to a year.
Trick: Use a low‑heat oven (140°F) for faster drying—check every 15 minutes to avoid scorching.
Storing Fresh Herbs
For short‑term use (up to 2 weeks), treat herbs like fresh flowers:
- Trim stems and place in a jar with water covering the base.
- Cover loosely with a plastic bag and refrigerate.
- Change water every 2 days to prevent bacterial growth.
Step 6: Track Your Success and Adjust
Data‑Driven Garden Management
Maintain a garden journal (digital or paper) with the following columns:
| Date | Plant | Water (gal) | Pest Observations | Yield (lb) |
|---|---|---|---|---|
| 2024‑04‑12 | Thyme | 0.5 | None | 0.2 |
Review the data monthly. If water usage spikes without a yield increase, consider increasing mulch depth or adjusting irrigation timing. If pest thresholds are repeatedly exceeded, diversify companion plants or introduce additional beneficial insects.
Final Thoughts
By grounding your garden in measurable practices—soil testing, water budgeting, IPM thresholds, and preservation logs—you create a resilient, sustainable system that feeds both your family and the planet. Start small, record everything, and let the data guide your next planting cycle. Happy gardening, and enjoy the fresh, flavorful herbs all year long!
