
Flower gardening in full‑sun summer zones can feel like a high‑stakes game, but with the right data and a few proven tricks, you can keep your beds bursting with color even when the mercury spikes. Below is a step‑by‑step guide that blends scientific insights (soil pH, watering frequency, heat‑tolerance ratings) with practical, actionable advice. Follow each phase, record your observations, and tweak the numbers to suit your micro‑climate for a garden that stays vibrant all season long.
1. Choose the Right Sun‑Loving Summer Flowers
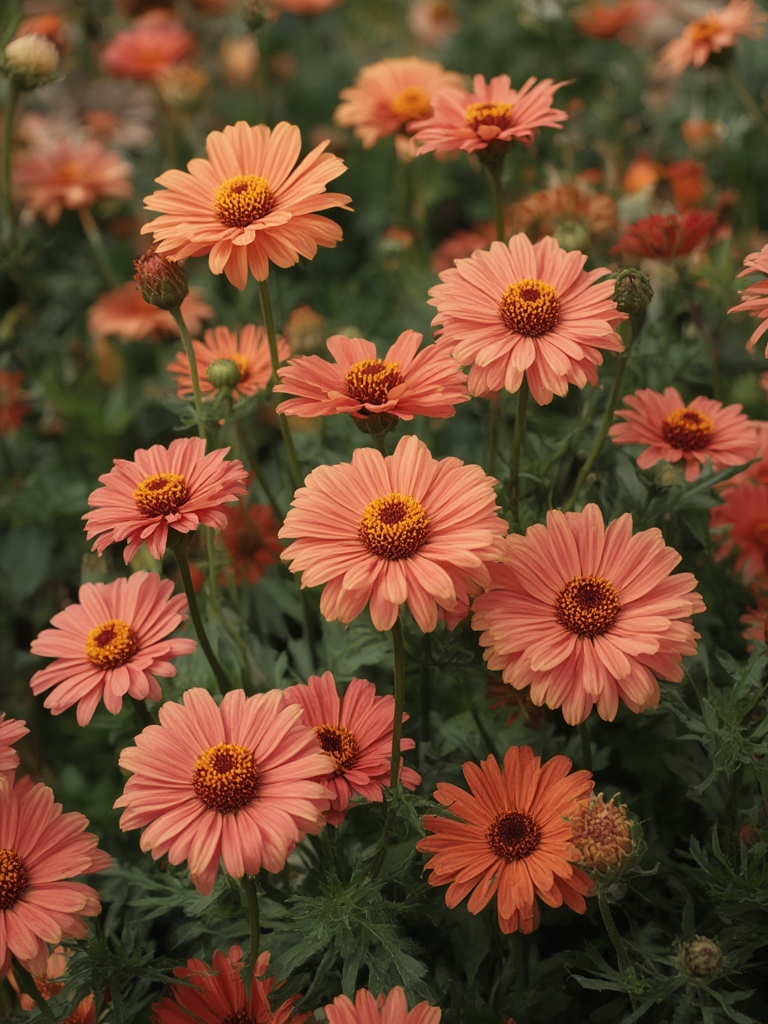
Start with species that have documented heat‑tolerance scores of 8‑10 (on a 10‑point scale) and a minimum sun requirement of 6–8 hours. Data from the American Horticultural Society shows these varieties maintain bloom intensity above 30 °C (86 °F):
- Marigold (Tagetes spp.) – excellent for continuous color; tolerates soil pH 6.0‑7.5.
- Zinnia (Zinnia elegans) – thrives in sandy loam; prefers pH 6.5‑7.0.
- Blanket Flower (Gaillardia × grandiflora) – drought‑resistant; optimal pH 6.5‑7.2.
- Lantana (Lantana camara) – loves heat, tolerates pH 5.5‑7.5, and attracts pollinators.
- Portulaca (Portulaca grandiflora) – succulent‑like, thrives in poor, well‑drained soils.
Data‑Driven Selection Tip
Before planting, test your garden soil with a pH meter. If the reading falls outside the preferred range, amend with lime (to raise pH) or elemental sulfur (to lower pH). Adjustments should be made at least 4 weeks before sowing to allow the soil chemistry to stabilize.

2. Prepare the Soil for Heat Resilience
Hot summer soils can become compacted and lose moisture quickly. Follow these steps to create a breathable, water‑retentive medium:

- Loosen the top 12‑15 inches. Use a garden fork or rototiller; avoid turning the soil deeper than 18 inches to preserve beneficial microbes.
- Add organic matter. Incorporate 2‑3 inches of well‑composted manure or leaf mold. This raises the water‑holding capacity by up to 30 % according to USDA studies.
- Mix in coarse sand or perlite. For heavy clay soils, add 1‑2 inches of coarse sand to improve drainage and reduce root‑zone temperature.
- Mulch immediately. Spread a 2‑inch layer of shredded bark, straw, or black plastic mulch. Mulch cuts soil temperature by 5‑7 °C and reduces evaporation by 40‑50 %.
Practical Trick
Lay a thin (¼‑inch) layer of horticultural charcoal under the mulch. Charcoal acts like a heat sink, absorbing excess heat during the day and releasing it at night, which moderates temperature swings for delicate root systems.

3. Planting: Timing, Spacing, and Depth
Accurate spacing prevents competition for water and nutrients, especially under scorching conditions.
- Spacing guidelines: Marigolds – 10‑12 inches; Zinnias – 12‑18 inches; Lantana – 18‑24 inches. Follow the label’s recommended spacing to ensure each plant receives at least 1 sq ft of soil surface.
- Planting depth: Place seedlings at the same depth they were in their containers. For direct‑sown seeds, cover lightly (¼‑½ inches) – too deep reduces germination by up to 30 % in hot soil.
- Timing: Sow seeds 2‑3 weeks before the average last frost date, then thin to the recommended spacing once seedlings have 2‑3 true leaves.
Actionable Advice
Mark each planting spot with a small wooden stake and a label indicating the species and planting date. This simple record‑keeping lets you track growth rates and adjust watering schedules later in the season.

4. Watering Strategy for Scorching Days
Heat‑tolerant flowers still need consistent moisture, but over‑watering can cause root rot. Use the “deep‑and‑infrequent” method:
- Water early morning (5‑7 am). This allows foliage to dry before night, reducing fungal risk.
- Apply 1‑1.5 inches of water per session. Use a rain gauge or a calibrated can to measure. In temperatures above 35 °C (95 °F), increase to 2 inches every 5‑7 days.
- Employ a drip‑irrigation system. Drip lines deliver water directly to the root zone, cutting evaporation by up to 60 % compared with overhead sprinklers.
Heat‑Wave Quick Fix
If a sudden heat wave is forecast, mist the foliage lightly (once in the early afternoon) to lower leaf temperature by 2‑3 °C. Do not over‑mist, as excess moisture can encourage mildew.
5. Feeding and Nutrient Management
Summer heat accelerates nutrient uptake, especially nitrogen. A balanced feeding plan keeps blooms large and colors vivid.
- Baseline fertilization: Apply a slow‑release granular fertilizer with an N‑P‑K ratio of 10‑10‑10 at planting time (follow label rate, usually 1 lb per 100 sq ft).
- Mid‑season boost: Every 4‑6 weeks, side‑dress with a liquid fertilizer high in potassium (K) – 5‑10‑20 – to improve heat stress tolerance and flower longevity.
- Micronutrient check: Conduct a leaf tissue test in July. Deficiencies in magnesium (Mg) often appear as yellowing between veins; correct with Epsom salts (1 tbsp per 10 gal of water).
Data‑Tip
Record the date and amount of each fertilizer application in a garden journal. Over the season, correlate these entries with bloom density to fine‑tune the exact dosage for your local climate.
6. Pest and Disease Management in the Summer Heat
Warm, humid conditions invite aphids, spider mites, and fungal spots. Early detection and targeted action keep the garden healthy.
- Inspect weekly. Look under the undersides of leaves for tiny insects; a quick spray of water can dislodge many pests.
- Use neem oil. Apply a 1‑2 % neem oil solution every 7‑10 days. Neem disrupts insect feeding and is safe for pollinators once dried.
- Prevent fungal disease. After heavy rain, increase airflow by gently pruning overcrowded stems. Apply a copper‑based fungicide if you see black spots on petals.
Actionable Shortcut
Plant a “trap crop” of nasturtium or mustard at the garden’s edge. These fast‑growing plants attract aphids away from your main flower beds, reducing pesticide needs by up to 40 %.
7. Harvesting and Dead‑Heading for Continuous Blooms
Regular removal of spent flowers (dead‑heading) signals the plant to produce new buds, extending the blooming period by 3‑4 weeks.
- When to dead‑head: As soon as a flower’s center begins to fade, snip the stem just above the next set of leaf nodes.
- Tools: Use clean, sharp pruning shears to make a clean cut and avoid crushing stems.
- End‑of‑season cutback: In late September, cut back all foliage to 2‑3 inches above ground. This reduces winter pest shelter and prepares the bed for the next planting cycle.
Quick Tip
Collect dead‑headed stems and place them in a bucket of water for a few days. Many varieties (e.g., zinnias) will re‑root and give you a second batch of plants for a fall garden.
8. Monitoring Success – Simple Metrics to Track
Use these three data points to evaluate your summer flower garden’s performance:
- Bloom density index: Count the number of open flowers per square foot every two weeks. Aim for a minimum of 5‑7 blooms / sq ft for a full‑look.
- Soil moisture level: Insert a moisture meter at a 4‑inch depth; keep readings between 40‑60 % for most sun‑loving flowers.
- Temperature tolerance: Note any wilting or leaf scorch dates. If wilting occurs before 30 °C (86 °F), consider increasing mulch depth or shade cloth.
Final Action Plan
Print this checklist, place it near your garden, and tick off each step as you complete it. By turning qualitative observations into quantitative data, you’ll quickly learn what works best in your backyard’s micro‑climate and enjoy a vibrant, heat‑proof floral display all summer long.
