

Flower gardening is more than just planting pretty blooms—it’s a rewarding blend of art, science, and seasonal strategy. By understanding soil health, plant selection, and design principles, you can create vibrant, low‑maintenance flower borders that attract pollinators and boost curb appeal. Below is a data‑driven, step‑by‑step guide that walks you through every phase, from site preparation to the final flourish of layered colors and textures.
1. Assess Your Site and Soil
1.1 Conduct a Soil Test
Start with a simple DIY soil test kit or send a sample to your local extension service. Look for pH between 6.0 and 7.0 for most ornamental flowers. If the pH is off, amend with lime (to raise) or sulfur (to lower) according to the kit’s recommendations. Adding compost at a rate of 2–3 inches per square foot improves organic matter and water retention.
1.2 Evaluate Sunlight Exposure
Use a sunlight log: record the amount of direct sun each spot receives over a typical week. Flowers fall into three categories:

- Full sun (6+ hours): Marigolds, lavender, roses.
- Partial shade (3–6 hours): Impatiens, begonias, astilbe.
- Full shade (0–3 hours): Hostas, ferns, bleeding heart.
Map these zones on graph paper to plan where each plant group will thrive.

2. Choose the Right Plant Palette
2.1 Prioritize Climate‑Adapted Varieties
Consult USDA Hardiness Zone maps. For zones 5–7, consider coneflowers, daylilies, and peonies. For warmer zones 8–10, opt for hibiscus, lantana, and bougainvillea. Selecting plants that naturally thrive in your zone reduces watering and fertilizing needs by up to 30%.

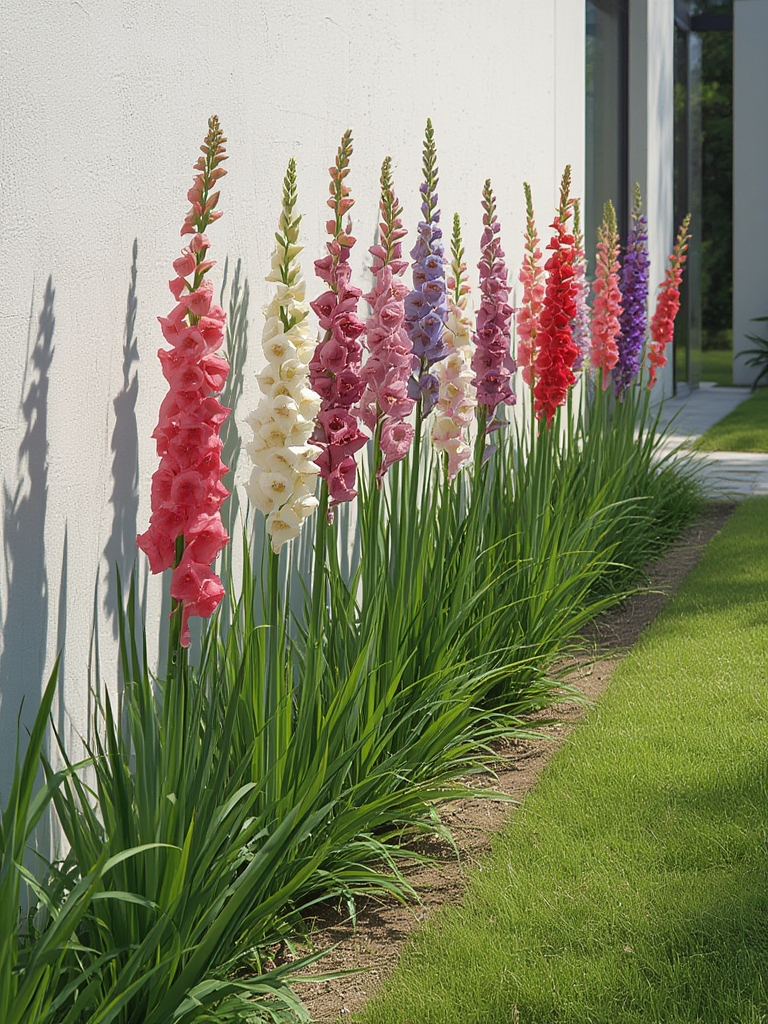
2.2 Build a Layered Color Scheme
Use the color wheel to create contrast and harmony:
- Back Row (Tallest): 24–36 inches tall, bold hues (e.g., red lupines, orange sunflowers).
- Middle Row: 12–24 inches tall, complementary colors (e.g., purple salvias, pink geraniums).
- Front Row (Edge): 6–12 inches tall, soft or neutral tones (e.g., white alyssum, yellow marigolds).
Mix textures—feathery foliage (e.g., ornamental grasses), glossy leaves (e.g., rosemary), and spiky stems (e.g., thistles)—to add visual depth.

3. Prepare the Planting Bed
3.1 Clear and Shape the Area
Remove weeds, grass, and debris. Use a garden spade to create a gentle slope (2% grade) away from structures to prevent water pooling.
3.2 Amend the Soil
Incorporate 2–3 inches of compost and a balanced slow‑release fertilizer (10‑10‑10) at a rate of 1 lb per 100 sq ft. For heavy clay, add coarse sand or perlite to improve drainage.
3.3 Install a Weed Barrier (Optional)
Lay a biodegradable landscape fabric, then cover with a 2‑inch layer of mulch. This suppresses weeds, conserves moisture, and creates a clean backdrop for your flower border.
4. Planting Techniques for Success
4.1 Follow the “Spacing Rule”
Measure each plant’s mature spread (usually listed on the label). Space plants at 75% of that width to allow airflow while maintaining a dense look. Overcrowding can increase disease risk by up to 40%.
4.2 Plant at the Correct Depth
For most perennials, dig a hole twice as wide as the root ball but no deeper than the plant’s crown. Gently tease roots, place the plant, backfill with amended soil, and firm lightly.
4.3 Water In Strategically
After planting, water deeply (about 1 inch) to settle soil around roots. Use a soaker hose or drip line to deliver 0.5 gallons per hour per 10 sq ft for the first two weeks, then taper to once a week as plants establish.
5. Ongoing Care and Maintenance
5.1 Mulch Management
Replenish mulch annually to a depth of 2–3 inches. This conserves moisture, moderates soil temperature, and reduces weed emergence by up to 80%.
5.2 Fertilization Schedule
Apply a balanced organic fertilizer (e.g., fish emulsion) in early spring and again after the first major bloom cycle. Avoid high‑nitrogen products that promote foliage over flowers.
5.3 Pruning and Deadheading
Remove spent blooms weekly to encourage repeat flowering. For woody perennials (e.g., roses), prune in late winter, cutting back 1/3 of the previous year’s growth to stimulate vigorous new shoots.
5.4 Pest and Disease Monitoring
Use the “scout and act” method: inspect leaves weekly for signs of aphids, spider mites, or fungal spots. Apply neem oil or insecticidal soap at the first sign of trouble, and ensure proper spacing to improve air circulation.
6. Designing a Stunning Flower Border
6.1 Create Visual Flow
Start with a focal point—such as a tall, bold-colored plant—at one end or the center. Gradually transition to softer hues toward the edges. This guides the eye and adds a sense of movement.
6.2 Layer Textures
Combine:
- Fine foliage: Baby’s breath, lamb’s ear.
- Medium foliage: Salvia, coreopsis.
- Coarse foliage: Feather reed grass, ornamental bamboo.
Alternate textures every 2–3 feet for a dynamic, garden‑wide tapestry.
6.3 Add Seasonal Interest
Choose plants that bloom at staggered times:
- Early spring: Crocus, dwarf iris.
- Mid‑summer: Zinnias, coneflowers.
- Fall: Asters, ornamental cabbage.
This ensures continuous color and keeps pollinators engaged throughout the growing season.
7. Harvesting the Benefits
With a well‑planned flower border, you’ll enjoy:
- Increased property value (studies show landscaped homes sell 7% faster).
- Attraction of beneficial insects, reducing the need for chemical pest control.
- Improved mental health—research links garden exposure to lower stress hormones.
By following these data‑backed steps and incorporating layered colors and textures, even a novice gardener can craft a thriving, eye‑catching flower border that delights year after year.
