Welcome to your step‑by‑step guide on sustainable gardening—where eco‑friendly practices meet high yields. By using data‑driven decisions, simple math tricks, and low‑cost techniques, you can turn a modest plot into a thriving, self‑sustaining oasis without breaking the bank.
1. Assess Your Space with a Soil‑Scorecard
Collect baseline data
- Grab a basic soil test kit (available at most garden centers) and record pH, nitrogen (N), phosphorus (P), and potassium (K) levels.
- Enter the results into a spreadsheet and compare them to the optimal ranges for your chosen crops (e.g., tomatoes thrive at pH 6.0‑6.8).
Actionable tip
Use the “soil‑scorecard” to prioritize amendments: if pH is too low, add lime; if nitrogen is lacking, incorporate compost or a nitrogen‑fixing cover crop like clover.

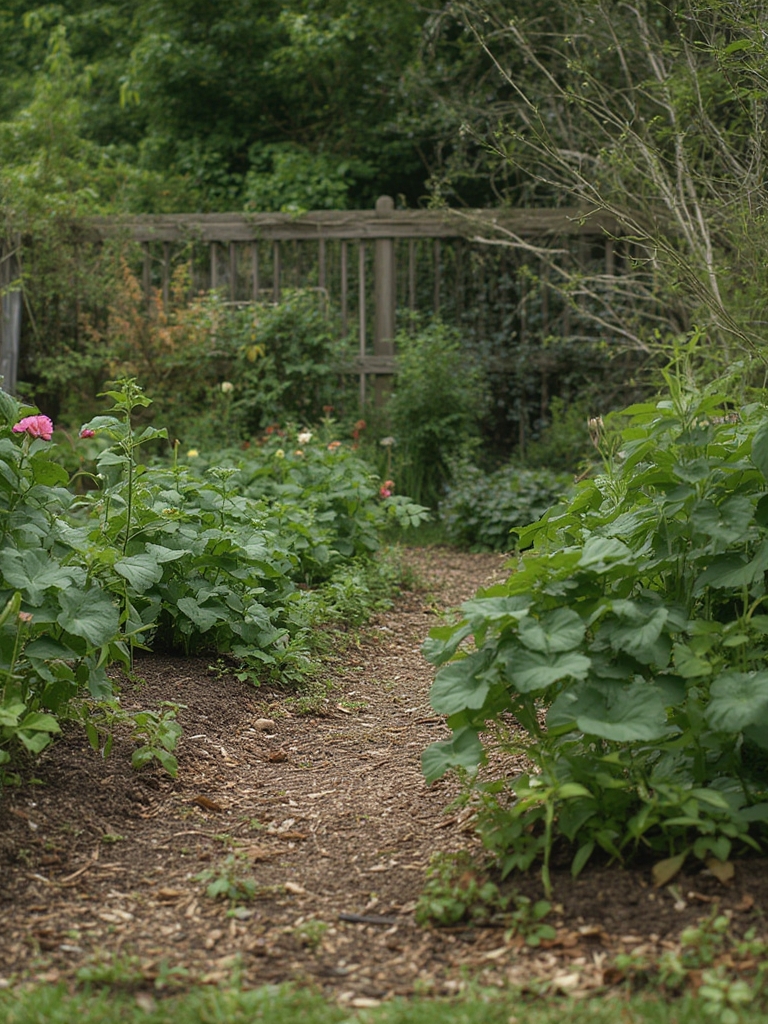
2. Choose Native, Low‑Input Plants
Why native matters
Native species are already adapted to local climate, pests, and soil conditions, meaning they need less water, fertilizer, and pesticide input. Data from the USDA Plant Hardiness Zone map shows a 30‑40 % reduction in water use for native plants compared to exotic varieties.
Practical steps
- Search your county’s extension service website for a list of recommended native perennials.
- Start with a core group of 3‑5 plants that bloom at different times to ensure continuous pollinator support.
3. Multiply Your Garden for Free Using Simple Division
The math trick
Divide your garden into equal sections based on the number of plant families you want to grow. For example, a 12‑square‑meter plot divided by 4 plant families yields 3 m² per family. This “division method” maximizes space while simplifying crop rotation.
Implementation
- Draw a quick grid on paper or use a free garden‑planning app.
- Assign each grid cell to a plant family (e.g., legumes, brassicas, nightshades, root vegetables).
- Rotate families each season to break pest cycles and replenish soil nutrients naturally.
Actionable tip
Mark the divisions with biodegradable twine or reclaimed wooden stakes—no extra cost, and the markers decompose after a season.
4. Build Soil Health with Compost and Mulch
Data‑backed benefits
Studies from the Rodale Institute show that adding 2‑3 inches of compost can increase water retention by up to 20 % and reduce the need for synthetic fertilizer by 30 %.
Step‑by‑step composting
- Collect kitchen scraps (fruit/veg peels, coffee grounds) and garden waste (leaf litter, grass clippings).
- Layer brown (dry leaves, shredded newspaper) and green (food scraps, fresh grass) materials in a 3:1 ratio.
- Turn the pile every 2‑3 weeks to aerate and speed up decomposition.
Mulch application
Spread a 2‑inch layer of straw, wood chips, or shredded leaves around plants. This suppresses weeds, moderates soil temperature, and slowly adds organic matter as it breaks down.

5. Water Wisely with Data‑Driven Scheduling
Calculate exact water needs
Use the formula: Water (ℓ) = Area (m²) × Depth (cm) × 10. For a 3 m² bed needing 2 cm of water, you’ll need 60 ℓ (≈ 16 gal). This prevents over‑watering and saves resources.
Practical methods
- Install a rain barrel and connect it to a drip‑irrigation system; drip emitters deliver water directly to the root zone, reducing evaporation by up to 50 %.
- Set a timer based on local evapotranspiration data (available from weather.gov). Adjust weekly according to rainfall.
6. Implement Integrated Pest Management (IPM)
Monitor and record pest activity
Keep a simple pest log in your garden notebook: note the date, plant affected, and pest observed. Over a season, patterns emerge, allowing targeted interventions.
Low‑cost IPM tactics
- Companion planting: Plant marigolds next to tomatoes to deter nematodes.
- Physical barriers: Use row covers made from old sheets to protect seedlings.
- Biological controls: Release beneficial insects like ladybugs or lacewings purchased in bulk.
Actionable tip
When a pest threshold (e.g., 5 % leaf damage) is reached, apply a homemade spray of 1 tbsp neem oil mixed with 1 liter water—effective and organic.
7. Harvest, Save Seeds, and Close the Loop
Data on seed saving
According to the Seed Savers Exchange, a single open‑pollinated tomato plant can produce up to 150 grams of seed, enough to start a new garden for the following year, cutting seed costs by 100 %.
Steps to save seeds
- Harvest fully ripe fruits or seed pods.
- Ferment seeds in water for 2‑3 days to remove pulp and inhibit pathogens.
- Rinse, dry on a paper towel, and store in labeled envelopes in a cool, dark place.
Practical tip
Label each envelope with the plant name, variety, and date—this simple data record helps you track performance year over year.
8. Track Success with a Simple Garden Dashboard
What to record
- Planting dates and varieties.
- Water usage (liters per week).
- Yield per square meter (kg or lbs).
- Observations on pest pressure and soil amendments.
Tool suggestion
Use a free Google Sheet template: create columns for each metric, add conditional formatting to highlight out‑of‑range values, and generate monthly charts to visualize improvements.
Actionable tip
Review the dashboard at the end of each growing season. Identify which practices saved water, increased yield, or reduced inputs, and replicate those in the next cycle.
By following these data‑driven, low‑cost steps—and leveraging the simple division trick to multiply your garden space—you’ll cultivate a sustainable garden that thrives year after year while minimizing environmental impact and expense. Happy planting!
