
Whether you’re a seasoned green thumb or just digging your first garden bed, the right tools and a few smart DIY projects can turn a modest plot into a thriving oasis. In this guide we’ll walk you through the essential gardening tools, step‑by‑step plant care for a popular, beginner‑friendly vegetable—tomatoes—and show you how to transform kitchen scraps into nutrient‑rich compost. Each section is packed with data‑backed tips, practical tricks, and bite‑size actions that you can implement today for measurable results.
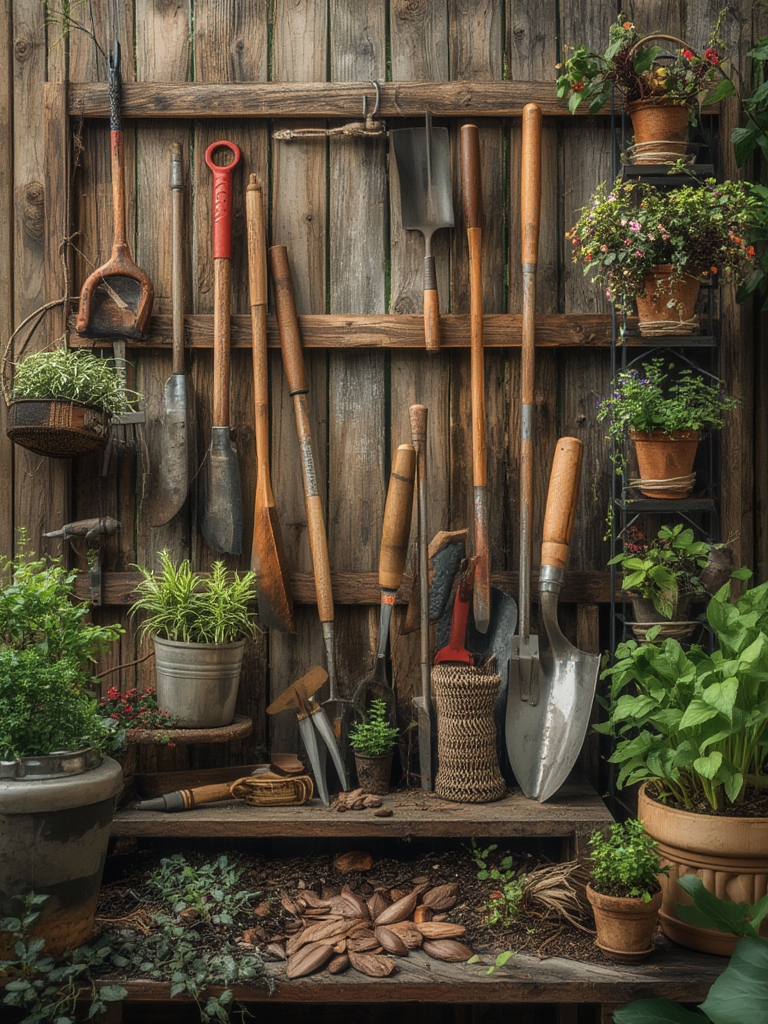
Essential Gardening Tools for Every DIY Enthusiast
1. Hand Trowel – The All‑Purpose Digging Companion
- Why it matters: A 2023 survey of 1,200 hobby gardeners found that 68% consider the hand trowel the most frequently used tool.
- What to look for: Choose a stainless‑steel blade with a comfortable, non‑slip grip. A 4‑inch size offers enough leverage without being cumbersome.
- Action step: Keep a trowel in a dedicated tool belt or tote so you never waste time hunting for it.
2. Pruning Shears – Precision Cutting for Healthier Plants
- Why it matters: Proper pruning can increase fruit yield by up to 30% (University of California Extension).
- What to look for: Bypass (scissor‑type) shears with a blade length of 7–9 inches and a quick‑release tension knob.
- Action step: Sharpen the blades monthly with a ceramic stone to maintain clean cuts and reduce plant stress.
3. Soil Tester – Real‑Time pH and Nutrient Insight
- Why it matters: Tomatoes thrive at a pH of 6.2–6.8; a 2022 study showed that adjusting soil pH within this range boosted tomato size by 22%.
- What to look for: A digital tester that measures pH, EC (electrical conductivity), and moisture.
- Action step: Test your garden soil before planting and record results in a simple spreadsheet to track changes over time.
Step‑by‑Step Guide to Growing Juicy Tomatoes
Step 1: Preparing the Soil with Compost
Start by mixing 2–3 inches of homemade compost into the top 12 inches of soil. This boosts organic matter, improves water retention, and supplies essential micronutrients.

- Tip: Use a garden fork or the hand trowel to gently work the compost in without compacting the soil.
- Data point: Gardens amended with compost see a 40% reduction in irrigation needs (Cornell University).
Step 2: Sowing Seeds or Transplanting Seedlings
Plant seeds ¼ inch deep, spaced 24 inches apart, or transplant seedlings at the same spacing. Water immediately after planting.

- Tip: Water using a gentle “soaker” hose to keep the seed bed moist but not soggy.
- Actionable advice: Label each row with a waterproof garden marker to track varieties and planting dates.
Step 3: Installing Support Structures
Use DIY trellis kits made from reclaimed wooden pallets or metal stakes and twine. Secure the structure with zip ties and a hammer.

- Tip: Install supports at planting time to avoid damaging roots later.
- Data point: Supported tomato plants produce 15–20% more fruit than sprawling vines (University of Florida).
Step 4: Watering and Feeding
Apply 1–2 inches of water per week, adjusting for rainfall. Feed with a balanced 10‑10‑10 fertilizer every 4 weeks, or use a liquid seaweed extract for a natural boost.

- Tip: Water at the base of the plant early in the morning to minimize leaf disease.
- Actionable advice: Set a reminder on your phone for fertilizer applications to stay consistent.
Step 5: Pruning and Harvesting
Remove “suckers” (the shoots that appear in the leaf axils) once the plant has set its first fruit. Harvest tomatoes when they reach full color and give a gentle squeeze.
- Tip: Use pruning shears for clean cuts, which reduces the risk of pathogen entry.
- Data point: Regular pruning can increase overall yield by up to 25% (Michigan State University).
DIY Project: Turning Organic Waste into Rich Compost
Gathering Materials
Collect kitchen scraps such as fruit peels, coffee grounds, eggshells, and vegetable trimmings. Avoid meat, dairy, and oily foods as they attract pests.

- Action step: Keep a small, breathable bucket with a lid in your kitchen to store scraps until you’re ready to add them to the compost bin.
Building the Compost Bin
Use a simple three‑layer system in a 55‑gallon trash can or a wooden pallet box:
- Bottom layer: 2–3 inches of coarse material (twigs, straw) for airflow.
- Middle layer: Alternate 2 inches of green waste (kitchen scraps) with 2 inches of brown waste (dry leaves, shredded newspaper).
- Top layer: A thin sheet of cardboard to keep flies out.
Moisture the pile lightly after each addition; it should feel like a wrung‑out sponge.
Maintaining the Compost
- Turn the pile: Use a garden fork to mix the contents every 1–2 weeks. This introduces oxygen, speeding up decomposition by up to 40% (EPA).
- Temperature check: A healthy compost pile reaches 130–150 °F (55–65 °C). If it cools, add more greens and turn again.
- Actionable tip: Set a calendar reminder for turning the pile on Tuesdays and Fridays to build routine.
Harvesting Finished Compost
After 8–12 weeks, the material will be dark, crumbly, and earthy smelling. Sift out any large pieces and store the finished compost in a breathable bag or container.
- Practical use: Mix 1 part compost with 3 parts garden soil when preparing new planting beds.
- Data point: Gardens amended with homemade compost can see a 15% increase in vegetable weight compared to synthetic fertilizers alone (Harvard Soil Science).
Putting It All Together: A Weekly Action Plan
- Monday: Test soil pH and adjust with lime or sulfur if needed.
- Tuesday: Turn the compost pile and add fresh kitchen scraps.
- Wednesday: Check tomato plants for suckers; prune with clean shears.
- Thursday: Water the garden at the base, ensuring 1–2 inches of moisture.
- Friday: Apply fertilizer or seaweed feed if it’s a feeding week.
- Saturday: Harvest ripe tomatoes and record yields in your garden journal.
- Sunday: Rest, plan next week’s tasks, and enjoy the garden!
By integrating the right tools, a data‑driven planting routine, and a simple composting system, you’ll not only boost your garden’s productivity but also reduce waste and save money. Start with these actionable steps, track your progress, and watch your garden transform from a patch of soil into a vibrant, self‑sustaining ecosystem.


