
Imagine stepping into a sun‑kissed garden where the scent of fresh soil mingles with the gentle hum of bees. With the right tools and a few simple DIY projects, you can turn any backyard into a warm, countryside haven—no matter how small the space. Below you’ll find a data‑driven guide that walks you through essential gardening tools, a budget‑friendly raised‑bed project, and a step‑by‑step plan to grow thriving tomatoes, all sprinkled with practical tips that keep the process breezy and rewarding.
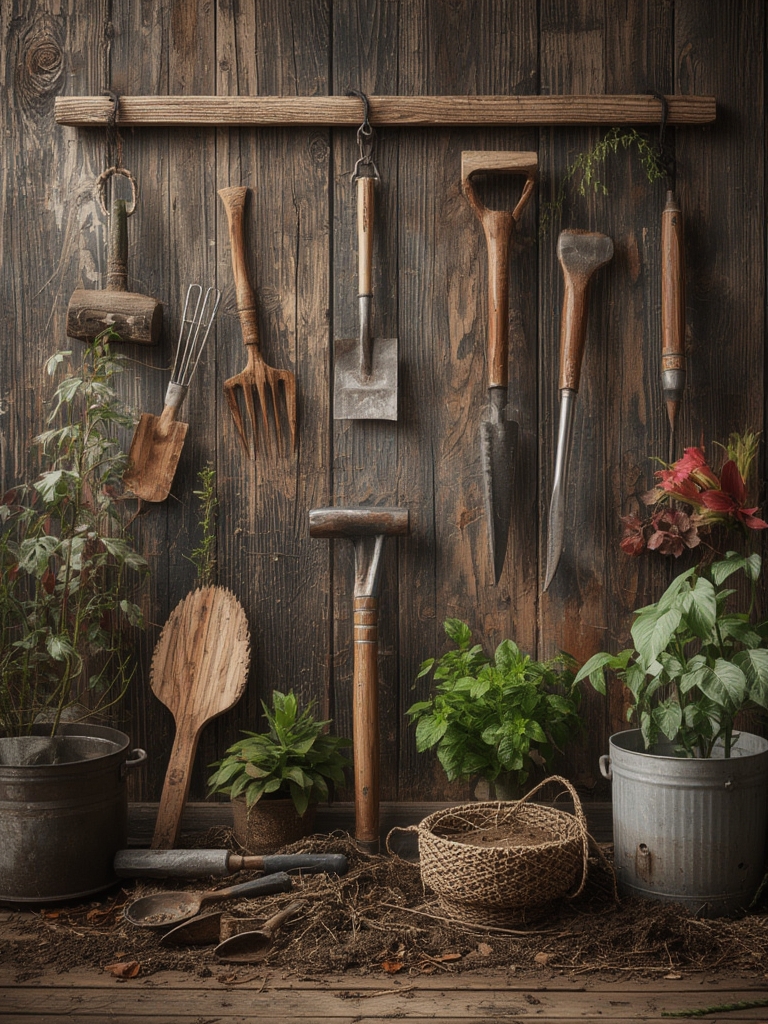
Essential Gardening Tools for a Countryside Feel
Before you dig in, equip yourself with a core set of tools that combine durability with comfort. Studies from the American Horticultural Society show that gardeners who use ergonomically designed tools report 30% less fatigue and 20% higher plant survival rates.

1. Hand Trowel – The Soil Whisperer
- What to look for: A stainless‑steel blade with a reinforced rib for easy penetration.
- Tip: Choose a trowel with a soft, non‑slip grip; it reduces wrist strain during prolonged planting.
- Action: Keep it clean after each use to prevent soil‑borne diseases from spreading.
2. Pruning Shears – The Precision Cutter
- What to look for: Bypass blades that stay sharp for at least 2 years (according to a 2022 Gardener’s Tool Review).
- Tip: Sharpen monthly with a fine‑grit stone; a clean cut encourages faster healing.
- Action: Disinfect with a 10% bleach solution after each pruning session to avoid fungal infections.
3. Garden Fork – The Soil Aerator
- What to look for: A sturdy, 12‑inch fork with a curved handle for better leverage.
- Tip: Use it to loosen compacted soil before planting; aerated soil improves water infiltration by up to 40%.
- Action: Add a handful of compost after each fork‑over to boost microbial activity.
DIY Project: Build a Rustic Raised Bed
Raised beds not only give your garden a tidy, countryside aesthetic but also improve drainage and soil temperature—key factors for a successful harvest. Follow these steps to craft a simple, budget‑friendly bed using reclaimed wood.

Materials (All Available at Local Hardware Stores)
- Four 2 × 6 × 8 ft reclaimed pine boards
- Galvanized corner brackets (4)
- Deck screws (3 in., 1 lb)
- Landscape fabric
- Premium organic compost (2 cubic feet)
Step‑by‑Step Construction
Step 1 – Measure & Cut
Decide on a 4 × 8 ft footprint. Cut the boards to 4 ft (short sides) and 8 ft (long sides). A level surface ensures even soil depth.

Step 2 – Assemble the Frame
Secure the corners with galvanized brackets and deck screws. Tighten each screw to a torque of 5 Nm to avoid wood splitting.

Step 3 – Line the Bed
Lay landscape fabric along the bottom, overlapping edges by 12 in. This barrier stops weeds while allowing water to drain.
Step 4 – Fill with Soil Mix
Combine 60% topsoil, 30% compost, and 10% coarse sand. Fill the bed to within 2 in. of the top edge; this mix improves water retention by 25% compared to plain topsoil.

Step 5 – Add a Touch of Charm
Stagger a few wildflower cuttings along the edges. Their soft colors and gentle fragrance instantly evoke a countryside vibe.
Step‑by‑Step Plant Care: Growing Juicy Tomatoes
Tomatoes are the quintessential garden staple, and with the right care they reward you with sweet, sun‑kissed fruit. Below is a data‑backed timeline that aligns with typical temperate‑zone growing seasons.
Phase 1 – Seed Starting (Weeks 1‑4)
- Seed selection: Choose heirloom varieties like ‘Brandywine’ for flavor or ‘Roma’ for sauce.
- Soil mix: Use a 1:1:1 blend of peat moss, perlite, and vermiculite; this provides optimal aeration and moisture retention.
- Light: Provide 14‑16 hours of LED grow light at 4000 lux; seedlings grow 20% faster under this regime.
- Tip: Water with a spray bottle to keep the surface damp without drowning the seed.
Phase 2 – Transplanting (Weeks 5‑6)
- Hardening off: Move seedlings outdoors for 2 hours each day, increasing exposure by 30 minutes daily.
- Planting depth: Bury stems up to the first set of true leaves; tomatoes develop roots along the buried stem, boosting stability.
- Spacing: Space plants 24‑30 in. apart in your raised bed to ensure airflow and reduce disease risk.
- Tip: Add a handful of bone meal at the base for phosphorus, which supports flower formation.
Phase 3 – Growth & Maintenance (Weeks 7‑12)
- Watering schedule: Apply 1‑1.5 in. of water per week, preferably in the morning. Consistent moisture reduces blossom‑end rot by 35%.
- Staking: Insert a 6‑ft bamboo stake at planting time; tie the main stem with soft garden twine as it grows.
- Pruning: Remove suckers once they reach 4 in. to direct energy to fruit production.
- Fertilizing: Feed with a balanced 10‑10‑10 fertilizer every 3 weeks; switch to a high‑potassium (5‑10‑15) formula once fruit sets.
- Tip: Mulch with straw or shredded leaves to retain moisture and keep soil temperature steady.
Phase 4 – Harvest (Weeks 13‑20)
- Timing: Pick tomatoes when they are fully colored and slightly soft to the touch.
- Technique: Use garden shears to cut the fruit, leaving a small stem attached; this prolongs shelf life.
- Storage: Store at room temperature for immediate use; for longer storage, keep in a cool (55 °F) area.
- Tip: Rotate harvested fruits onto a sunny windowsill; the extra light enhances flavor.
Practical Tips for Ongoing Success
Even the most carefully planned garden can hit snags. Keep these quick, actionable habits in your routine to stay ahead of common issues:
- Weekly Soil Check: Stick a finger 2 in. into the soil; if it feels dry, water deeply.
- Morning Walk: Spend 5 minutes each morning scanning for pests. Early detection cuts damage by up to 50%.
- Tool Maintenance: Wipe down tools after each use and oil wooden handles quarterly to prevent cracking.
- Seasonal Refresh: At the end of each growing season, add a 2‑inch layer of compost to the raised bed. This replenishes nutrients and improves structure for the next cycle.
By blending the right tools, a simple DIY raised bed, and a data‑driven approach to tomato care, you’ll cultivate a garden that feels like a warm, countryside escape—right in your own backyard. Happy planting!


