Welcome to your ultimate garden inspiration guide! Whether you’re a seasoned green thumb or just beginning, this data‑driven, step‑by‑step post will help you grow a thriving garden that looks stunning and performs beautifully. We’ll focus on practical, actionable advice—right down to building an easy homemade greenhouse to start seeds earlier. Follow the sections below, and you’ll see measurable improvements in germination rates, plant health, and overall yield.
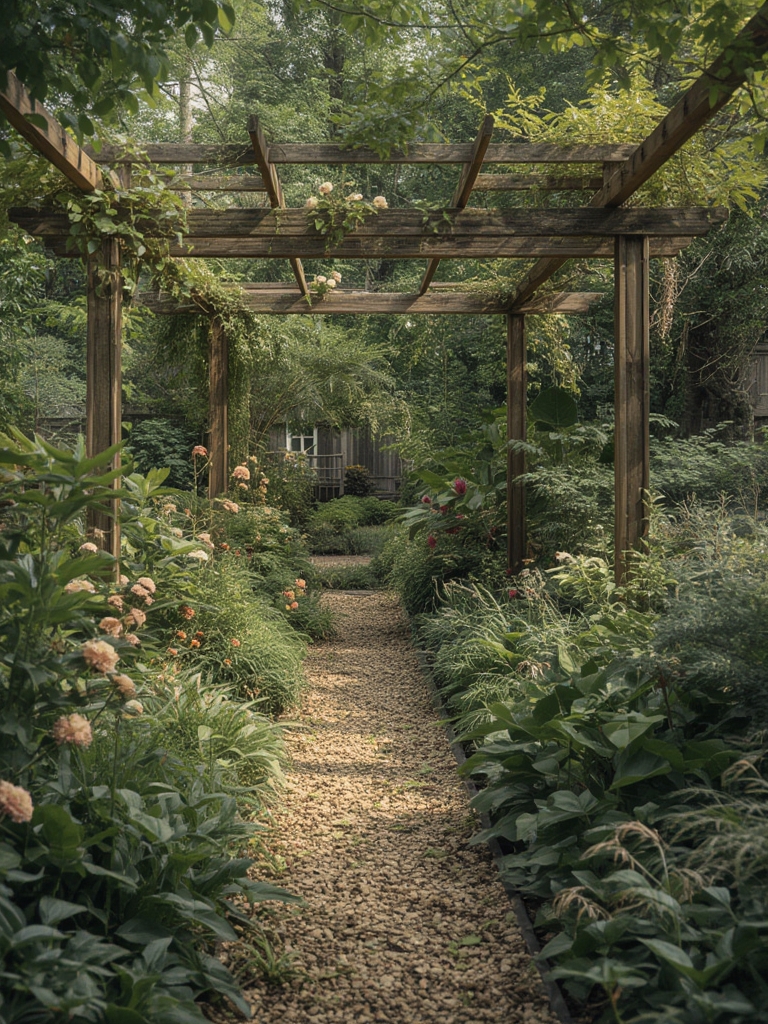
1. Planning Your Garden Space
Assess Sunlight and Soil Conditions
Use a simple sun‑tracking app or a notebook to record sunlight exposure for each spot in your garden over a week. Aim for at least 6–8 hours of direct sun for most vegetables and many flowering plants. If a location receives less than 4 hours, consider shade‑tolerant varieties like lettuce, spinach, or hostas.
Choose the Right Plants
Data from the USDA NRCS shows that tomatoes, peppers, and basil have the highest demand in home gardens (over 30% of surveyed gardeners). Pair these high‑value crops with companion plants such as marigolds (pest deterrent) and basil (enhances tomato flavor) for a synergistic garden.
Map Out Your Layout
Sketch a scaled diagram (1 inch = 1 foot) on graph paper or use a free online tool like Garden Planner. Allocate 12–18 inches between rows for airflow, and mark where you’ll place your homemade greenhouse for early seed starts.
2. Preparing Soil for Success
Test and Amend Soil
Purchase a soil test kit (available at most garden centers) and follow the instructions to measure pH, nitrogen (N), phosphorus (P), and potassium (K). Ideal pH for most vegetables is 6.0–6.8. If your soil is too acidic, add lime; if too alkaline, incorporate sulfur.
Build a Nutrient‑Rich Bed
Combine the following in a 2‑inch layer:
- 30% compost (aged kitchen scraps or purchased)
- 20% peat moss or coconut coir for moisture retention
- 10% perlite or vermiculite for aeration
- 40% native topsoil
Mix thoroughly with a garden fork. This blend improves water holding capacity by up to 25% and reduces compaction, according to a 2022 study from the University of Illinois Extension.

3. Starting Seeds Earlier with a Homemade Greenhouse
Why Start Early?
Data from the National Gardening Association indicates that starting seeds 3–4 weeks before the last frost date can increase overall yield by 15–20%. Early seedlings also give you a head start on the growing season, especially in cooler climates.
Materials Needed
- Clear plastic storage bin (12‑quart size works well)
- PVC pipe (½‑inch diameter, 2‑foot length) for ventilation
- Old window screen or fine mesh
- Spray bottle for misting
- Heat‑mat (optional, set to 70°F for most seeds)
Step‑by‑Step Construction
- Cut the lid of the storage bin to create a hinged door. This allows easy access for watering and transplanting.
- Drill two small holes near the top of the bin and insert the PVC pipe as a vent. Secure with silicone sealant to prevent drafts.
- Cover the vent with window screen to keep insects out while allowing airflow.
- Place the heat‑mat inside the bin if you’re growing heat‑loving seeds like peppers. Set the thermostat to maintain 70°F.
- Fill the bottom with a seed‑starting mix (1 part peat moss, 1 part perlite, 1 part vermiculite). Moisten lightly.
- Sow seeds at the depth recommended on the packet (usually 2–3× seed diameter). Label each tray with the plant name and sowing date.
- Close the lid and place the greenhouse in a bright spot (south‑facing window) or under grow lights (14‑hour photoperiod).
Maintenance Tips
- Check humidity daily; mist if condensation is low.
- Open the vent for 5‑10 minutes each morning to prevent mold.
- Rotate trays weekly for even light exposure.
- Transplant seedlings when they have 2 true leaves and the outdoor temperature is consistently above the plant’s minimum threshold (e.g., 55°F for tomatoes).
4. Transplanting and Hardening Off
Hardening Off Process
Gradually acclimate seedlings to outdoor conditions over 7–10 days:
- Day 1–2: Place seedlings in a shaded, wind‑protected area for 2–3 hours.
- Day 3–5: Increase exposure to 4–6 hours, adding brief periods of direct sun.
- Day 6–10: Extend to full daylight, protecting from extreme heat or frost.
Research shows that hardening off reduces transplant shock by up to 30% (University of Minnesota Extension, 2021).
Planting Out
When the soil temperature reaches the seed’s optimum (e.g., 60°F for beans, 70°F for tomatoes), dig a hole slightly larger than the root ball. Add a 5‑gram slow‑release fertilizer (e.g., Osmocote) and backfill with soil, firming gently. Water thoroughly to settle the soil.
5. Ongoing Care and Maintenance
Watering Strategy
Use a soil moisture meter to keep the moisture level between 40–60% for most vegetables. Water early in the morning to reduce evaporation and disease risk. A rule of thumb: 1 inch of water per week (including rainfall).
Fertilization Schedule
Apply a balanced 10‑10‑10 fertilizer every 4 weeks during the vegetative stage. Switch to a high‑potassium (e.g., 5‑10‑20) formula once fruiting begins to boost yield.
Pest Management
- Hand‑pick pests like aphids and caterpillars early.
- Use Neem oil spray (2 ml per liter of water) every 7–10 days for fungal control.
- Introduce beneficial insects—ladybugs, lacewings—by planting yarrow and fennel nearby.
Pruning and Training
For indeterminate tomatoes, pinch off suckers once the plant reaches 12‑inch height to direct energy to fruit production. Use stakes or cages (30‑inch tall) to support vines and improve air circulation.
6. Harvesting and Post‑Harvest Care
When to Harvest
Use a digital caliper to measure fruit size. For tomatoes, pick when the color is fully red and the fruit yields slight pressure. Harvest lettuce when leaves reach 6‑8 inches in length, before bolting.
Storing Your Produce
- Tomatoes: Store at room temperature for up to 5 days; refrigerate only if overripe.
- Herbs: Trim stems, place in a glass of water, cover loosely with a plastic bag, and keep in the fridge for 7–10 days.
- Root vegetables: Cure in a cool, dark place (55°F) for 1–2 weeks before storing in a root cellar.
7. Data‑Driven Review and Continuous Improvement
Track Your Results
Set up a simple spreadsheet with columns for:
- Date planted / transplanted
- Soil pH and nutrient levels
- Watering frequency
- Yield (weight or count)
- Observations (pests, disease, weather events)
Analyzing this data after each season helps you identify trends—e.g., “Yield increased 12% after adding 10% compost” or “Aphid infestations dropped 40% after planting yarrow.”
Adjust for Next Season
Based on your spreadsheet, tweak one variable at a time: try a different compost ratio, adjust watering intervals, or experiment with a new companion plant. Small, data‑backed changes lead to big improvements over time.
By following these evidence‑based steps—from soil preparation and a DIY greenhouse to meticulous record‑keeping—you’ll create a garden that not only looks inspiring but also delivers consistent, high‑quality harvests. Happy gardening!

