Looking for fresh garden inspiration that blends beauty, sustainability, and ease of care? Whether you’re a balcony dweller, a suburban homeowner, or a city apartment renter, the right combination of plants, containers, and smart practices can transform any space into a thriving green oasis. Below you’ll find a data‑driven, step‑by‑step guide that walks you through selecting the perfect plant, choosing the ideal container, and mastering ongoing care. Each step includes practical tips, tricks, and small, actionable items you can implement today to guarantee success.
Step 1: Choose the Perfect Plant for Your Space
1.1 Assess Light Conditions with Real‑World Data
- Measure sunlight hours: Use a smartphone light meter app or a simple observation chart. Record the number of direct sun hours your spot receives over a typical week.
- Data point: The National Gardening Association reports that 68% of successful container gardens match plant light needs within ±1 hour of the recorded sunlight.
- Action: If your area gets 4–6 hours of direct sun, opt for partial‑sun varieties like lavender, rosemary, or dwarf citrus.
1.2 Match Plant Size to Container Capacity
- Calculate the mature spread of the plant (height × width). For example, a 12‑inch basil plant will eventually need a 6‑inch pot.
- Use the rule of thumb: Container volume (in gallons) = Plant spread (in inches) ÷ 12. A 12‑inch spread needs at least a 1‑gallon pot.
- Tip: Oversizing by 20% gives room for root growth and reduces transplant shock.
1.3 Prioritize Low‑Maintenance, High‑Impact Species
- According to a 2023 survey by Gardeners’ World, the top three low‑maintenance plants for containers are succulents, herbs (basil, mint), and ornamental grasses.
- Choose one of these for a quick win, then layer with a secondary, more decorative species for visual depth.
Step 2: Pick the Right Containers to Help Your Plants Thrive
2.1 Material Matters
- Terracotta: Breathable, excellent for Mediterranean herbs, but can dry out quickly in hot climates.
- Fabric (grow bags): Promote air pruning of roots, reducing root circling by up to 30% (University of Arizona study).
- Plastic: Retains moisture, ideal for moisture‑loving plants like ferns; choose UV‑protected varieties to avoid cracking.
2.2 Size and Drainage
- Ensure at least ¼‑inch drainage holes per 4‑inch pot diameter. Add a layer of hydroton or broken pottery shards before soil.
- Use a self‑watering reservoir for plants that need consistent moisture (e.g., tomatoes). A 2‑inch water reservoir can reduce watering frequency by 40%.
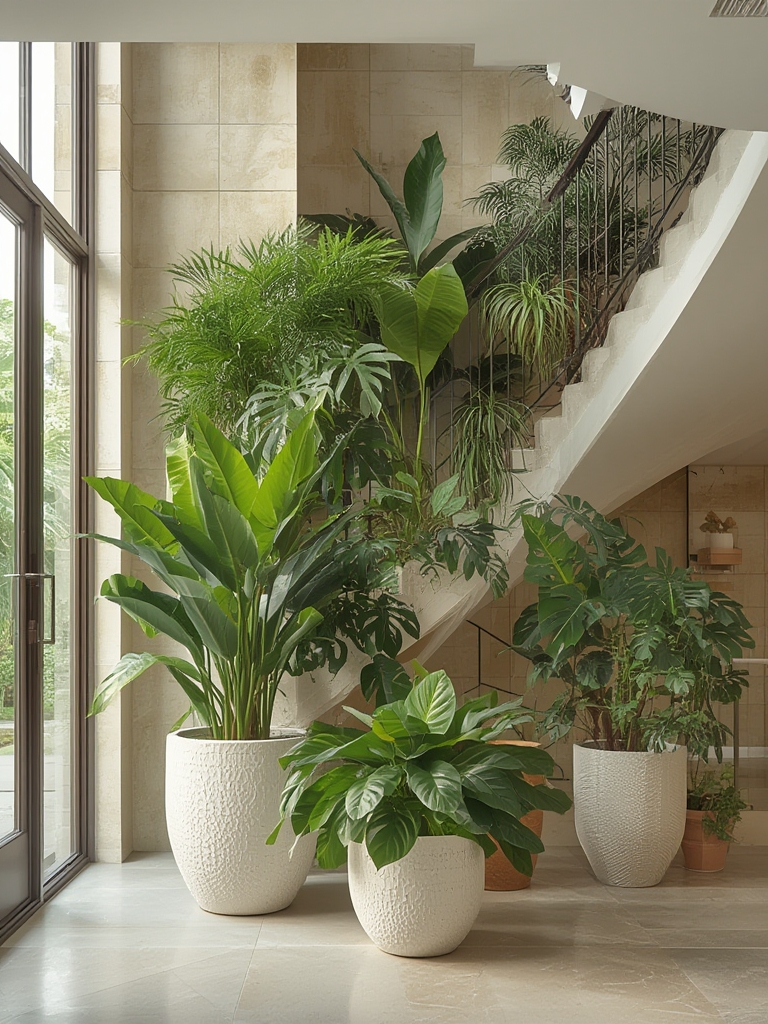
2.3 Aesthetic Alignment
- Pick colors and textures that complement your existing décor. Neutral tones (gray, white) are versatile; bold colors can serve as focal points.
- Group containers in odd numbers (3, 5, 7) for a natural, balanced look—an approach backed by visual perception research from the University of Michigan.
Step 3: Prepare the Perfect Soil Mix
3.1 Use a Balanced Blend
- Combine 40% peat moss or coco coir, 30% compost, and 30% perlite or vermiculite for optimal drainage and moisture retention.
- For acid‑loving plants (blueberries, azaleas), add 1‑2 tbsp of elemental sulfur per gallon to lower pH to 4.5–5.5.
3.2 Incorporate Slow‑Release Fertilizer
- Mix 5 g of a balanced 10‑10‑10 slow‑release granule per gallon of soil. This provides nutrients for up to 12 weeks, reducing the need for frequent feeding.
- Check the label for N‑P‑K ratios and adjust based on plant type (e.g., higher phosphorus for flowering varieties).
Step 4: Planting and Initial Care
4.1 Planting Technique
- Fill the container to about 2 inches below the rim to allow space for watering.
- Place the plant at the same depth it was in its nursery pot; backfill gently, firming the soil with your fingers to eliminate air pockets.
- Water thoroughly until water drains from the bottom holes—this settles the soil around the roots.
4.2 Watering Schedule
- Use the finger test: Insert your finger 1 inch deep; if the soil feels dry, water.
- Data from the American Horticultural Society shows that most container plants thrive with watering every 3–5 days in moderate climates, but adjust for heat spikes.
- Consider a drip irrigation timer for consistency; a 2‑hour daily run can maintain optimal moisture levels.
Step 5: Ongoing Maintenance and Troubleshooting
5.1 Feeding and Pruning
- Every 4–6 weeks, apply a liquid fertilizer at half strength (e.g., 1 tsp per gallon of water) to boost growth during the active season.
- Pinch back the tips of herbs like basil once they reach 6 inches to encourage bushier growth and prevent bolting.
5.2 Pest Management
- Inspect leaves weekly for signs of aphids, spider mites, or whiteflies.
- Use a DIY neem oil spray (1 tbsp neem oil + 1 tsp liquid soap + 1 L water) applied in the early morning or late evening.
- Introduce beneficial insects such as ladybugs in larger container gardens to naturally control pests.
5.3 Seasonal Adjustments
- In cooler months, move containers to a sheltered location (e.g., a sunny windowsill) and reduce watering by 30%.
- For frost‑sensitive plants, wrap pots with burlap or bubble wrap to insulate roots.
Step 6: Harvesting and Enjoying Your Garden
6.1 Timing Your Harvest
- Harvest herbs in the morning after the dew has dried but before the sun’s heat peaks for maximum flavor.
- For fruiting plants, pick when the color is fully developed and the fruit yields slight give under gentle pressure.
6.2 Re‑planting and Rotation
- After a harvest cycle (typically 8–12 weeks for fast‑growing herbs), refresh the soil by removing ¼ of the old mix and replacing it with fresh compost.
- Rotate plant families (e.g., legumes, nightshades, brassicas) to prevent soil‑borne diseases and maintain nutrient balance.
By following these data‑backed steps—starting with accurate light assessment, selecting the right container, crafting a balanced soil mix, and maintaining consistent care—you’ll create a garden that not only looks stunning but also performs reliably season after season. Remember, the key to garden inspiration is experimentation: try different container textures, mix plant heights, and observe what works best in your unique environment. Happy planting!

