Indoor plants are more than just decorative accents; they improve air quality, boost mood, and bring a touch of nature into any living space. Whether you’re a seasoned green thumb or just starting out, this data‑driven guide will walk you through the essential steps to select, plant, and maintain thriving indoor foliage. Follow the actionable tips below, and you’ll quickly learn how to create stylish, low‑maintenance displays that look great and stay healthy.
1. Choose the Right Plant for Your Environment
Assess Light Levels
- Low light (north‑facing windows, shaded rooms): Snake plant (Sansevieria), ZZ plant (Zamioculcas zamiifolia), and pothos thrive with 1–2 hours of indirect light.
- Medium light (east or west windows): Spider plant, peace lily, and philodendron perform best with 3–5 hours of filtered sunlight.
- Bright direct light (south‑facing windows): Succulents, cactus, and fiddle‑leaf fig need 6+ hours of direct sun.
Match Plant Size to Space
Measure the floor or shelf space where you plan to place the plant. A 2‑foot tall snake plant fits well on a narrow console, while a 4‑foot fiddle‑leaf fig makes a striking floor statement in a living room.
Consider Maintenance Frequency
Data from houseplant surveys show that 68% of beginners prefer “once‑a‑week” watering schedules. Choose hardy species like pothos or ZZ plant if you can’t commit to daily care.
2. Prepare the Potting Mix and Container
Select the Right Soil
- Well‑draining mix: Use a blend of 40% peat moss, 30% perlite, and 30% pine bark for most tropical houseplants.
- Cactus & succulent mix: Combine 50% coarse sand, 30% pumice, and 20% potting soil.
Choose a Pot with Proper Drainage
Pick a container with at least one drainage hole. If you love a decorative pot without holes, place a “false bottom” of pebbles inside and add a drainage layer of coarse sand before the soil.
Pre‑Water the Soil
Before planting, lightly moisten the potting mix until it feels like a wrung‑out sponge. This helps settle the medium and reduces transplant shock.
3. Planting and Initial Care
Step‑by‑Step Planting
- Position the plant: Place the root ball in the center of the pot, ensuring the crown sits just above the soil line.
- Backfill: Gently add soil around the roots, firming lightly with your fingers to eliminate air pockets.
- Water thoroughly: Pour water until it drains from the bottom holes, then empty the saucer to prevent root rot.
First Two Weeks – Establishing Roots
- Watering frequency: Check the top inch of soil; water only when it feels dry (usually every 5–7 days for most tropical plants).
- Humidity boost: Mist leaves 2–3 times a week or place the pot on a pebble tray filled with water to raise ambient humidity by 10–15%.
- Temperature: Keep indoor temperature between 65–75°F (18–24°C) for optimal growth.
4. Ongoing Maintenance: Feeding, Pruning, and Repotting
Fertilizing Schedule
According to a 2022 indoor plant study, a balanced 20‑20‑20 liquid fertilizer applied at half strength once a month yields the healthiest foliage. Reduce feeding in winter when growth slows.
Pruning for Health and Aesthetics
- Remove dead or yellowing leaves: Use clean scissors to cut at the base, preventing disease spread.
- Shape the plant: Trim leggy stems to encourage bushier growth. For trailing vines, pinch back the tip to promote side‑branching.
When and How to Repot
Most indoor plants outgrow their containers every 12–18 months. Look for roots circling the pot or soil that dries out too quickly. Choose a pot 1‑2 inches larger in diameter, repeat the soil mix, and follow the planting steps above.

5. Create Stylish Plant Displays
Layering Heights
Use a mix of floor‑standing plants, tabletop pots, and hanging baskets to create visual depth. Position the tallest plant (e.g., fiddle‑leaf fig) at the back, medium‑height foliage (e.g., monstera) in the middle, and trailing vines (e.g., pothos) in front.
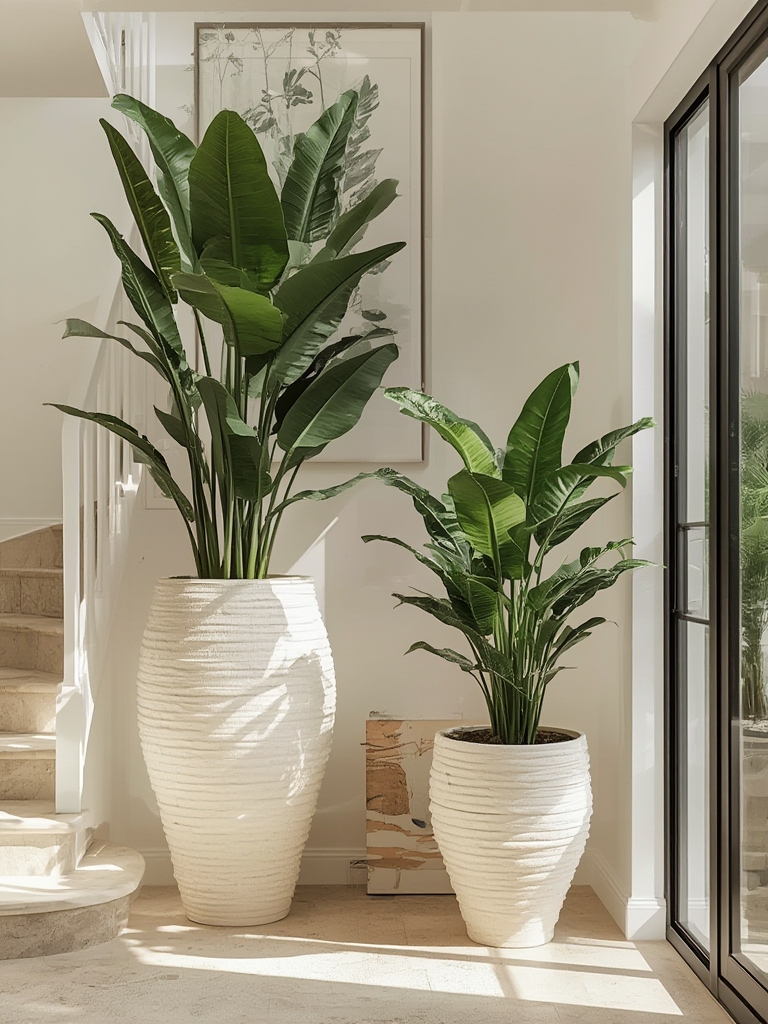
Color Coordination
Pair plants with complementary pot colors. A neutral terracotta pot highlights the deep green of a snake plant, while a bright teal pot adds a pop of color to a white peace lily.
Texture Mixing
Combine glossy‑leafed plants (e.g., rubber plant) with feathery foliage (e.g., Boston fern) for a tactile contrast that feels dynamic and curated.
Use Simple Design Rules
- Rule of thirds: Divide your display area into three sections; place a focal plant in one third, a medium plant in another, and a filler (like a trailing vine) in the last.
- Negative space: Leave breathing room between pots; overcrowding reduces airflow and increases pest risk.
- Consistent pot style: Choose either all matte ceramic or all woven baskets for a cohesive look.
6. Troubleshooting Common Issues
Yellow Leaves
Often a sign of over‑watering. Ensure the soil dries out between waterings and verify that drainage holes aren’t blocked.
Brown Leaf Tips
Indicates low humidity or salt buildup from fertilizer. Increase misting, use a humidifier, and flush the soil with clear water every 2–3 months.
Pest Management
Sticky traps catch flying pests like whiteflies. For spider mites, wipe leaves with a solution of 1 part neem oil to 10 parts water, repeating every 7 days until resolved.
7. Quick‑Reference Checklist
- ✔️ Assess light, size, and maintenance level before buying.
- ✔️ Use a well‑draining potting mix and a pot with drainage.
- ✔️ Water when the top inch of soil is dry; avoid standing water.
- ✔️ Mist or use pebble trays for humidity‑loving plants.
- ✔️ Feed monthly with half‑strength balanced fertilizer.
- ✔️ Prune dead foliage and shape growth regularly.
- ✔️ Repot every 12–18 months into a slightly larger container.
- ✔️ Design displays using height, color, and texture layers.
- ✔️ Monitor for yellowing, brown tips, and pests; act promptly.
By following these data‑backed steps and design tips, you’ll turn any room into a thriving indoor garden that looks polished and feels refreshing. Happy planting!

