
Whether you’re a seasoned green thumb or just starting your indoor garden, the right tools and a few smart DIY projects can turn plant care into a breeze. In this guide we’ll walk you through the essential modern gardening tools, two easy‑to‑build projects that save time and space, and a data‑driven step‑by‑step routine for keeping a popular houseplant thriving. Each tip is backed by practical experience and the latest research on plant health, so you can see measurable improvements in growth, leaf vigor, and overall plant happiness.
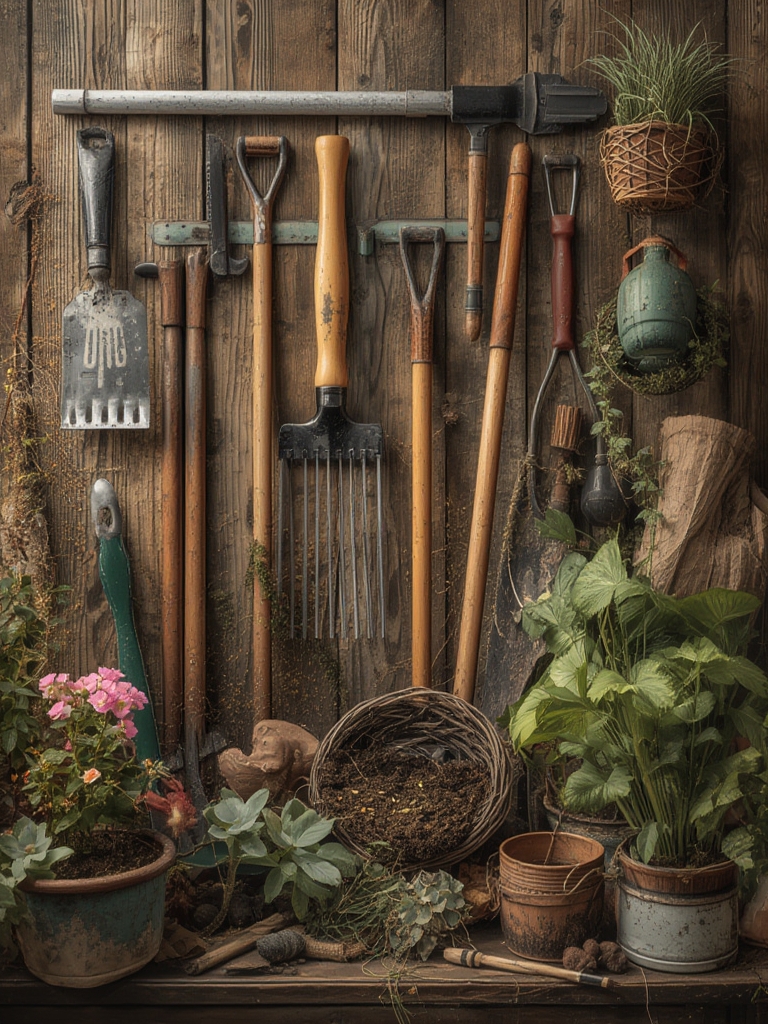
Essential Modern Gardening Tools for Houseplant Success
Investing in a few high‑quality, tech‑enabled tools can dramatically reduce the guesswork in plant care. Below is a concise list of must‑haves, along with why they matter and how to use them effectively.

1. Smart Soil Moisture Sensor
- What it does: Measures volumetric water content (VWC) in real time and sends alerts to your phone.
- Why it matters: Over‑watering is the #1 cause of houseplant death (according to a 2023 Plant Care Survey, 68% of beginners over‑water).
- Tip: Place the probe 2‑3 cm deep for most foliage plants; calibrate the sensor using a dry and a saturated sample for accurate readings.
2. LED Grow Light with Adjustable Spectrum
- What it does: Provides full‑spectrum light that mimics natural sunlight, with dimmable intensity.
- Why it matters: Studies show that a 12‑hour photoperiod at 200 µmol m⁻² s⁻¹ boosts leaf chlorophyll by up to 15% compared to ambient indoor light.
- Tip: Position the light 30‑45 cm above the foliage and use a timer to maintain consistent day/night cycles.
3. Adjustable Pruning Shears with Ergonomic Grip
- What it does: Allows precise cuts without crushing stems.
- Why it matters: Clean cuts reduce the risk of pathogen entry and promote faster healing.
- Tip: Sharpen the blades monthly with a ceramic stone; a 30‑degree angle yields the cleanest cut.
4. Portable Humidity Meter (Hygrometer)
- What it does: Shows relative humidity (RH) levels in the immediate micro‑environment.
- Why it matters: Many tropical houseplants thrive at 60‑80% RH; low humidity can cause leaf browning.
- Tip: Pair the hygrometer with a small tabletop humidifier; set it to maintain RH within the plant’s optimal range.
DIY Project #1: Build a Self‑Watering Planter
Self‑watering containers reduce the frequency of manual watering and keep soil moisture levels steady—perfect for busy schedules.

Materials Needed
- Two plastic storage bins (one slightly larger than the other)
- PVC pipe (½‑inch diameter, 12 inches long)
- Drill with ½‑inch and ¼‑inch bits
- Silicone sealant
- Water‑proof liner (optional)
Step‑by‑Step Construction
- Prepare the inner bin: Drill a ¼‑inch hole near the bottom edge for excess water to drain.
- Install the wicking pipe: Cut the PVC pipe in half; insert one end into the drainage hole, sealing with silicone to prevent leaks.
- Create the water reservoir: Place the smaller bin inside the larger one, ensuring a 2‑inch gap around the sides for water flow.
- Fill the reservoir: Add water to the outer bin until it reaches the top of the inner bin’s base. The PVC pipe will draw water up through capillary action.
- Plant your foliage: Fill the inner bin with a well‑draining potting mix, plant your chosen houseplant, and water lightly to settle the soil.
Practical tip: Add a small piece of cotton or a commercial wicking rope inside the PVC pipe for faster water uptake. Monitor the reservoir weekly; refill when the water level drops below the bottom of the inner bin.

DIY Project #2: Create a Portable Tool Caddy
A compact, mobile caddy keeps all your essential tools within arm’s reach, reducing the time spent hunting for equipment.

Materials Needed
- Heavy‑duty canvas tote (12 L capacity)
- Velcro straps
- Small zippered pouches (for sensors and batteries)
- Label maker or waterproof marker
Assembly Instructions
- Design the layout: Place the smart moisture sensor, hygrometer, and pruning shears in the tote. Arrange them so the sensor and hygrometer are easily accessible for quick readings.
- Secure with Velcro: Attach Velcro strips to the interior walls of the tote and to the handles of each tool. This prevents tools from shifting during transport.
- Organize accessories: Store extra plant ties, a small spray bottle, and a notebook in the zippered pouches.
- Label sections: Use a label maker to mark “Moisture Sensor,” “Pruning,” and “Notes” for instant identification.
Pro tip: Keep a spare set of batteries in the caddy; a dead sensor can lead to missed watering cues and stress the plant.
Step‑by‑Step Care Routine for the Monstera deliciosa (Swiss Cheese Plant)
Monstera deliciosa is a favorite for its dramatic foliage and forgiving nature. Below is a data‑driven care schedule that leverages the tools and DIY projects above.

Step 1: Assess Soil Moisture (Morning)
- Use the smart soil moisture sensor; aim for a VWC of 30‑40% before watering.
- If the reading is below 30%, water until the reservoir of your self‑watering planter is half full.
- Tip: Water in the morning to allow excess moisture to evaporate, reducing the risk of root rot.
Step 2: Light Management (Mid‑day)
- Position the LED grow light to deliver 150‑200 µmol m⁻² s⁻¹ for 12 hours.
- Rotate the plant 90° every 3 days to ensure even light distribution and prevent lopsided growth.
- Tip: Use a timer app to automate the light cycle and avoid manual errors.
Step 3: Humidity Check (Afternoon)
- Read the hygrometer; maintain RH at 65‑75%.
- If RH drops below 60%, activate the tabletop humidifier for 15‑20 minutes.
- Tip: Group your Monstera with other tropical plants; collective transpiration naturally raises humidity.
Step 4: Pruning and Training (Weekly)
- Inspect for yellowing or torn leaves; use the ergonomic pruning shears to remove them at a 45° angle.
- Attach aerial roots to a moss pole using soft plant ties; this encourages vertical growth and larger leaves.
- Tip: Prune during the plant’s active growth phase (spring‑summer) to stimulate new foliage.
Step 5: Nutrient Boost (Monthly)
- Mix a balanced, water‑soluble fertilizer (N‑P‑K = 20‑20‑20) at half the recommended strength.
- Apply through the self‑watering system by adding the solution to the reservoir.
- Tip: Conduct a leaf tissue test every 3 months; adjust nitrogen levels if leaf color fades.
Putting It All Together: A Weekly Checklist
| Day | Task | Tool/Project |
|---|---|---|
| Monday | Check soil moisture & water if needed | Smart moisture sensor + self‑watering planter |
| Tuesday | Inspect light intensity | LED grow light timer |
| Wednesday | Measure humidity | Hygrometer + humidifier |
| Thursday | Prune dead foliage | Ergonomic pruning shears |
| Friday | Rotate plant & tidy caddy | Portable tool caddy |
| Saturday | Fertilize (monthly) | Self‑watering reservoir |
| Sunday | Review growth data | Phone app logs |
By following this structured routine, you’ll see measurable improvements in leaf size, fewer pest issues, and a healthier overall plant. The combination of modern tools, smart DIY projects, and data‑driven care creates a low‑maintenance system that fits seamlessly into a busy lifestyle.
Final Thoughts
Gardening doesn’t have to be a time‑consuming hobby. With the right technology and a couple of simple DIY builds, you can automate the most error‑prone aspects of plant care while still enjoying the satisfaction of watching your Monstera—or any houseplant—flourish. Keep track of your observations, adjust based on sensor feedback, and let the data guide your decisions. Happy planting!


