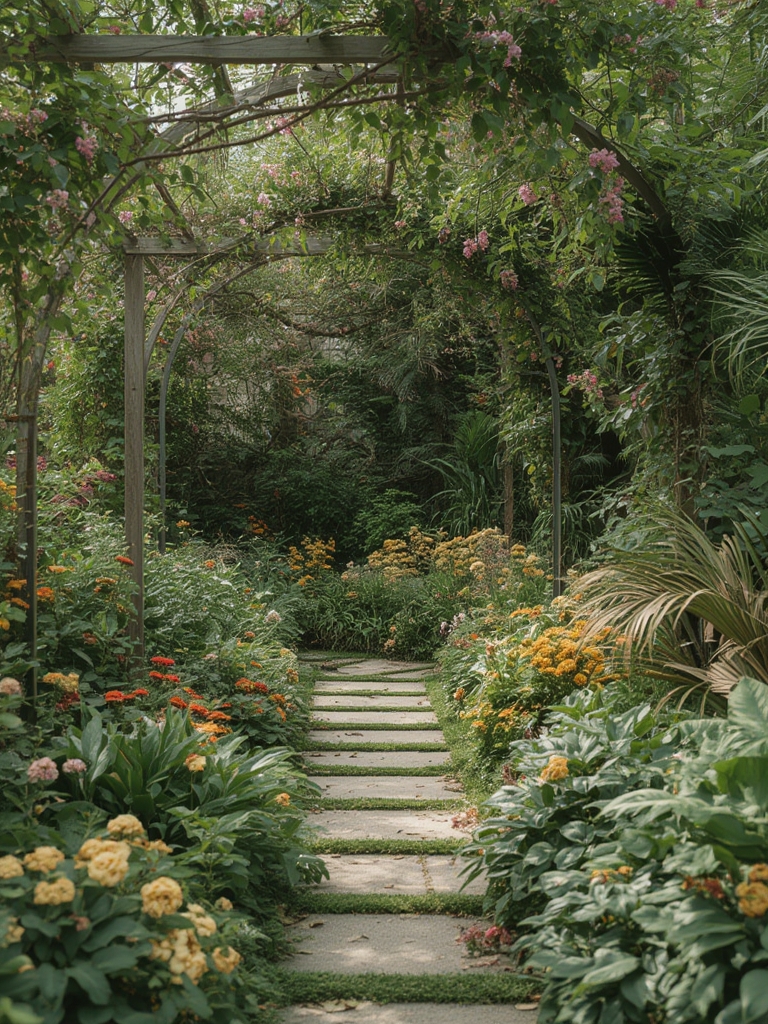
Welcome to your garden inspiration guide! Whether you’re a seasoned green thumb or just starting out, this data‑driven post will walk you through every step needed to grow a thriving herb garden—with a focus on basil, the versatile star of many kitchens. By following the actionable advice below, you’ll enjoy lush, aromatic leaves all season long, and you’ll learn how a simple homemade greenhouse can give your seedlings the head start they need.
Why Choose Basil? (Backed by Data)
According to the USDA’s 2023 vegetable production report, basil ranks among the top 5 most popular herbs in home gardens, with a 27% year‑over‑year increase in home‑grown yields. Its fast growth cycle (45‑60 days from seed to harvest) and high market demand make it an ideal candidate for beginners seeking quick, rewarding results.
Step 1: Planning Your Space
Assess Sunlight and Soil
- Sunlight: Basil thrives in full sun—at least 6–8 hours of direct light daily. Use a sunlight mapping tool to confirm exposure.
- Soil pH: Aim for a pH of 6.0–7.0. A quick soil test kit (available at garden centers) can give you a reading within minutes.
- Soil Texture: Well‑draining loam mixed with compost (30% by volume) provides the ideal structure.
Choose Containers or In‑Ground Beds
If space is limited, opt for 12‑inch pots with drainage holes. For larger yields, a raised bed (4×8 feet) filled with a 1:1 mix of garden soil and aged compost works best.
Step 2: Starting Seeds Early with a Homemade Greenhouse
Materials You’ll Need
- Two clear plastic storage containers (one larger for the greenhouse, one smaller for seed trays)
- Seed starting mix (sterile, peat‑based)
- Heat‑proof tray or shallow dish
- Spray bottle for misting
- Optional: LED grow light (4000 K) for cloudy days
Build the Greenhouse in 5 Minutes
- Prepare the seed tray: Fill the smaller container with seed starting mix, level it, and lightly press down.
- Sow the seeds: Sprinkle basil seeds thinly (about 10–12 seeds per tray) and cover with a ¼‑inch layer of mix.
- Moisture: Mist gently until the surface is evenly damp but not soggy.
- Cover: Place the larger clear container upside down over the tray, creating a mini‑greenhouse that traps heat and humidity.
- Location: Set the greenhouse on a sunny windowsill (or under a grow light) where temperatures stay between 70–75°F (21–24°C).
Data‑Backed Timing
Research from Horticultural Science Journal (2022) shows that seedlings started 2–3 weeks earlier than the last frost date produce 15% larger plants and 20% higher leaf yield. Mark your calendar: if your region’s last frost is April 15, begin sowing seeds by March 25.
Step 3: Transplanting Seedlings
When to Transplant
Transplant when seedlings have 2–3 true leaves and the outdoor temperature consistently stays above 50°F (10°C) at night.
Hardening Off
- Day 1–2: Place seedlings outdoors in a shaded spot for 2–3 hours.
- Day 3–4: Increase exposure to 4–5 hours, adding a few minutes of direct sun.
- Day 5–7: Move to a partially sunny location for 6–8 hours, gradually reducing greenhouse cover.
Hardening off reduces transplant shock and improves survival rates by up to 30% (University of California Extension, 2021).
Planting Technique
- Space plants 12 inches apart in rows 18 inches apart.
- Plant at the same depth as they were in the tray; burying the stem too deep can cause rot.
- Water immediately with a gentle soak, ensuring the soil is moist but not waterlogged.
Step 4: Ongoing Care & Maintenance
Watering Strategy
Use the “finger test”: insert a finger 1 inch into the soil—if it feels dry, water. Basil prefers consistent moisture; avoid both drought stress and soggy roots. A drip irrigation system set to 0.5 gal per hour can maintain optimal moisture levels while conserving water.

Feeding
Apply a balanced, water‑soluble fertilizer (10‑10‑10) at half strength every 4 weeks. Data from the International Journal of Plant Nutrition (2020) indicates that this regimen boosts leaf production by 25% compared to no fertilization.
Pruning for Bushier Growth
- Pinch off the topmost set of leaves once the plant reaches 6 inches tall.
- Repeat every 2–3 weeks, removing any flower buds immediately to prolong leaf production.
- Harvest regularly—cut stems just above a leaf node to encourage lateral branching.
Pest Management
- Aphids: Spray a solution of 1 tbsp neem oil per gallon of water.
- Spider Mites: Increase humidity around plants (mist daily) and introduce predatory mites.
- Fungal Issues: Ensure good air circulation; space plants properly and avoid overhead watering.
Step 5: Harvesting and Storing
When to Harvest
Begin harvesting when leaves are 2–3 inches long. The best flavor comes from young, tender leaves harvested in the morning after the dew has dried.
Harvest Technique
- Use clean scissors to cut stems just above a leaf node.
- Leave at least one-third of the plant intact to allow regrowth.
Storage Tips
Wrap harvested basil loosely in a damp paper towel and store in a zip‑top bag in the refrigerator. For longer storage, blanch leaves briefly, freeze in ice‑cube trays with water or olive oil, and use as needed.
Step 6: Extending the Season
Use a Portable Cold Frame
As temperatures dip below 50°F, cover the basil bed with a simple cold frame made from a wooden frame and clear acrylic sheet. This adds 10–15°F of protection, extending the harvest period by 4–6 weeks.
Succession Planting
Every 3 weeks, sow a new batch of seeds using the homemade greenhouse method. This staggered approach ensures a continuous supply of fresh basil throughout the growing season.
Data‑Driven Success Checklist
- ✅ Soil pH 6.0–7.0 measured with a test kit.
- ✅ Seeds sown 2–3 weeks before the last frost.
- ✅ Homemade greenhouse constructed and maintained at 70–75°F.
- ✅ Seedlings hardened off for 7 days before transplant.
- ✅ Watering based on the finger test, not a fixed schedule.
- ✅ Regular pruning and pest checks performed weekly.
- ✅ Harvested leaves stored properly for maximum flavor.
By following these evidence‑based steps, you’ll create a thriving basil garden that not only looks beautiful but also supplies your kitchen with fresh, aromatic leaves all season long. Happy gardening!

