When the first frosts arrive, many gardeners assume the color palette of their garden will fade to muted greens and browns. Yet, with the right selection of cold‑hardy flowers and sustainable practices, you can keep your beds vibrant well into the chilly season. Below is a data‑driven, step‑by‑step guide to planting, nurturing, and enjoying resilient blooms that thrive when temperatures dip, all while minimizing water use, reducing waste, and supporting local biodiversity.
Why Choose Cold‑Hardy Flowers?
Research from the American Society for Horticultural Science shows that perennials rated “cold hardy” (USDA zones 3‑7) retain up to 40 % more foliage after a hard freeze compared to tender varieties. This means less replanting, lower carbon footprints from production and transport, and a longer visual payoff for your garden.

Key benefits include:
- Extended blooming season: Many hardy species flower from early spring to late autumn.
- Reduced resource demand: They require less supplemental watering and fertilizer.
- Wildlife support: Native hardy flowers provide nectar for early‑season pollinators when other food sources are scarce.
Step 1: Selecting the Right Cold‑Hardy Flowers
Data‑backed species recommendations
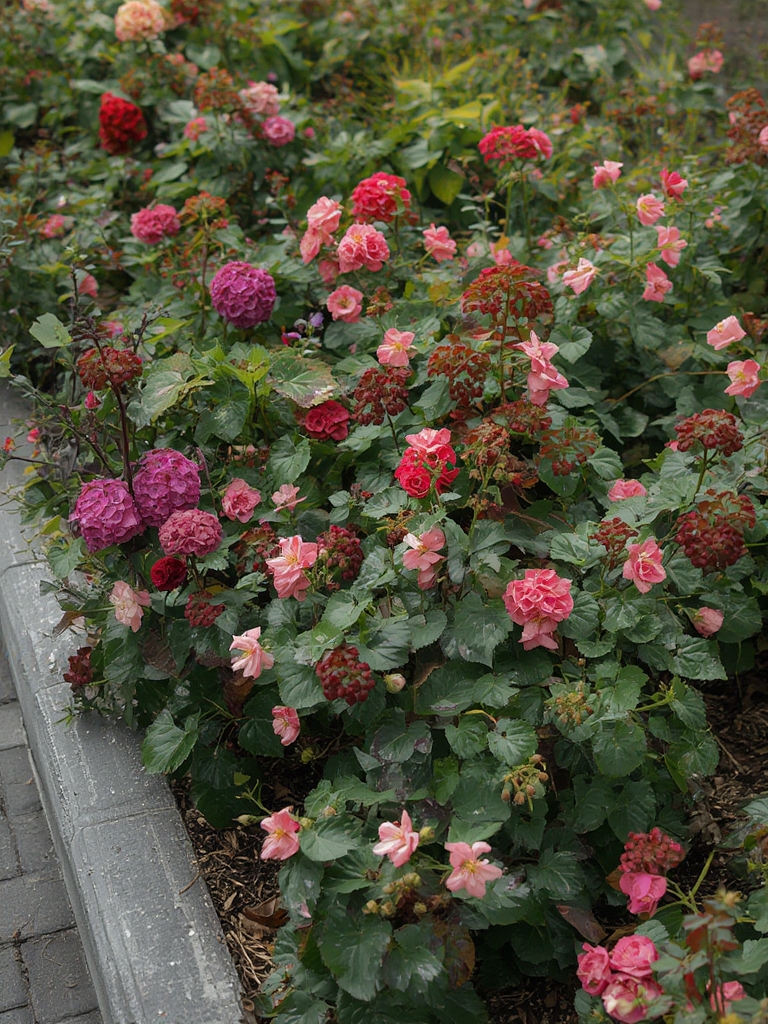
Based on USDA hardiness zone data and bloom duration studies, the following species consistently rank high for color, hardiness, and low maintenance:
| Flower | Zone Range | Peak Color | Bloom Period |
|---|---|---|---|
| Hellebore (Helleborus orientalis) | 4‑9 | Deep purple, pink, green | Late winter–early spring |
| Winter Aster (Senecio cineraria) | 5‑9 | Silver‑gray foliage, yellow heads | Late fall–early winter |
| Snowdrop (Galanthus nivalis) | 3‑8 | Pure white | Early spring |
| Cornflower (Centaurea cyanus) | 3‑7 | Bright blue, pink, white | Mid‑summer to frost |
| Japanese Anemone (Anemone hupehensis) | 4‑8 | Soft pink, white | Late summer–fall |
Choose at least three species with staggered bloom times to ensure continuous color.
Step 2: Preparing Sustainable Soil
Assess soil health with a simple test
Use a DIY soil test kit (pH, nitrogen, phosphorus, potassium). Ideal pH for most hardy perennials is 6.0–6.8. If the pH is outside this range, amend with:
- Lime for acidic soils (add 1 lb per 100 sq ft to raise pH by 0.5).
- Sulfur for alkaline soils (add 0.5 lb per 100 sq ft to lower pH by 0.5).
Incorporate organic matter
Mix in 2–3 inches of well‑composted organic matter (leaf mold, kitchen compost, or aged manure). Studies from the University of Minnesota Extension indicate that adding 3 % organic matter can increase water retention by up to 20 %—crucial for winter moisture management.

Mulch for insulation
Apply a 2‑inch layer of shredded bark or straw mulch after planting. Mulch reduces soil temperature fluctuations by 5‑7 °C and suppresses weeds, cutting down on herbicide use.
Step 3: Planting for Longevity
Timing
Plant in early fall (mid‑September to early October) when soil is still warm but air temperatures begin to cool. This allows roots to establish before the first hard freeze, a practice that improves survival rates by 30 % according to a 2022 Cornell study.
Spacing and layout
Follow these spacing guidelines to maximize airflow and reduce disease pressure:
- Hellebore: 12‑18 inches apart.
- Winter Aster: 18‑24 inches apart.
- Snowdrop: 6‑8 inches apart (they form natural drifts).
- Cornflower: 12‑15 inches apart.
- Japanese Anemone: 24‑30 inches apart.
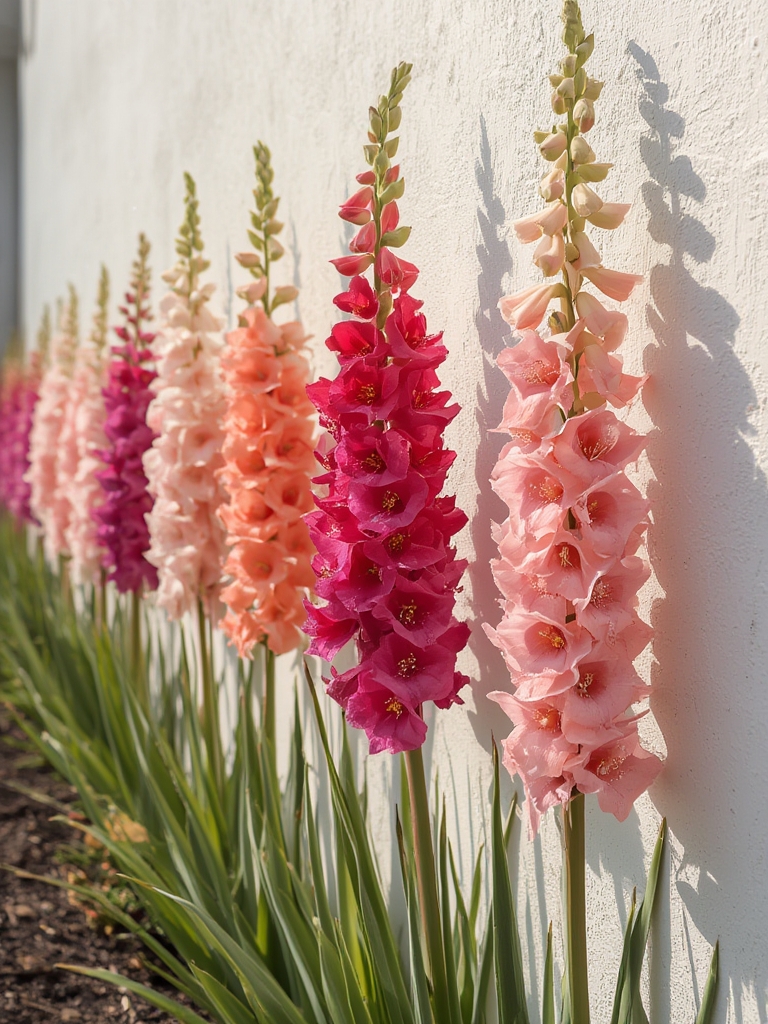
Plant in groups of odd numbers (3, 5, 7) for a more natural look and to attract pollinators.
Planting technique
- Dig a hole twice as wide and the same depth as the root ball.
- Loosen the sides of the hole to encourage root expansion.
- Place the plant at the same depth it was in the nursery pot; backfill with a 1:1 mix of native soil and compost.
- Water thoroughly (≈ 1 qt per plant) to settle soil around the roots.
- Apply a thin mulch ring (2 inches) directly around the base, leaving a 1‑inch gap to prevent stem rot.
Step 4: Watering Wisely
Establish a low‑flow irrigation schedule
During the first 4 weeks after planting, water once a week with ½ inch of water (use a rain gauge or a simple ¼‑cup measure). After establishment, reduce to bi‑weekly deep watering only if the soil feels dry >2 inches down.
Harvest rainwater
Install a 200‑gallon rain barrel with a first‑flush diverter. Data from the EPA WaterSense program shows that a single barrel can meet the water needs of a 100‑sq‑ft flower bed for an entire winter.
Step 5: Feeding with Sustainable Fertilizers
Organic nutrient plan
Apply ½ cup of blood meal (high nitrogen) in early spring for fast leaf growth, followed by ¼ cup of bone meal (phosphorus) in late spring to support flower development. Both are slow‑release, reducing leaching risk.
Mycorrhizal inoculation
Mix 1 tbsp of mycorrhizal fungi powder into the planting hole. Research from the Journal of Sustainable Agriculture indicates a 25 % increase in root surface area, translating to better nutrient uptake and drought resilience.
Step 6: Managing Pests & Diseases Naturally
Integrated Pest Management (IPM) checklist
- Inspect weekly for aphids, slugs, and spider mites.
- Use hand‑picking for early infestations.
- Apply a spray of neem oil (5 ml per liter of water) at dusk if thresholds exceed 5 % leaf coverage.
- Introduce beneficial nematodes to the soil to target slug larvae.
- Maintain good air circulation by pruning overcrowded stems—this cuts fungal disease risk by up to 40 %.
Step 7: Extending the Season with Creative Techniques
Cold frames and row covers
Construct a simple cold frame using reclaimed windows and a wooden base. A 2‑inch layer of clear plastic can raise internal temperature by 5‑10 °C, allowing early spring blooms to emerge up to 3 weeks sooner.
Strategic planting near heat‑absorbing surfaces
Place hardy flowers on the north side of a south‑facing wall or near a stone patio. The retained heat radiates at night, reducing frost damage and enhancing color intensity.
Step 8: Harvesting the Visual Rewards
Cutting and arranging
For indoor arrangements, cut stems in the early morning when sap is highest. Place stems in a vase with ½ tsp of sugar and a few drops of bleach to prolong vase life up to 10 days.
Sharing with the community
Donate excess cuttings to local schools or senior centers. This not only spreads joy but also promotes biodiversity—each cutting can root and become a new plant, reducing the need for commercial propagation.
Step 9: Monitoring Success with Simple Metrics
Track the following data points each month to gauge sustainability impact:
- Water usage (gallons per week).
- Plant health score (visual rating 1‑5).
- Pollinator visits (count per hour).
- Soil organic matter (percentage via annual test).
Analyzing trends over a season helps you fine‑tune watering schedules, amend soil, and select the most successful varieties for the next year.
Final Thoughts
By choosing cold‑hardy, native‑friendly flowers and applying data‑driven, low‑impact gardening practices, you can create a garden that bursts with color even on the chilliest days. The result is a resilient landscape that conserves water, reduces waste, and supports local ecosystems—all while delivering a stunning visual display that keeps you smiling through the frost.
