Welcome to your next garden adventure! Whether you’re a seasoned green‑thumb or just starting out, creating a relaxed, charming space with low‑maintenance blooms is easier than you think. In this guide we’ll walk you through every step of growing Lavender (Lavandula angustifolia)—a timeless favorite that delivers soothing fragrance, beautiful purple spikes, and a touch of rustic elegance. By the end, you’ll have a data‑driven plan, practical tips, and actionable advice to ensure your lavender thrives year after year.
Why Lavender is the Perfect Low‑Maintenance Choice
Lavender checks all the boxes for a garden that looks effortless yet stays vibrant:
- Drought‑tolerant: Once established, it needs minimal watering.
- Pollinator magnet: Attracts bees, butterflies, and hummingbirds.
- Versatile design: Works in borders, containers, rock gardens, and even as a hedge.
- Therapeutic scent: Naturally calming, perfect for relaxing outdoor spaces.
Step‑by‑Step Guide to Growing Lavender
1. Choose the Right Variety and Site
Data from horticultural trials show English Lavender (Lavandula angustifolia) performs best in temperate climates, while French Lavender (Lavandula dentata) tolerates hotter zones. Pick a variety that matches your USDA hardiness zone (5‑9 for English, 8‑11 for French).
Action tip: Use a garden planner app to map sunlight exposure. Lavender needs at least 6–8 hours of direct sun daily. Shade‑prone spots will lead to leggy growth and reduced bloom.
2. Prepare the Soil
Lavender thrives in well‑draining, slightly alkaline soil (pH 6.5–7.5). Heavy clay retains moisture and can cause root rot.
- Soil test: Purchase a cheap pH kit or send a sample to a local extension service.
- Amendments: Mix in 1 part coarse sand or fine gravel per 2 parts native soil. Add lime if pH is below 6.5.
- Organic matter: Incorporate a thin layer of compost—no more than 10% of the mix—to improve structure without holding excess water.
Action tip: Create a raised bed or use a large container with drainage holes to guarantee excellent drainage.
3. Planting Technique
Timing matters: plant in early spring after the last frost or in early fall for milder roots establishment.

- Dig a hole twice the width of the root ball but only as deep as the pot.
- Place the plant so the crown (where stems meet roots) sits just above soil level—this prevents rot.
- Backfill with the prepared soil mix, firm gently, and water lightly to settle.
Action tip: Space plants 12–18 inches apart to allow airflow, which reduces fungal risk.
4. Watering Schedule
While lavender tolerates drought, young plants need consistent moisture to develop strong roots.
- First 2 weeks: Water every 2–3 days, keeping soil just moist.
- After establishment (4–6 weeks): Reduce to once a week, only when the top inch of soil feels dry.
- Summer heat: If temperatures exceed 90°F (32°C), a deep soak early in the morning helps prevent stress.
Action tip: Install a drip‑irrigation line with a timer set to 10‑15 minutes per session—this delivers water directly to the root zone and avoids wet foliage.
5. Feeding and Fertilizing
Lavender is a light feeder. Over‑fertilizing leads to lush foliage but fewer blooms.
- Spring: Apply a balanced, slow‑release fertilizer (10‑10‑10) at half the recommended rate.
- Mid‑season: Sprinkle a thin layer of crushed eggshells or bone meal to boost phosphorus for flower production.
Action tip: Use a soil moisture meter to confirm the soil is dry before any fertilizer application—this prevents nutrient burn.
6. Pruning for Longevity
Regular pruning keeps lavender compact, encourages new growth, and improves air circulation.
- After the first bloom flush (late spring), trim back about one‑third of the plant’s height.
- Cut just above the woody base, avoiding the gray bark which won’t regrow.
- In late summer, perform a light “shape” trim to maintain form.
Action tip: Use clean, sharp pruning shears and sterilize them with rubbing alcohol between cuts to prevent disease spread.
7. Harvesting and Using Lavender
Harvest at peak bloom for the strongest fragrance and highest essential oil content.
- Cut stems in the morning after dew has dried.
- Bundle 5–10 stems, tie with twine, and hang upside down in a dark, well‑ventilated area for 2–3 weeks.
- Store dried bundles in airtight containers; they’ll last up to a year.
Action tip: Add a pinch of dried lavender to potting soil mixes to naturally repel pests like moths and fleas.
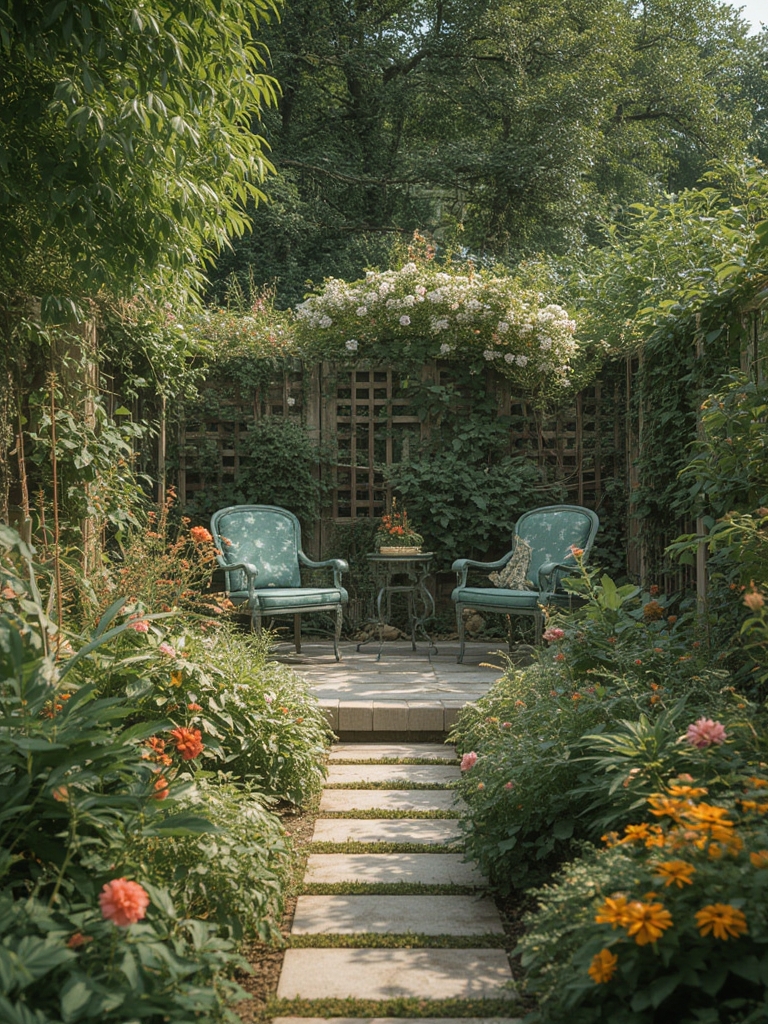
Design Ideas to Showcase Your Lavender
Integrating lavender into your garden design enhances visual appeal and creates a relaxed ambiance.
Border & Pathway Accents
Plant lavender in alternating rows with low‑growth herbs (thyme, sage). The contrasting foliage and scent create a sensory corridor that guides visitors through the garden.
Container Gardens
Use wide, terracotta pots with a layer of gravel at the bottom for extra drainage. Pair lavender with succulents for a drought‑tolerant patio centerpiece.
Living Fence
Space plants 12 inches apart and trim regularly to form a fragrant, low hedge. This works beautifully along a backyard fence or garden edge, providing privacy and a natural scent barrier.
Common Challenges & Quick Fixes
Problem: Yellowing Leaves
Often a sign of over‑watering or poor drainage.
- Check soil moisture with a meter; if wet, let it dry for 48 hours.
- Amend soil with additional sand or move the plant to a raised bed.
Problem: Sparse Blooming
Can result from excessive nitrogen or insufficient sunlight.
- Reduce fertilizer to half the recommended amount.
- Relocate the plant to a sunnier spot (minimum 6 hours of direct light).
Problem: Fungal Spots
Usually caused by poor air circulation.
- Prune to open the canopy and improve airflow.
- Apply a copper‑based fungicide early in the season as a preventative measure.
Data‑Driven Maintenance Calendar
| Month | Task | Key Metric |
|---|---|---|
| March–April | Planting & soil preparation | pH 6.5–7.5, drainage test |
| May | First watering cycle & light feeding | Soil moisture 40–50% |
| June–July | Prune after first bloom | Trim 1/3 height |
| August | Mid‑season phosphorus boost | Eggshell layer 1/4 inch |
| September | Harvest & dry stems | Drying time 2–3 weeks |
| October–November | Final light prune, prepare for winter | Height reduced to 6–8 inches |
Final Thoughts
Lavender offers a perfect blend of beauty, fragrance, and resilience—making it an ideal centerpiece for any garden seeking relaxed charm with minimal upkeep. By following the data‑backed steps above, you’ll enjoy vibrant, low‑maintenance blooms that attract pollinators, enhance your outdoor space, and provide a calming scent throughout the season. Happy planting, and may your garden be forever fragrant!

