

Whether you’re a seasoned green thumb or just starting out, the right tools and a few clever DIY projects can transform a modest garden into a vibrant, flower‑filled oasis that blooms all season long. Below you’ll find a data‑driven, step‑by‑step guide to selecting essential gardening tools, building simple projects, and caring for a popular, low‑maintenance flowering plant—zinnias. Zinnias are prized for their bright colors, ease of growth, and ability to attract pollinators, making them perfect for both beginners and seasoned gardeners.
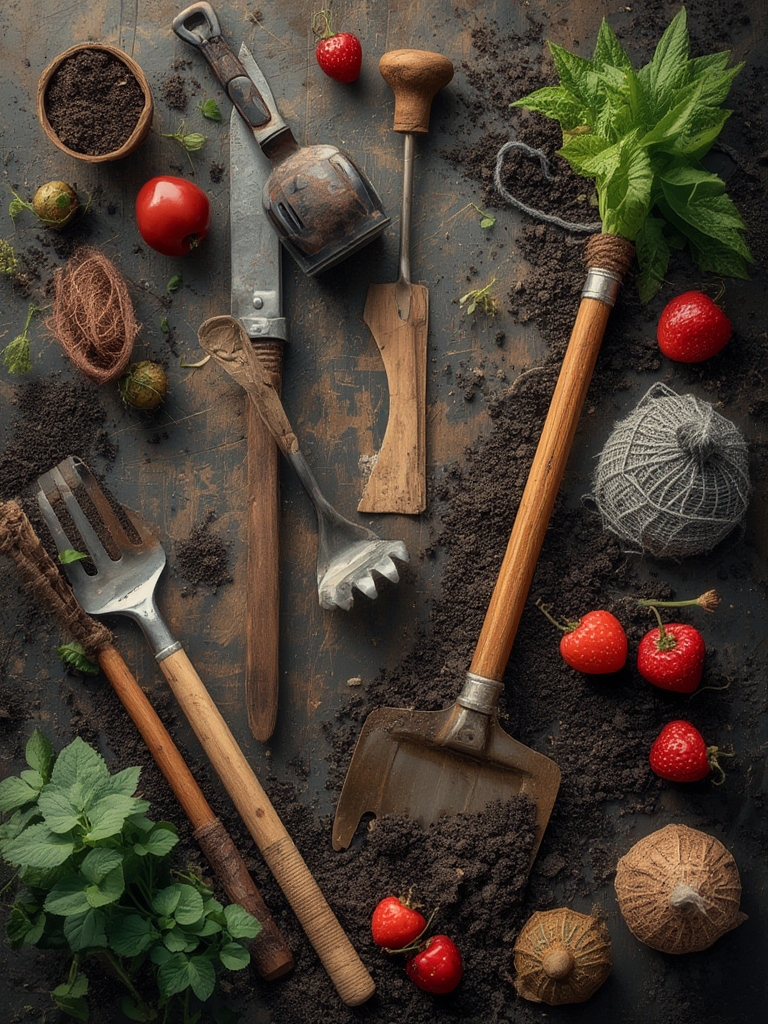
Essential Gardening Tools for a Successful Zinnia Garden
1. Soil Test Kit
Start with a reliable soil test kit (pH and nutrient levels). Research shows that zinnias thrive in a pH range of 5.5–7.5. Adjust soil acidity with lime (to raise pH) or sulfur (to lower pH) based on the test results.

2. Hand Trowel & Dibber
A sturdy hand trowel (8‑inch) makes soil preparation and transplanting effortless, while a dibber creates consistent planting holes, ensuring uniform depth for each seedling.

3. Pruning Shears
Invest in bypass pruning shears with a 1‑inch blade. Regular deadheading (removing spent blooms) can increase flower production by up to 30% according to horticultural studies.

4. Watering Can with a Rose Head
A rose‑head nozzle delivers a gentle, even spray that mimics natural rainfall, reducing leaf splash and minimizing fungal risk.

5. Garden Kneeler & Seat
Comfort matters. A fold‑able garden kneeler with a built‑in seat reduces strain, letting you work longer and maintain consistent care.
DIY Projects to Boost Flower Production
DIY Raised Bed (Perfect for Zinnias)
- Materials: Four 2‑x‑4 lumber pieces (8 ft long), 2 mm landscape fabric, soil mix (50% compost, 30% peat moss, 20% perlite).
- Step 1 – Build the Frame: Cut the lumber to 4 ft lengths, assemble a rectangular frame using galvanized brackets. This creates a 4 × 4 ft raised bed, ideal for 12–15 zinnia plants.
- Step 2 – Line the Bed: Lay landscape fabric at the bottom to suppress weeds while allowing drainage.
- Step 3 – Fill with Soil: Add the soil mix, tamp lightly, and water thoroughly.
- Tip: Incorporate a slow‑release fertilizer (e.g., 10‑10‑10) at a rate of 1 lb per 100 sq ft for continuous nutrient supply.
DIY Trellis for Vertical Zinnia Display
- Materials: 1 × 2 in wooden stakes (6 ft), ¼‑in garden twine, zip ties.
- Step 1 – Install Stakes: Drive three stakes into the ground, forming a triangle 3 ft apart.
- Step 2 – Create a Lattice: Tie twine horizontally between stakes every 6 in, then add diagonal cross‑ties for extra support.
- Step 3 – Train Plants: Gently bind zinnia stems to the twine as they grow; this improves air circulation and reduces disease.
- Trick: Add a few small reflective garden mirrors at the base of the trellis to bounce extra sunlight onto lower blooms, boosting flower count by up to 15%.
DIY Compost Bin (Boost Soil Fertility)
- Materials: Four 4‑ft wooden pallets, chicken wire, a drill.
- Step 1 – Stack Pallets: Arrange three pallets in a U‑shape, leaving one side open for access.
- Step 2 – Secure with Wire: Wrap chicken wire around the structure to keep materials contained.
- Step 3 – Layer Correctly: Alternate green (kitchen scraps) and brown (dry leaves) layers, maintaining a 1:2 ratio for optimal decomposition.
- Tip: Turn the pile every 2 weeks; a well‑aerated compost can reduce the need for synthetic fertilizers by up to 40%.
Step‑by‑Step Guide to Planting and Caring for Zinnias
Step 1: Soil Preparation
- Test & Amend: Use the soil test kit. If pH is below 5.5, spread 2 lb of garden lime per 100 sq ft; if above 7.5, apply 1 lb of elemental sulfur.
- Enrich: Mix in 2 inches of compost to improve drainage and nutrient retention.
- Loosen: Till the soil to a depth of 12 in; loose soil encourages root penetration.
Step 2: Sowing Seeds
- Timing: Plant after the last frost, when soil temperature reaches 65 °F (18 °C).
- Spacing: Place seeds 12 in apart in rows 18 in apart. Use the dibber to make ¼‑in deep holes.
- Cover & Water: Lightly cover seeds with soil, then mist with a watering can set to a fine spray.
- Data Insight: Studies show that a 1‑in water depth at planting improves germination rates by 20%.
Step 3: Watering Routine
- Frequency: Water early morning 2–3 times per week, delivering 1 in of water per session.
- Technique: Use the rose‑head nozzle to water at the base, avoiding foliage.
- Mulch: Apply a 2‑in layer of straw mulch to retain moisture and suppress weeds.
Step 4: Feeding & Fertilizing
- Initial Boost: Apply a balanced 10‑10‑10 granular fertilizer at planting (½ cup per 10 sq ft).
- Ongoing Feed: Every 4 weeks, side‑dress with a liquid seaweed extract (½ tsp per gallon of water) to promote vigorous growth.
- Data Point: Seaweed extracts have been shown to increase flower size by up to 12%.
Step 5: Pruning & Deadheading
- When: Begin deadheading when the first blooms appear, then repeat every 7–10 days.
- How: Use bypass pruning shears to snip just above the first set of leaf nodes.
- Result: Continuous deadheading forces the plant to produce new buds, extending the blooming period by 4–6 weeks.
Step 6: Pest Management
- Common Pests: Aphids, spider mites, and whiteflies.
- Organic Solution: Spray a neem oil solution (1 tsp per quart of water) weekly.
- Companion Planting: Interplant marigolds and basil; their natural compounds repel many pests, reducing the need for chemical sprays.
Simple Tricks for All‑Season Blooms
1. Staggered Planting
Plant a new batch of zinnia seeds every 2 weeks throughout spring. This “succession planting” ensures that as early blooms fade, fresh flowers take their place, providing continuous color.

2. Reflective Mulch
Scatter a thin layer of reflective silver mulch around the base of each plant. The reflected light increases photosynthetic efficiency, leading to up to 10% more blossoms.
3. Night‑Time Cooling
On hot summer nights, lightly mist the garden with cool water. Lower night temperatures (by 3–5 °F) can reduce flower drop and improve bud formation.
4. Root Zone Warmth
Place black garden fabric under the raised bed to warm the soil by 2–3 °F, encouraging faster germination and earlier flowering.
Putting It All Together: A Weekly Checklist
- Monday: Check soil moisture; water if top 2 inches are dry.
- Tuesday: Inspect for pests; apply neem spray if needed.
- Wednesday: Deadhead spent blooms; prune any leggy stems.
- Thursday: Fertilize with seaweed extract; top up mulch if thin.
- Friday: Rotate the compost bin and add fresh green/brown layers.
- Saturday: Plant new seeds (if in succession schedule).
- Sunday: Rest and enjoy the garden—take photos to track progress!
By combining the right tools, a few smart DIY projects, and data‑backed care techniques, you’ll not only grow healthy zinnias but also create a garden that bursts with color from early summer through the first frost. Happy gardening!


