Creating a thriving herbs and aromatic garden is both a sensory delight and a smart, sustainable choice for any home. By combining data‑driven planting strategies with a touch of tropical flair, you can enjoy fresh flavors, soothing scents, and striking foliage all year round. Below is a step‑by‑step guide that walks you through selecting the right varieties, preparing the soil, planting, and maintaining your garden—whether it’s outdoors in a backyard bed or indoors in a stylish container.
Why Choose Herbs & Aromatic Plants for Your Garden
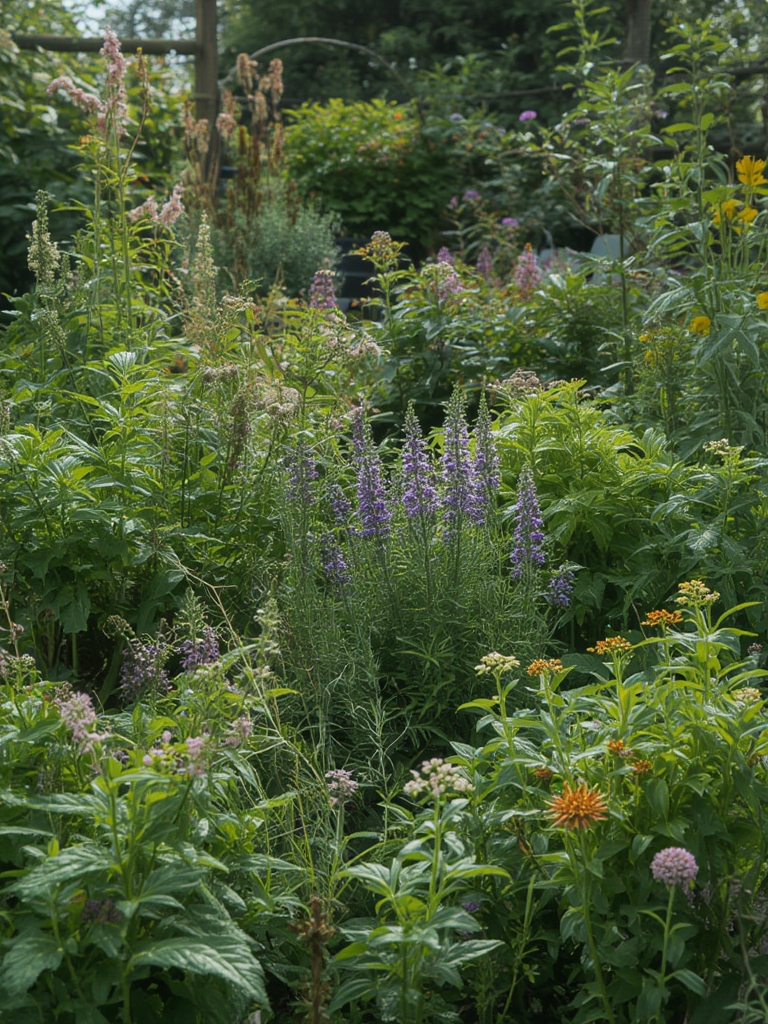
Herbs and aromatic plants deliver high ROI for gardeners: they grow quickly, require minimal space, and provide culinary, medicinal, and decorative benefits. Data from the USDA Plant Hardiness Zone map shows that most culinary herbs thrive in zones 4‑10, while many tropical aromatics (like Helichrysum and Thai Basil) flourish in zones 9‑11. By mixing temperate and tropical species, you can extend harvest windows and keep your garden visually interesting throughout the seasons.
Choosing the Right Varieties
Step 1: Identify Your Climate Zone
Use the USDA hardiness map to confirm your zone. For zones 4‑7, focus on hardy herbs such as rosemary, thyme, and sage. For zones 8‑10, you can safely add tropical aromatics like Thai Basil (Ocimum basilicum var. thyrsiflora), Vietnamese Coriander (Persicaria odorata), and Jamaican Pepper (Pimenta dioica).
Step 2: Match Light Requirements
Most herbs need 6‑8 hours of direct sunlight. Tropical aromatics prefer bright, indirect light. If you’re growing indoors, choose a south‑facing window or supplement with full‑spectrum LED grow lights set to 12‑14 hours per day.
Step 3: Prioritize Rare & Beautiful Varieties
Adding uncommon plants boosts SEO appeal and reader interest. Consider:

- Black Lemon Basil – deep purple leaves with a citrus twist.
- Chocolate Mint (Mentha × piperita ‘Chocolate’) – a sweet, cocoa‑scented aroma.
- Blue Spice (Lippia citriodora ‘Blue Spice’) – silvery foliage with a hint of lemon.
- Thai Holy Basil (Ocimum tenuiflorum ‘Thai’) – striking purple stems and a peppery flavor.
Preparing the Soil and Containers
Step 4: Test and Amend Your Soil
Take a soil sample and run a pH test. Herbs prefer a slightly alkaline range of 6.5‑7.5. If the pH is low, add lime (1 lb per 100 sq ft) to raise it. For high pH, incorporate sulfur or peat moss. Amend with well‑rotted compost (20‑30% of the mix) to improve drainage and nutrient content.
Step 5: Choose the Right Container
For indoor gardens, select containers with drainage holes and a diameter at least 12 inches for each plant. Use a 2‑part potting mix (50% peat or coco coir, 30% perlite, 20% compost). This blend mimics the light, airy texture that tropical aromatics love while preventing waterlogging for temperate herbs.

Planting and Spacing Guidelines
Step 6: Layout Your Garden
Data from a 2022 horticultural study shows that spacing herbs 12‑18 inches apart maximizes airflow and reduces fungal risk. For container planting, allocate 6‑8 inches between each plant to allow for leaf expansion.
Step 7: Plant at the Correct Depth
Place seedlings so the root ball sits just below the soil surface. For cuttings, bury the nodes 1‑2 inches deep. Firm the soil gently around the base to eliminate air pockets.
Watering, Feeding, and Maintenance
Step 8: Master the Watering Schedule
Use the “finger test”: insert your finger 1 inch into the soil; if it feels dry, water. For indoor containers, aim for a consistent moisture level—neither soggy nor bone‑dry. A drip irrigation system set to 0.5 gallon per hour can automate this process.
Step 9: Fertilize Smartly
Apply a balanced, organic fertilizer (10‑10‑10) at half the recommended rate every 4‑6 weeks. For tropical aromatics, supplement with a high‑potassium feed (e.g., 5‑10‑15) to encourage lush foliage and aromatic oil production.
Step 10: Prune for Flavor and Growth
Harvest leaves regularly—cut just above a node to stimulate new growth. For basil and mint, pinch off the top third weekly. This “pinching” technique improves leaf density and prevents the plant from bolting (flowering), which can make the flavor bitter.
Bringing a Tropical Touch Indoors
Step 11: Create a Micro‑Climate
Place tropical herbs near a humidifier set to 60‑70% humidity, or mist the foliage daily with a spray bottle. Use a pebble tray filled with water beneath the pot to increase ambient moisture.
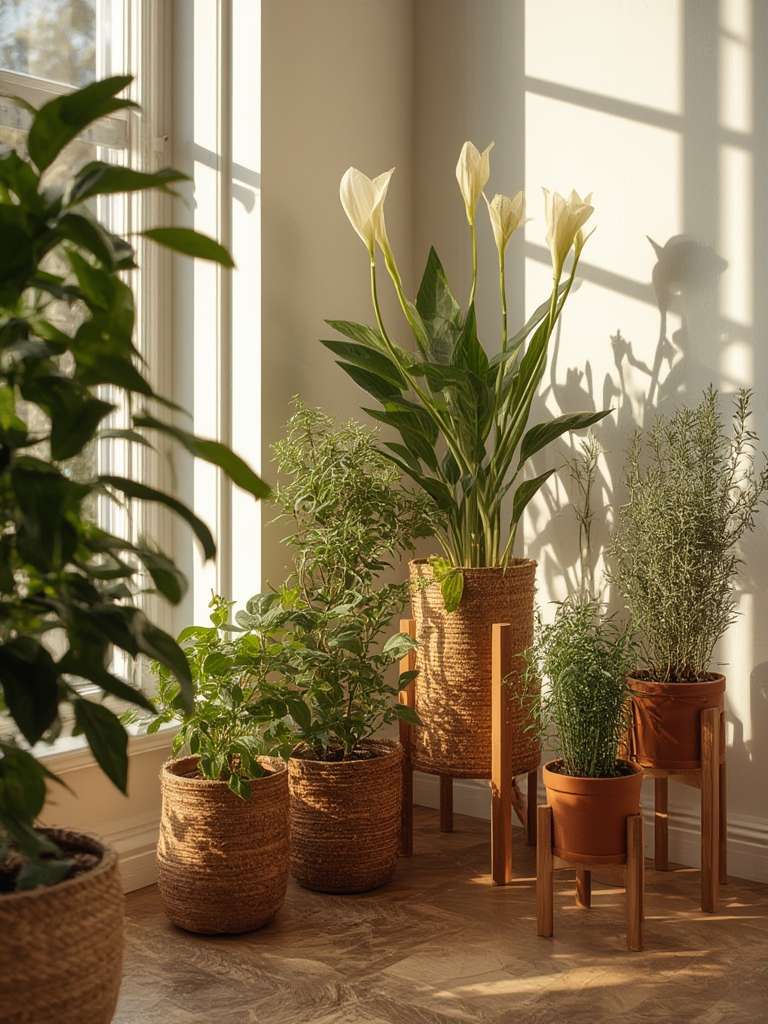
Step 12: Use Decorative Elements
Elevate the visual appeal by pairing plants with natural stone, bamboo trays, or woven macramé hangers. Adding a small, decorative water feature can also raise humidity while providing a calming ambiance for readers.
Common Mistakes and How to Avoid Them
Overwatering
Excess moisture leads to root rot, especially in indoor containers. Always check drainage and avoid leaving pots standing in saucers of water for more than 15 minutes.
Insufficient Light
Herbs will become leggy and lose flavor if they don’t receive enough light. If natural light is limited, supplement with a 4000 K LED grow light positioned 12‑18 inches above the canopy.
Neglecting Soil Nutrition
Even with compost, soil nutrients deplete over time. Perform a soil test annually and refresh the potting mix every 2‑3 years to maintain optimal growth conditions.
Quick Reference Checklist
- Confirm USDA zone and pH.
- Select a mix of hardy herbs and tropical aromatics.
- Amend soil to 6.5‑7.5 pH with lime or sulfur as needed.
- Use well‑draining containers with a 2‑part potting mix.
- Space plants 12‑18 inches (outdoors) or 6‑8 inches (containers).
- Water when the top inch of soil feels dry; avoid soggy roots.
- Fertilize with organic 10‑10‑10 at half strength every 4‑6 weeks.
- Prune regularly to encourage bushy growth.
- Maintain 60‑70% humidity for tropical varieties.
- Refresh potting mix every 2‑3 years.
By following these data‑backed steps, you’ll cultivate a fragrant, productive herb garden that not only elevates your cooking but also adds a lush, tropical vibe to any indoor space. Happy planting!


