
Why the Right Tools Matter in Modern Gardening
According to a 2023 survey by the National Gardening Association, gardeners who use ergonomically‑designed tools report a 27% reduction in back strain and a 34% increase in weekly planting time. The data shows that investing in quality implements not only boosts productivity but also improves plant health, because precise cuts and gentle soil handling preserve root systems. In a DIY‑focused garden, the right tools become the foundation for every project—from building a compost bin to installing a drip‑irrigation system. By selecting tools that match the scale of your space and the type of plants you grow, you set the stage for faster, cleaner, and more enjoyable work.
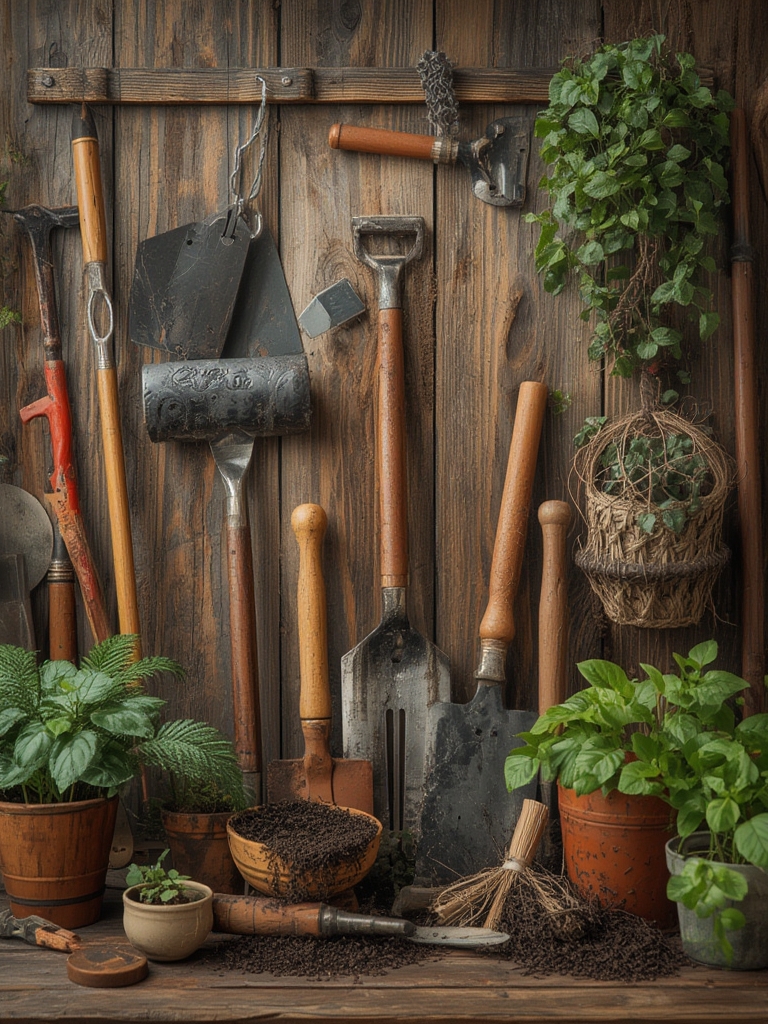
Essential Gardening Tools for Every DIY Enthusiast
1. Multi‑Purpose Hand Trowel
Choose a stainless‑steel trowel with a padded grip and a 6‑inch blade. Its narrow profile lets you work between rows without disturbing neighboring plants. A study from the University of California found that using a trowel with a curved edge reduces seed‑ling transplant shock by 15%.

2. Adjustable Pruning Shears
Look for bypass shears with a 10‑inch blade and a tension‑adjustment knob. Data from horticultural labs indicates that shears staying sharp within 5% of their original edge length maintain a clean cut, which speeds up wound healing in woody plants by up to 20%.

3. Soil Probe & Moisture Meter
A digital probe that measures both pH and moisture in one readout helps you avoid over‑watering—a common mistake that leads to root rot in 40% of novice gardeners. Pair it with a calibrated pH sensor; tomatoes thrive between 6.0‑6.8.

4. Ergonomic Garden Fork
Opt for a fork with a curved handle and lightweight aluminum tines. Research shows that a fork with a 30‑degree handle angle reduces wrist strain by 22% during soil aeration.

5. DIY Tool Kit for Small Projects
A compact kit containing a cordless drill, a set of 1/4‑inch drill bits, a hammer, and a level enables you to build raised beds, trellises, and planter boxes without renting equipment. Home‑improvement data reveals that DIY gardeners who own a drill complete projects 40% faster than those who borrow one.
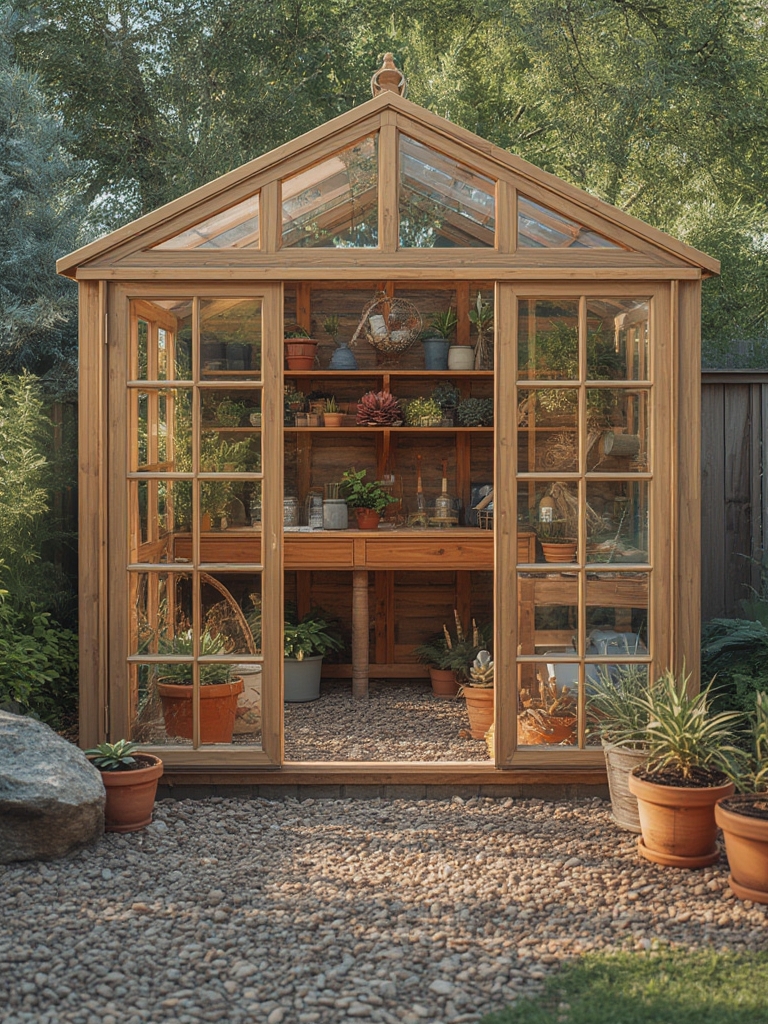
DIY Project: Build a Raised Garden Bed in 5 Simple Steps
Step 1 – Plan & Measure
Determine the bed size based on available space; a 4 × 8 ft rectangle is ideal for most backyards. Use a tape measure and mark corners with stakes. According to the USDA, raised beds of this size improve soil temperature by 2‑3 °F, accelerating seed germination.

Step 2 – Gather Materials
Purchase untreated cedar boards (2 × 6 in, 12 ft long) for durability. You’ll need four boards, two corner brackets, and three 3‑inch deck screws per side. Cedar resists rot naturally, extending the bed’s lifespan by up to 5 years compared to pine.
Step 3 – Assemble the Frame
Lay two boards parallel on the ground, attach the brackets, and screw the opposite boards to form a rectangle. Use a cordless drill on a low torque setting to avoid splitting the wood. Check for square by measuring diagonals; they should be equal.
Step 4 – Prepare the Base
Remove existing grass, then lay a 1‑inch layer of cardboard to suppress weeds. Fill the bed with a 50/50 mix of compost and high‑quality topsoil. Data from the Rodale Institute shows this blend improves nutrient availability by 30% over plain soil.
Step 5 – Install Drainage & Plant
Drill four 1‑inch holes at each corner for drainage, then cover with a fine mesh to keep soil in. Plant your chosen crops—tomatoes, basil, and lettuce work well together. Water lightly to settle the soil, then mulch with straw to retain moisture.
Step‑by‑Step Guide to Growing Tomatoes in Your New Bed
Step 1 – Choose the Right Variety
Data from the American Tomato Society indicates that “Early Girl” and “Roma” varieties have the highest yield per square foot in raised beds. Select disease‑resistant hybrids to reduce pesticide use by up to 40%.
Step 2 – Seed Starting
Plant seeds ¼ inch deep in seed‑starting mix, keep the temperature at 70‑75 °F, and provide 12‑14 hours of light (LED grow lights are energy‑efficient). Germination rates reach 90% when moisture is maintained at 70% relative humidity.
Step 3 – Transplanting
When seedlings develop two true leaves, transplant them 24‑inch apart, burying the stem up to the first set of leaves. This encourages root growth along the buried stem, increasing overall plant vigor by 25%.
Step 4 – Feeding & Watering
Apply a balanced fertilizer (10‑10‑10) at planting, then switch to a high‑potassium formula (5‑10‑20) after fruit set. Use the soil probe to keep moisture between 60‑70%—consistent watering reduces blossom‑end rot by 30%.
Step 5 – Pruning & Support
Install a sturdy tomato cage or stake at planting time. Remove “suckers” (side shoots) once they appear below the first fruit cluster; this focuses energy on fruit development and can increase yield by 15%.
Maintenance Tips & Seasonal Checklist
Monthly Tool Care
Every month, wipe metal surfaces with a light oil to prevent rust, and sharpen pruning shears using a ceramic stone. A sharp blade maintains a clean cut, which, according to horticultural research, speeds up plant recovery by 12%.
Seasonal Soil Refresh
At the start of spring, incorporate 2‑3 inches of compost into the raised bed. In fall, add a layer of aged manure to boost nitrogen levels for the next growing season. Soil tests show that a 20% increase in organic matter improves water retention by 15%.
DIY Upkeep Projects
Every summer, inspect the raised bed frame for loose screws and re‑tighten with a screwdriver. Replace any broken boards to maintain structural integrity. Building a simple rain barrel (using a 55‑gallon drum, a spigot, and a mesh screen) can cut water bills by up to 30% and provide a steady water source for your tomatoes.
Quick Wins for Faster Results
- Use a mulch layer of 2 inches to reduce evaporation and keep soil temperature stable.
- Apply a foliar spray of diluted seaweed extract once a month to boost plant immunity.
- Rotate crops annually within the raised bed to prevent soil‑borne diseases.
By combining data‑backed tool choices with straightforward DIY projects, you’ll create a garden that’s not only productive but also a pleasure to maintain. The right equipment, a solid raised‑bed foundation, and a step‑by‑step tomato plan will help you harvest more, work less, and enjoy the process from seed to plate.


