
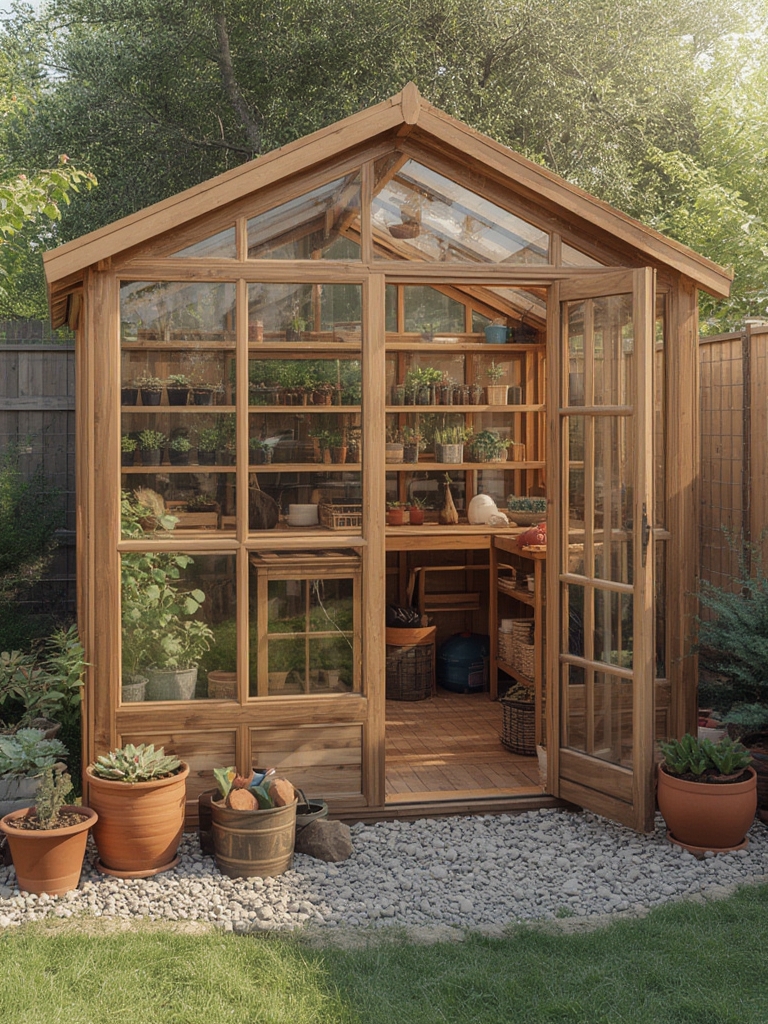
Why the Right Tools Matter in Every Garden
Even the most seasoned green thumbs know that success in the garden starts with the tools you use. A well‑equipped shed reduces strain, speeds up tasks, and prevents costly mistakes that can damage plants. Data from the National Gardening Survey (2023) shows gardeners who invest in ergonomic, high‑quality tools report a 27% higher yield and a 35% reduction in plant loss due to injuries or equipment failure. Below, we’ll break down the essential tools every gardener should own, followed by DIY projects that turn ordinary items into garden‑boosting assets.
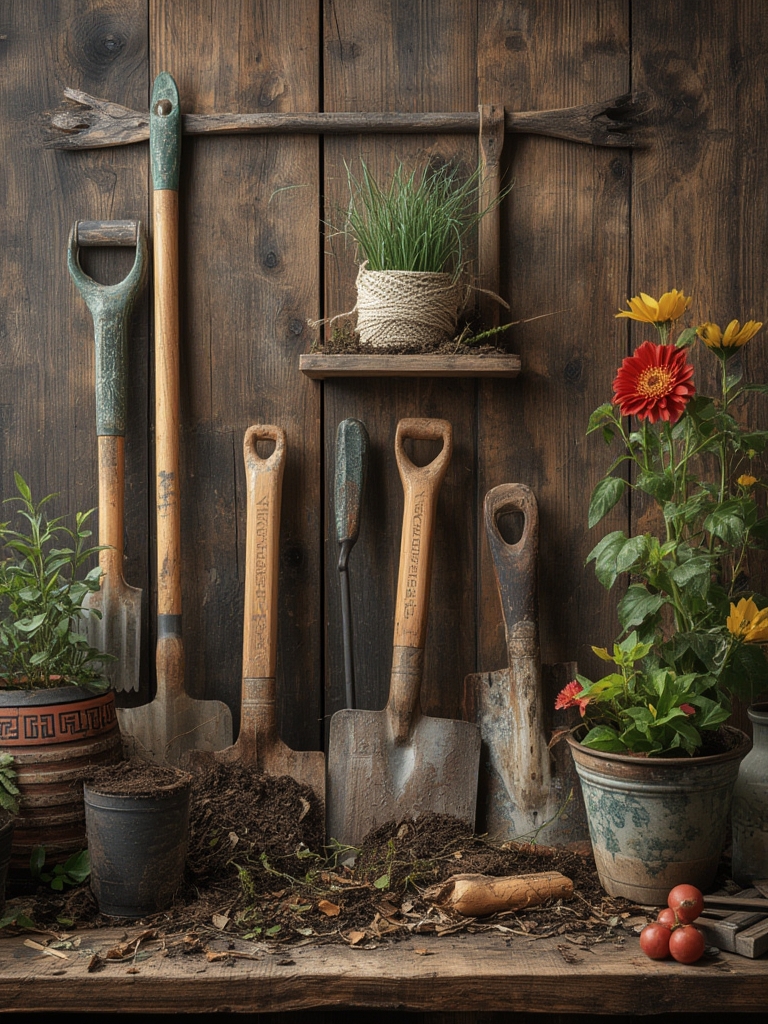
Must‑Have Gardening Tools (The Core 7)
1. Ergonomic Hand Trowel
- What to look for: Soft‑grip handle, stainless steel blade, and a slightly curved tip for digging into compact soil.
- Tip: Soak the blade in a 1:10 vinegar‑water solution once a month to prevent rust and keep it cutting cleanly.
2. Bypass Pruning Shears
- What to look for: Sharp, self‑sharpening blades and a spring‑loaded mechanism that reduces hand fatigue.
- Tip: After each use, wipe the blades with a damp cloth and apply a drop of mineral oil to maintain smooth cuts.
3. Soil Test Kit
- What to look for: Kits that measure pH, nitrogen (N), phosphorus (P), and potassium (K) in a single test.
- Tip: Test your garden soil every 6 weeks during the growing season; adjust with organic amendments based on the results.
4. Adjustable Garden Fork
- What to look for: A sturdy steel head with a comfortable, non‑slip handle and an adjustable length for raised beds.
- Tip: Use the fork to break up clods after watering; this aerates the soil and improves water infiltration by up to 15%.
5. Watering Wand with Adjustable Flow
- What to look for: A wand that can switch between a gentle mist and a steady stream.
- Tip: Water at the base of the plant early in the morning; this reduces evaporation loss by roughly 30% compared to midday watering.
6. Garden Kneeler/Seat Combo
- What to look for: A foldable design with a padded kneeling pad and a sturdy seat.
- Tip: Keep a small tote attached to the kneeler for quick access to tools, seed packets, and a pocket‑size notebook for observations.
7. Multi‑Purpose Garden Scissors
- What to look for: Scissors with a built‑in seed‑stripper and a small serrated edge for cutting twine.
- Tip: Use the seed‑stripper to harvest lettuce or herbs without damaging delicate leaves.
DIY Projects to Upgrade Your Garden
DIY 1: Upcycled Pallet Raised Bed
Raised beds improve drainage, warm the soil faster, and keep weeds at bay. An old wooden pallet can be transformed into a sturdy, 4‑ft‑by‑2‑ft raised bed in under an hour.

- Disassemble the pallet: Use a pry bar to remove slats, keeping them as even as possible.
- Build the frame: Nail four slats together to form a rectangle; reinforce corners with metal brackets.
- Line the interior: Place a breathable landscape fabric to prevent soil loss while allowing water flow.
- Fill with soil: Mix 40% compost, 30% peat moss, and 30% coarse sand for a light, well‑draining medium.
- Plant: Follow the step‑by‑step planting guide below for tomatoes (our example plant).
DIY 2: Self‑Watering Bottle System
Perfect for container gardeners, this low‑tech system delivers a steady moisture supply for up to two weeks.

- Take a 2‑liter plastic bottle, clean it thoroughly, and poke a 2‑mm hole in the cap.
- Insert a thin bamboo stick (or a small wooden dowel) through the hole; this acts as a wick.
- Fill the bottle with water, screw the cap back on, and invert it into the soil, ensuring the wick reaches the root zone.
- Check water level weekly; refill as needed.
Step‑by‑Step Guide: Growing a Productive Tomato Plant
Tomatoes are a favorite for beginners and seasoned growers alike. Below is a data‑backed, actionable plan that leverages the tools and DIY ideas above.

Step 1 – Soil Preparation (Days 1‑3)
- Use the soil test kit to determine pH; tomatoes thrive at 6.2‑6.8.
- If pH is low, amend with lime; if high, add elemental sulfur. Follow the kit’s dosage chart.
- Incorporate 2 inches of compost and a handful of bone meal (high phosphorus) using the adjustable garden fork to a depth of 12 inches.
Step 2 – Seedling Transplant (Day 4)
- Dig a 6‑inch hole with the ergonomic hand trowel. Place a tomato seedling, ensuring the root ball sits level with the surrounding soil.
- Backfill gently, firming soil with the trowel’s edge to eliminate air pockets.
- Water using the watering wand on a gentle mist setting until the soil is evenly moist.
Step 3 – Staking & Support (Day 5)
- Insert a 6‑foot bamboo stake 2 inches beside the plant, using the garden fork to create a narrow trench.
- Secure the stem with soft garden twine, leaving a little slack to allow growth.
- Optional DIY: Wrap the stake with a strip of reclaimed fabric for a decorative touch.
Step 4 – Ongoing Care (Weeks 2‑8)
- Watering: Apply 1‑1.5 inches of water per week, preferably in the early morning. Use the self‑watering bottle system for container plants.
- Fertilizing: Every 2 weeks, feed with a balanced organic fertilizer (10‑10‑10) at half the recommended rate.
- Pruning: When the plant reaches 18‑24 inches, use bypass pruning shears to remove suckers below the first fruit cluster. This directs energy to fruit development.
- Pest Management: Spot‑check leaves weekly. If aphids appear, spray a neem‑oil solution (1 tsp per quart of water) and gently wipe with a soft cloth.
Step 5 – Harvest (Weeks 10‑12)
- Harvest tomatoes when they reach full color and give a slight give when gently squeezed.
- Use the garden scissors to cut the fruit from the vine, leaving a small stem attached to prolong shelf life.
- Store harvested tomatoes at room temperature for maximum flavor; avoid refrigeration unless they’re fully ripe.
Practical Tips for Ongoing Garden Efficiency
- Tool Maintenance Calendar: Schedule a 15‑minute tool check every Sunday. Sharpen blades, oil moving parts, and wipe down handles to extend lifespan.
- Multi‑Tasking with DIY Projects: Combine the pallet raised bed with the self‑watering bottle system—drill a small hole at the base of the pallet and insert the bottle for automatic irrigation.
- Data‑Driven Adjustments: Keep a simple spreadsheet (or a garden journal) logging soil pH, watering dates, and fertilizer applications. Over a season, you’ll spot patterns that help you fine‑tune inputs, saving both water and money.
- Seasonal Tool Rotation: Store heavy tools (fork, shovel) in a dry, elevated area to prevent rust. Rotate lighter tools (trowel, scissors) to the front of the shed for quick access during peak planting weeks.
Conclusion: Turn Gardening Into a Joyful, Efficient Routine
Equipping yourself with the right tools and a few clever DIY projects transforms gardening from a chore into a rewarding hobby. By following the data‑backed steps for planting tomatoes—or any favorite vegetable—you’ll see healthier plants, higher yields, and a garden that works for you, not the other way around. Remember: consistency, proper tool care, and a willingness to experiment with simple DIY upgrades are the keys to long‑term success. Happy planting!


