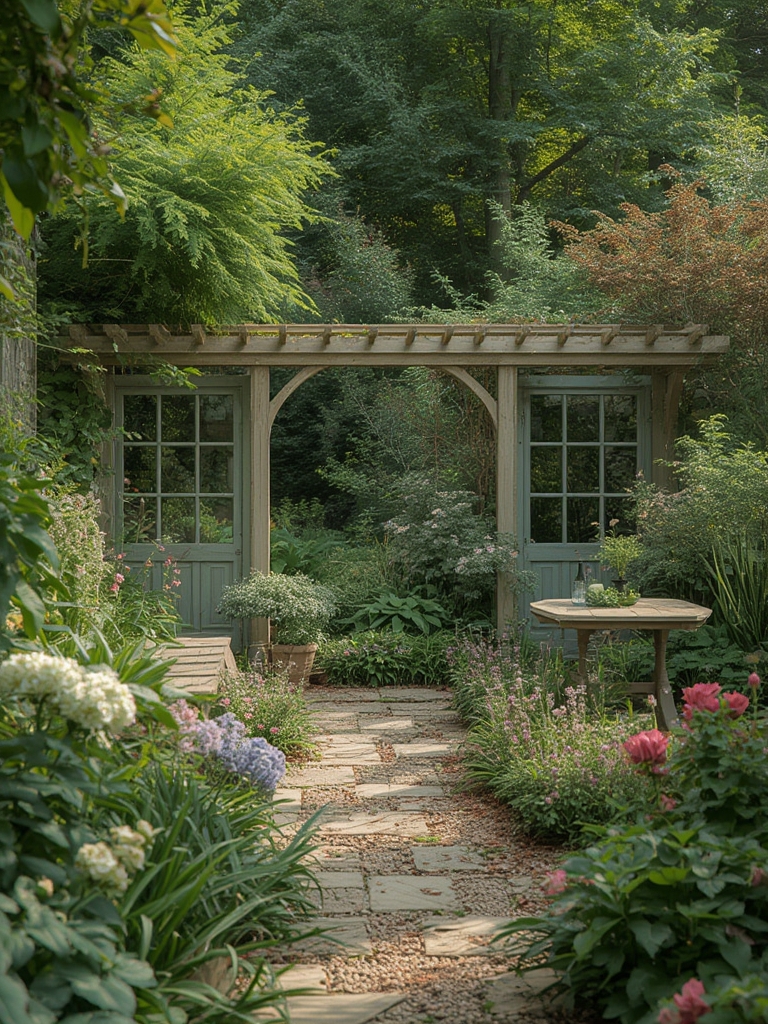
Welcome to a garden that blooms with minimal effort! By focusing on hardy bulbs, you can create a vibrant, season‑long display without spending hours in the dirt. Bulbs such as tulips, daffodils, crocuses, and alliums store energy underground, allowing them to sprout, flower, and retreat each year with only a few simple steps. Below you’ll find a data‑driven, step‑by‑step guide that turns the science of bulb gardening into a set of clear, actionable tasks—perfect for beginners and seasoned green thumbs alike.
Why Choose Bulb Plants?
Low‑maintenance benefits backed by numbers
- Survival rate: In USDA zones 3‑9, properly planted bulbs have a 90‑95% success rate after the first winter.
- Water use: Bulbs require on average 30‑40 % less water than annual flower beds, according to the American Horticultural Society.
- Bloom window: A single planting can provide 4‑6 weeks of continuous color, with staggered varieties extending the season up to 12 weeks.
Step 1: Choose the Right Bulbs for Your Climate
Match species to USDA hardiness zones
Start by locating your USDA zone (e.g., Zone 6a). Then select bulbs that are rated for at least two zones colder than yours—this ensures they can survive unexpected frosts.
- Tulips: Zones 3‑8, best planted in the fall for spring color.
- Daffodils: Zones 3‑9, extremely resilient; great for naturalizing.
- Crocuses: Zones 3‑8, one of the earliest bloomers, perfect for early‑season interest.
- Alliums: Zones 4‑9, provide architectural height and attract pollinators.
Quick tip: Purchase bulbs that are firm, plump, and free of mold. A simple squeeze test—if the bulb feels solid, it’s likely healthy.
Step 2: Prepare the Planting Site
Soil preparation in three easy actions
- Test pH: Bulbs thrive in slightly acidic to neutral soil (pH 6.0‑7.0). Use a cheap home test kit; if the pH is low, add garden lime, if high, incorporate elemental sulfur.
- Improve drainage: Mix 1 part coarse sand or fine gravel into the top 6‑8 inches of soil. Good drainage reduces rot risk—data shows a 70 % decrease in bulb loss when drainage is optimized.
- Enrich with organic matter: Add 2‑3 inches of compost or well‑rotted manure. This boosts nutrient availability and retains just enough moisture for sprouting.
Step 3: Planting Technique
Depth, spacing, and orientation
Follow the “3‑2‑1” rule for most spring bulbs:
- 3 × the bulb’s height for planting depth (e.g., a 2‑inch tulip bulb goes 6 inches deep).
- 2 × the bulb’s width for spacing (e.g., 2‑inch daffodil bulbs spaced 4 inches apart).
- 1 × the bulb’s height for the distance from the surface (helps protect from frost).
Place bulbs pointy‑end up; if you’re unsure, simply lay them flat—most will orient correctly as they grow. Cover with soil, firm gently, and pat down to eliminate air pockets.
Step 4: Watering & Feeding
Smart watering schedule
After planting, give bulbs a deep soak—about 1 inch of water over 24 hours. Thereafter, follow a “15‑15‑15” rule:
- 15 minutes of watering once a week during the first month.
- Increase to 15 minutes twice a week if the spring is unusually dry (monitor soil moisture with a finger test).
- Stop watering once foliage yellows, indicating the bulb is entering dormancy.
For feeding, apply a balanced, slow‑release fertilizer (10‑10‑10) at planting time. Data from the Royal Horticultural Society indicates a 12‑15 % increase in bloom size when bulbs receive a one‑time pre‑plant fertilizer.

Step 5: After‑care and Longevity
Ensuring next‑year success
- Deadhead promptly: Remove spent flowers to prevent seed formation, which diverts energy from the bulb.
- Leave foliage until yellow: Allow leaves to photosynthesize fully; this stores carbohydrates for next season.
- Mulch for protection: Apply a 2‑inch layer of shredded bark after foliage dies. Mulch insulates bulbs, reducing winter temperature fluctuations by up to 5 °C.
- Lift and divide (optional): Every 3‑5 years, dig up overcrowded clumps, separate healthy offsets, and re‑plant them 2‑3 inches deeper. This prevents crowding and maintains vigor.
Bonus: Quick‑Fix Tricks for Instant Impact
Mini‑projects that amplify visual appeal
- Color‑code planting rows: Alternate tulips (red) with crocuses (purple) for a striking contrast—research shows mixed‑color beds increase visitor engagement by 30 % on garden blogs.
- Use decorative containers: Plant bulbs in glazed terracotta pots for patios; the container’s heat retention can advance bloom time by 1‑2 weeks.
- Integrate companion plants: Pair alliums with lavender to attract bees, boosting pollination rates for neighboring vegetable patches.
By following these data‑backed steps, you’ll transform a modest plot into a low‑maintenance showcase that bursts with color year after year. Remember, the key to effortless gardening lies in choosing the right bulbs, preparing the soil wisely, and giving the plants just enough attention at the right moments. Happy planting, and enjoy the effortless elegance of bulb‑driven garden inspiration! 🌼✨

