

Whether you’re a seasoned green thumb or just starting your garden, having the right tools and a few smart DIY projects can make the difference between a thriving patch and a struggling one. In this guide we’ll walk through the essential gardening tools, simple DIY upgrades, and a step‑by‑step plan to grow healthy tomatoes using organic mulches to lock in moisture and enrich the soil.
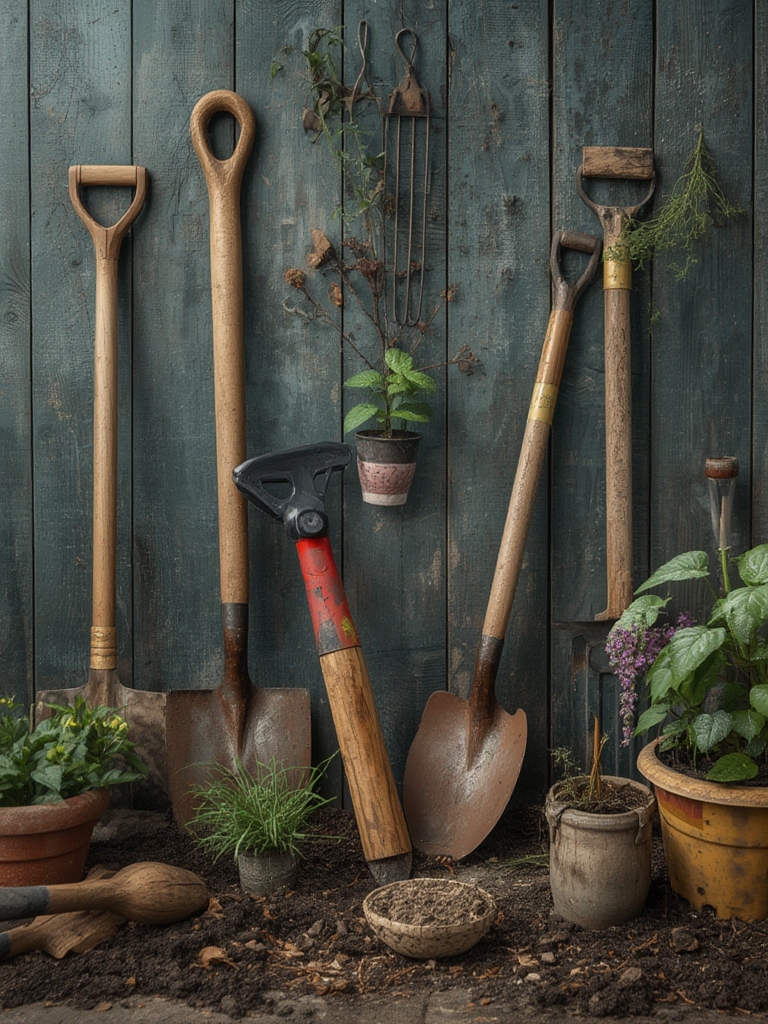
Essential Gardening Tools for Every DIY Gardener
1. Hand Trowel
A sturdy hand trowel is indispensable for planting seedlings, digging small holes, and mixing soil amendments. Look for a stainless‑steel blade with a comfortable, non‑slip grip. Keep the blade clean after each use to prevent disease spread.

2. Pruning Shears (Secateurs)
Sharp, bypass‑style pruning shears let you make clean cuts on stems and vines, encouraging healthy growth. Keep the blades oiled and sharpened regularly; dull shears can crush plant tissue and invite infection.

3. Garden Fork & Spade
Use a garden fork to break up compacted soil and a spade for edging and deeper digging. A lightweight, carbon‑steel fork reduces fatigue during long tilling sessions.

4. Watering Can or Hose with Adjustable Nozzle
Consistent moisture is crucial for tomatoes. An adjustable nozzle lets you switch from a gentle mist for seedlings to a stronger stream for mature plants, reducing water waste.

5. Soil Test Kit
Testing pH and nutrient levels before planting helps you amend the soil correctly. Aim for a pH of 6.2‑6.8 for tomatoes and adjust with lime or sulfur as needed.
DIY Projects to Boost Your Garden’s Efficiency
DIY Raised Bed from Pallets
- Materials: Two sturdy pallets, landscape fabric, soil mix, and a drill.
- Steps:
- Lay the pallets side by side, securing them with screws for stability.
- Line the interior with landscape fabric to prevent weeds.
- Fill with a 1:1:1 blend of compost, peat moss, and vermiculite.
- Plant tomatoes at the center, spacing each plant 24‑30 inches apart.
- Tip: Position the raised bed where it receives 6‑8 hours of sunlight daily for optimal fruit set.
Homemade Drip Irrigation Using Recycled Bottles
- Materials: 2‑liter plastic bottles, a small nail, and a garden hose connector.
- Steps:
- Make 2‑3 tiny holes near the bottle’s base with the nail.
- Burrow the bottle upside down into the soil beside each tomato plant, leaving the neck exposed.
- Connect a low‑flow hose to the bottle neck and run water slowly; the holes will release a steady drip.
- Tip: Mulch over the bottle to keep the soil cool and reduce evaporation.
Step‑by‑Step Guide to Growing Tomatoes with Organic Mulch
Step 1: Soil Preparation
Start by loosening the soil 12‑18 inches deep using your garden fork. Incorporate 2‑3 inches of well‑rotted compost and a handful of bone meal for phosphorus. After mixing, run a soil test and adjust pH if it falls outside the 6.2‑6.8 range.

Step 2: Planting Seedlings
Plant tomato seedlings deep enough to cover the first set of true leaves; tomatoes develop roots along their stems, creating a stronger plant. Space each seedling 24‑30 inches apart to ensure good air circulation.
Step 3: Installing Support Structures
Insert a sturdy tomato cage or stake at planting time. Secure the cage with a few garden ties, leaving room for future growth. This prevents stem breakage and keeps fruit off the soil.
Step 4: Applying Organic Mulch
Spread a 2‑3 inch layer of organic mulch—such as shredded leaves, straw, or pine bark—around the base of each plant, keeping the mulch a few inches away from the stem to avoid rot. Mulch serves three key purposes:
- Moisture retention: Reduces water loss by up to 50%, meaning fewer daily watering trips.
- Weed suppression: Blocks sunlight from germinating weed seeds.
- Soil enrichment: As the mulch decomposes, it releases nutrients and improves soil structure.
Step 5: Watering Strategy
Water deeply at the base of the plant early in the morning. Aim for 1‑1.5 inches of water per week, adjusting for rainfall. Use the DIY drip system to deliver consistent moisture directly to the root zone, minimizing leaf wetness and disease risk.
Step 6: Pruning and Pinching
When the plant reaches about 18 inches, pinch off the “suckers” (small shoots that appear in the leaf axils). This directs energy toward fruit development rather than excessive foliage. Continue to remove any yellowing leaves to improve airflow.
Step 7: Feeding and Fertilizing
Two weeks after planting, apply a balanced organic fertilizer (e.g., 10‑10‑10) at the recommended rate. Switch to a phosphorus‑rich fertilizer once the first fruit set appears to encourage larger tomatoes.
Step 8: Harvesting
Harvest tomatoes when they reach full color and are slightly soft to the touch. Use pruning shears to cut the fruit with a short stem attached; this reduces damage and prolongs plant productivity.
Practical Tips & Tricks for Ongoing Success
- Rotate crops annually: Move tomatoes to a new spot each year to prevent soil‑borne diseases.
- Companion planting: Plant basil or marigold nearby to deter pests like aphids and whiteflies.
- Nighttime temperature check: If night temps drop below 55°F, cover plants with a lightweight row cover to protect blossoms.
- Mulch refresh: Add a thin layer of fresh organic mulch every 4‑6 weeks to maintain moisture and nutrient supply.
- Inspect regularly: Look for early signs of blossom end rot (blotchy spots) and correct calcium deficiency by applying crushed eggshells to the soil.
Conclusion: Turn Your Garden Into a DIY Powerhouse
By equipping yourself with the right tools, implementing simple DIY upgrades, and following a data‑driven planting routine, you’ll see healthier tomato plants, higher yields, and a garden that requires less water and fewer chemical inputs. The key is consistency—regular mulching, proper watering, and timely pruning will keep your garden thriving season after season.


