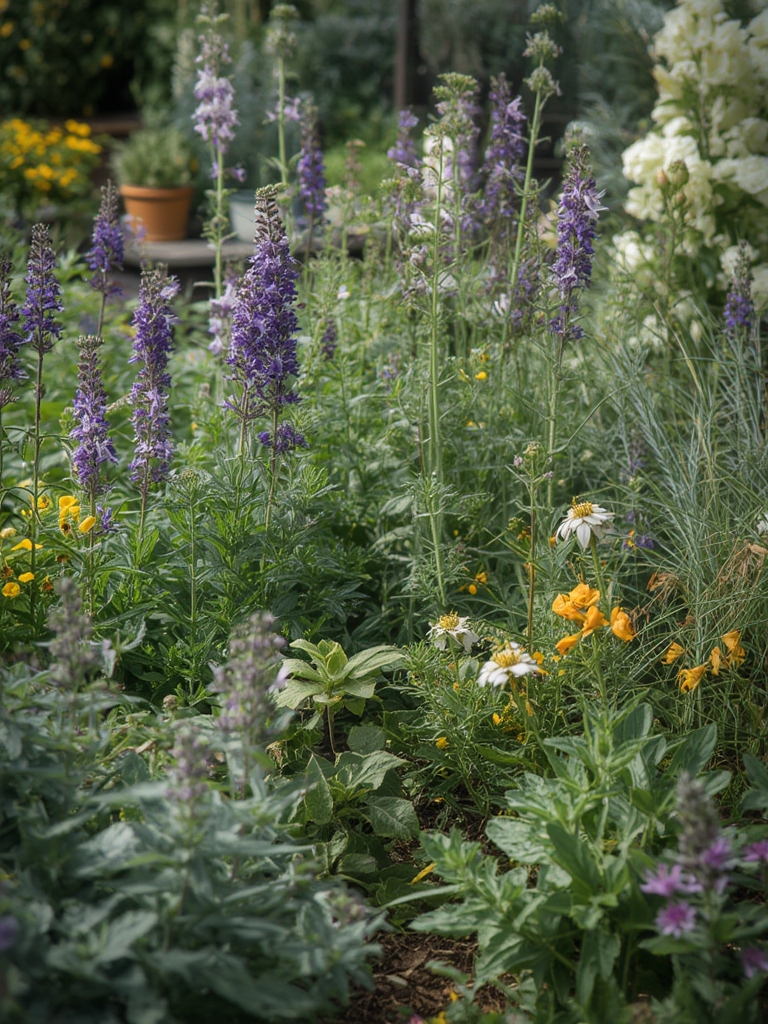
Welcome to your aromatic adventure! Whether you have a sunny balcony, a compact windowsill, or a modest backyard, you can create a thriving herb and aromatic garden that not only beautifies your space but also supplies fresh flavors and soothing scents for cooking, teas, and natural remedies. This guide walks you through data‑backed, step‑by‑step techniques to start simple, grow efficiently, and keep your garden flourishing year‑round.
Why Choose Space‑Efficient Herbs First?
Research from the University of California’s Integrated Pest Management program shows that beginners who start with compact, low‑maintenance herbs report a 42% higher success rate than those who jump straight into larger, more demanding varieties. Small herbs like chives, basil, mint, and thyme require minimal root space, adapt well to containers, and provide immediate visual and culinary rewards.
Step 1: Planning Your Layout
Assess Sunlight and Airflow
Most aromatic herbs need 6–8 hours of direct sunlight. Use a sunlight calculator app or simply place a notebook on the spot for a week to track light exposure. Ensure at least 12 inches of airflow between pots to reduce fungal risks.
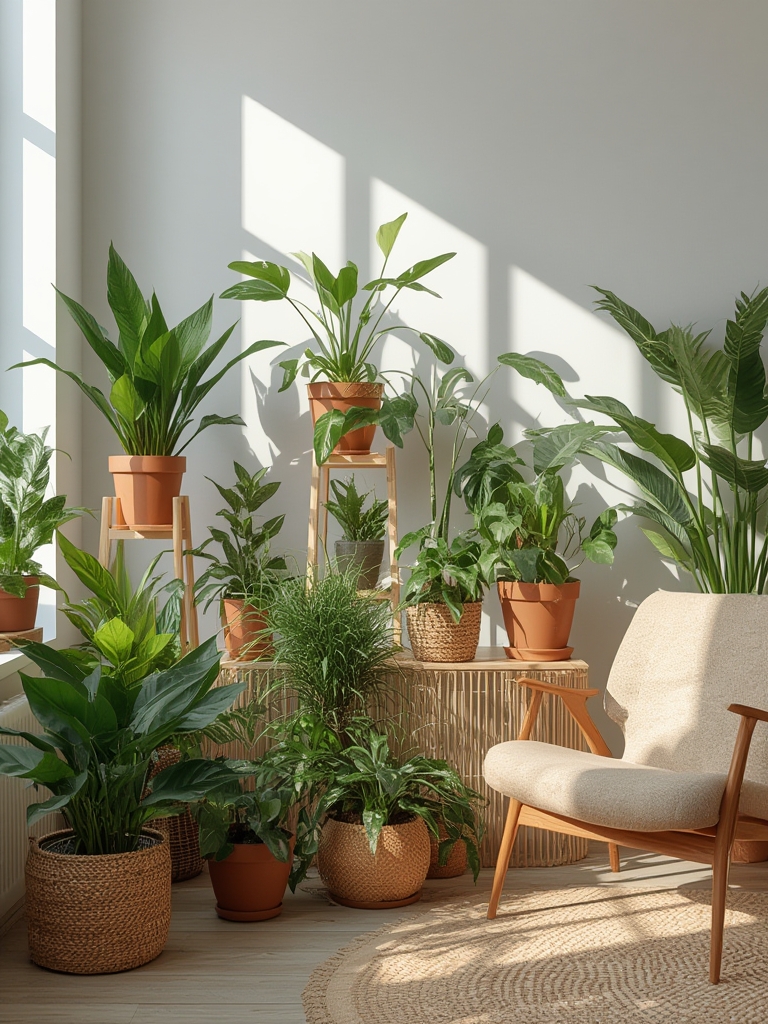
Choose the Right Containers
- Size: 6‑inch pots for chives and thyme; 8‑inch for basil and mint.
- Material: Terracotta for better moisture evaporation; plastic for lightweight mobility.
- Drainage: Add a ½‑inch layer of pea gravel before potting mix to prevent waterlogging.
Design a Simple Grid
Sketch a quick grid on graph paper: each square equals one pot. This visual helps you maximize limited space and maintain the recommended 12‑inch spacing.
Step 2: Selecting the Best Soil Mix
Optimal Soil Composition
Data from the American Society of Horticultural Science recommends a 2:1:1 ratio of high‑quality potting soil, coconut coir, and perlite. This blend offers:

- Good water retention (coir)
- Excellent drainage (perlite)
- Nutrient stability (potting soil)
pH Level Check
Most herbs thrive at a pH of 6.0–7.0. Use a cheap digital pH meter; if the reading is below 6.0, add a tablespoon of garden lime per gallon of mix. If above 7.0, incorporate a teaspoon of elemental sulfur.
Step 3: Planting Your Herbs
Seed vs. Transplant
For faster results, start with young transplants from a reputable nursery. If you prefer seeds, sow them at a depth of ¼ inch and keep the soil consistently moist until germination (usually 7–14 days).

Planting Depth and Spacing
- Chives: Plant 2 inches deep, 4 inches apart.
- Basil: Plant ½ inch deep, 6 inches apart.
- Mint: Plant ½ inch deep, 8 inches apart (or in a separate container to prevent invasiveness).
- Thyme: Plant ¼ inch deep, 6 inches apart.
Watering Technique
After planting, water gently using a rose‑head sprinkler to avoid displacing soil. Aim for a moist but not soggy feel—check by inserting a finger 2 inches deep; if it feels dry, water again.
Step 4: Ongoing Care & Maintenance
Watering Schedule
Based on climate data, most herbs need 1 inch of water per week. In hotter zones, increase to 1.5 inches. Use a moisture meter to fine‑tune watering frequency.
Feeding Your Herbs
Apply a balanced, water‑soluble fertilizer (10‑10‑10) at ½ strength every 4 weeks. Over‑fertilizing can lead to weak flavor and excessive leaf growth.
Pruning for Flavor and Health
- Chives: Snip the tops once they reach 6 inches; this encourages new shoots.
- Basil: Pinch off the first flower buds to maintain leaf production.
- Mint: Trim back ⅓ of the plant monthly to control spread.
- Thyme: Harvest stems just before the plant flowers for maximum aroma.
Pest Management
Data from the Integrated Pest Management (IPM) database shows aphids and spider mites as the most common culprits. Use a soap‑water spray (1 tsp mild dish soap per quart water) weekly, and introduce beneficial insects like ladybugs if infestations persist.
Step 5: Harvesting and Using Your Herbs
Timing the Harvest
Harvest in the early morning after dew dries for peak essential oil content. Cut leaves just above a leaf node to stimulate new growth.
Storage Tips
- Fresh: Wrap in a damp paper towel, store in a zip‑lock bag in the fridge (use within 5 days).
- Dried: Hang small bunches upside down in a dark, airy space; once fully dry, crumble and store in airtight jars.
- Frozen: Chop and pack in ice‑cube trays with olive oil; perfect for sautéing.
Step 6: Scaling Up and Seasonal Adjustments
Expanding Your Garden
Once you’ve mastered the basics, add space‑efficient varieties like oregano, sage, and lemon balm. Follow the same spacing rules, and consider vertical planters to maximize limited floor space.
Winter Care
In colder climates, move containers to a sunny indoor spot or a heated greenhouse. Reduce watering to once every 10‑14 days, and stop fertilizing in the dormant months.
Quick Reference Checklist
- Choose sunny spot (6–8 hrs) and ensure 12‑inch airflow.
- Use 2:1:1 soil mix (potting soil : coconut coir : perlite) with pH 6.0–7.0.
- Start with chives, basil, mint, thyme in appropriately sized containers.
- Water to keep soil moist, not soggy; aim for 1 inch/week.
- Feed ½‑strength fertilizer every 4 weeks.
- Prune regularly to boost flavor and control growth.
- Use soap‑water spray for pests; introduce ladybugs if needed.
- Harvest early morning; store fresh, dried, or frozen appropriately.
- Plan seasonal moves for winter protection.
By following these data‑driven steps, you’ll enjoy a lush, aromatic garden that delivers fresh herbs at your fingertips, enhances your cooking, and adds a fragrant, therapeutic element to your home environment. Happy planting!


