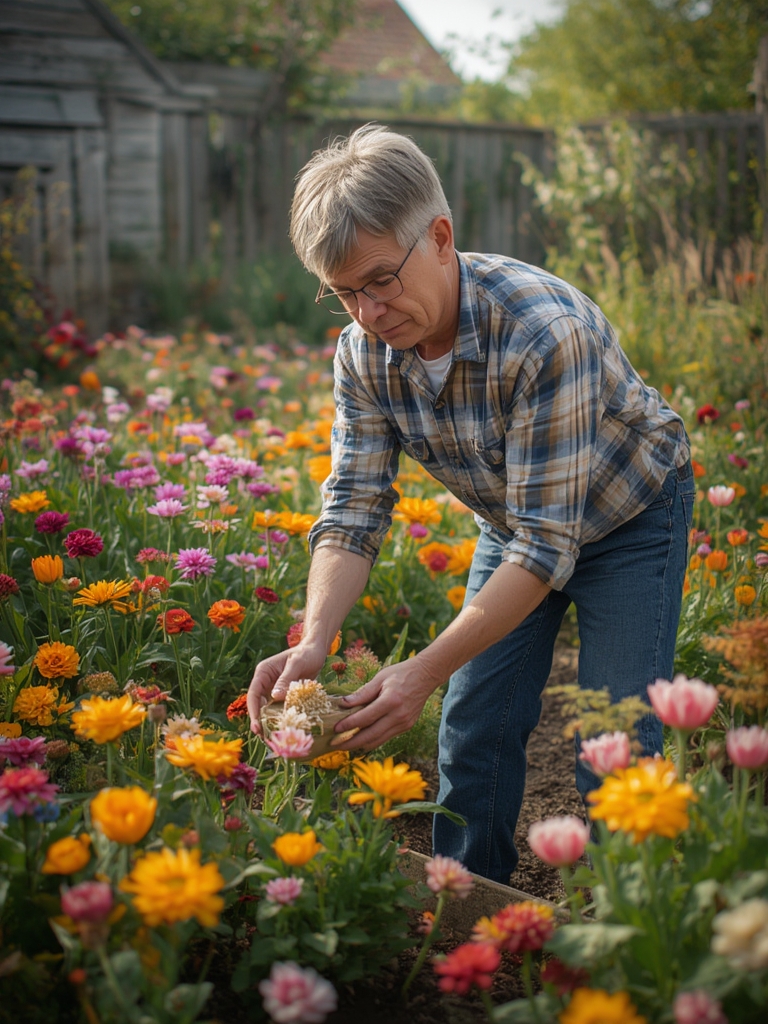

Flower gardening is more than just planting pretty blooms—it’s a rewarding blend of science, art, and a touch of eco‑friendly pest control. By following a data‑driven, step‑by‑step approach, even beginners can create a vibrant, low‑maintenance garden that attracts pollinators, deters pests, and adds lasting curb appeal.
Step 1: Assess Your Site and Soil
Measure Sunlight Exposure
- Use a simple sunlight log: record the amount of direct sun each spot receives over a 3‑day period (morning, midday, afternoon).
- Plants that need full sun (6‑8 hours) include roses, lavender, and marigolds. Shade‑tolerant varieties like impatiens and begonias thrive with 3‑4 hours.
Test Soil pH and Texture
- Purchase a cheap pH test kit (≈ $5) or send a sample to a local extension service.
- Ideal pH for most flowers: 6.0‑7.0. Adjust with lime (raise pH) or sulfur (lower pH) based on test results.
- Check texture by feeling a handful of moist soil: sandy soils drain quickly, clay holds water. Amend with compost (20 % by volume) to improve structure.
Step 2: Choose the Right Flowers for Your Climate and Goals
Data‑Driven Selection
Consult USDA Hardiness Zone maps or local extension climate data. Match plant hardiness to your zone to avoid winter kill.
- Zone 5‑9: Coneflower (Echinacea), Black-eyed Susan (Rudbeckia)
- Zone 9‑11: Hibiscus, Bougainvillea, and Lantana
Natural Pest‑Repelling Flowers
Integrate these proven pest deterrents to protect your garden without chemicals:

- Marigolds (Tagetes spp.) – Emit thiophenes that repel nematodes, aphids, and whiteflies.
- Nasturtiums (Tropaeolum majus) – Act as a “trap crop” for aphids, squash bugs, and beetles.
- Lavender (Lavandula angustifolia) – Deters moths, fleas, and flies while attracting bees.
- Petunias (Petunia × hybrida) – Repel squash bugs, leafhoppers, and spider mites.
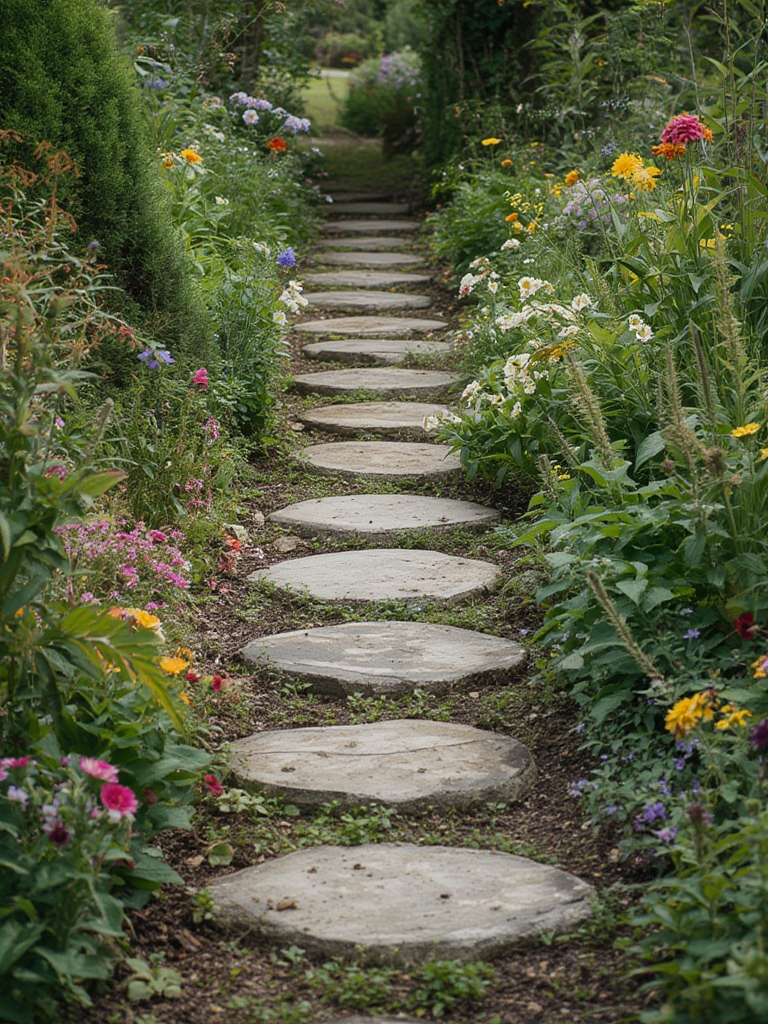
Step 3: Prepare the Planting Beds
Clear and Level
- Remove weeds, grass, and debris. Use a garden fork to loosen the top 12‑15 inches of soil.
- Level the surface with a rake to ensure even water distribution.
Incorporate Organic Matter
- Spread a 2‑inch layer of well‑composted organic matter.
- Mix thoroughly with existing soil; this improves water retention and nutrient availability.
Set Up Mulch for Moisture Control
- Apply 2‑3 inches of shredded bark, straw, or pine needles after planting.
- Mulch reduces evaporation by up to 40 % and suppresses weed germination.
Step 4: Planting Techniques for Success
Spacing and Depth
- Follow seed‑packet or plant label recommendations; typical spacing: 12‑18 inches for most perennials, 6‑12 inches for annuals.
- Plant at the same depth as the root ball; shallow planting can cause stem rot.
Watering at Plant‑In
- Give each new plant a deep soak (≈ 10 minutes) to settle soil around roots.
- Use a soaker hose or drip line to deliver water directly to the root zone, minimizing foliage wetness and disease risk.
Step 5: Ongoing Care and Maintenance
Water Management
- Monitor soil moisture with a simple finger test: 2 inches deep should feel moist but not soggy.
- Adjust watering frequency based on weather—reduce in rainy periods, increase during heat spikes.
Fertilization Strategy
- Apply a balanced, slow‑release fertilizer (10‑10‑10) in early spring at a rate of 1 lb per 100 sq ft.
- For heavy‑flowering species, supplement with a phosphorus‑rich bloom booster (e.g., 5‑10‑5) after the first flush of buds.
Pruning and Deadheading
- Remove spent blooms weekly to encourage repeat flowering and prevent seed set.
- Trim back leggy stems in late summer to promote a tidy shape and reduce disease entry points.
Integrated Pest Management (IPM) Using Companion Flowers
Leverage the pest‑repelling plants you introduced:

- Plant marigolds along the perimeter of vegetable beds to deter nematodes.
- Intercrop nasturtiums among tomatoes and cucumbers to draw aphids away from the main crops.
- Position lavender near seating areas to keep flies and mosquitoes at bay while adding fragrance.
Step 6: Seasonal Adjustments
Spring Refresh
- Divide overcrowded perennials (e.g., coneflowers) every 3‑4 years to maintain vigor.
- Apply a light top‑dressing of compost to replenish nutrients lost over winter.
Summer Heat Management
- Increase mulching depth by 1 inch to keep roots cool.
- Consider a temporary shade cloth for delicate species during extreme heat waves.
Fall Clean‑Up
- Cut back dead foliage, but leave a few stems for winter interest and bird shelter.
- Plant spring‑blooming bulbs (e.g., tulips, daffodils) now for a burst of color next year.
Step 7: Track Your Results and Optimize
Maintain a Garden Journal
- Record planting dates, varieties, soil amendments, and watering schedules.
- Note any pest sightings and which companion flowers proved most effective.
Analyze Data for Future Seasons
At the end of the growing season, review your journal to identify patterns—e.g., “Marigolds reduced aphid counts by 70 % in zone 7.” Use these insights to refine plant selections and layout for the next year.

Quick Action Checklist
- ✔️ Test soil pH and amend as needed.
- ✔️ Choose flowers suited to your hardiness zone and pest‑repelling goals.
- ✔️ Prepare beds with compost and mulch.
- ✔️ Plant at proper depth and spacing; water deeply.
- ✔️ Apply balanced fertilizer in spring; boost phosphorus after buds appear.
- ✔️ Deadhead weekly; prune for shape.
- ✔️ Use marigolds, nasturtiums, lavender, and petunias as natural pest barriers.
- ✔️ Adjust watering and mulching seasonally.
- ✔️ Keep a garden journal to track performance.
By following these data‑driven steps and incorporating pest‑repelling flowers, you’ll cultivate a thriving, beautiful garden that stays healthy naturally. Happy planting!
