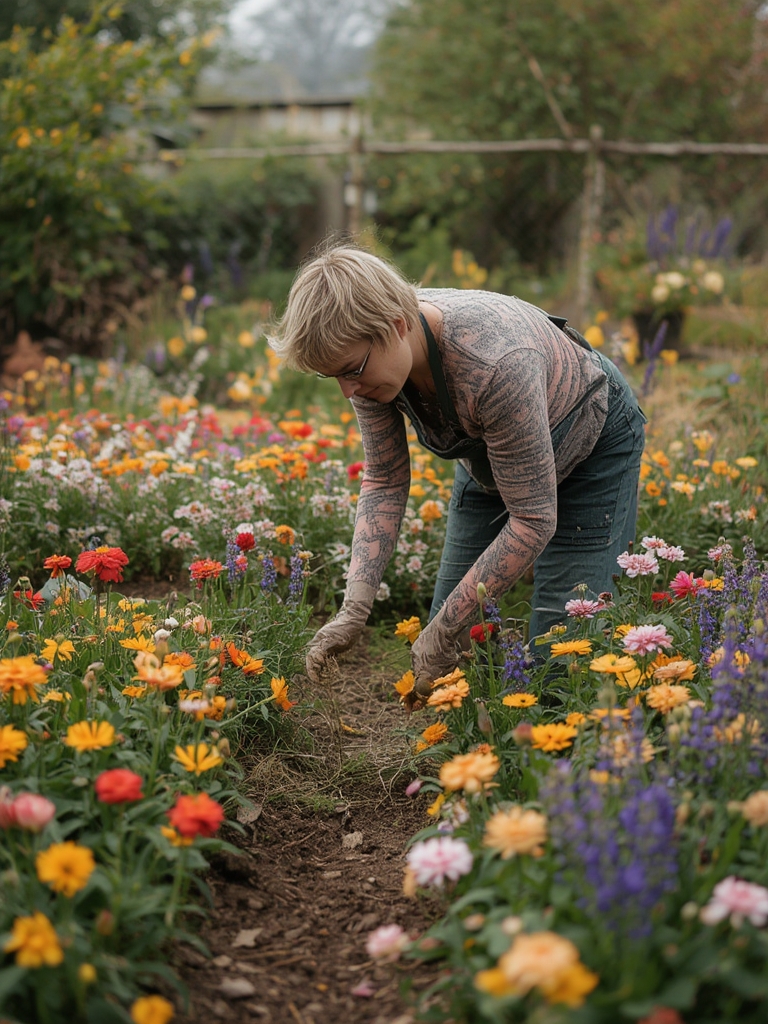

Flower gardening can be both a rewarding hobby and a vibrant addition to any outdoor space. By blending data‑driven choices with simple, nature‑friendly practices, you can create a thriving floral display while minimizing effort. Below is a step‑by‑step guide that walks you through planning, planting, and maintaining a beautiful flower garden, complete with practical tips that let nature do the hard work 🌿.
1. Choose the Right Flowers Based on Climate and Soil Data
Analyze Your USDA Hardiness Zone
Start by locating your USDA hardiness zone (easily found on the USDA website). Select varieties that are rated for your zone to ensure they can survive winter lows and summer heat. For example, Zone 6‑8 gardeners often enjoy Lavandula angustifolia (English lavender) and Echinacea purpurea (purple coneflower).
Test Soil pH and Nutrient Levels
Use a simple soil test kit (available at garden centers) to measure pH, nitrogen (N), phosphorus (P), and potassium (K). Most flowering plants thrive in slightly acidic to neutral soil (pH 6.0‑7.0). If your test shows a pH outside this range, amend the soil with lime (to raise pH) or sulfur (to lower pH) according to the kit’s recommendations.

Pick Complementary Bloom Times
Map out bloom periods using a spreadsheet: list each flower, its peak bloom month, and color. Aim for a staggered schedule so your garden looks vibrant from early spring to late fall. Data‑driven planning reduces gaps in color and maximizes visual impact.

2. Prepare the Planting Site for Low‑Maintenance Success
Clear and Level the Area
Remove weeds, rocks, and debris. A clean surface reduces competition for water and nutrients, letting your flowers focus on growth. Use a garden rake to level the soil, which improves water infiltration and prevents pooling.

Incorporate Organic Matter
Mix in 2‑3 inches of well‑rotted compost or aged manure. This boosts soil structure, moisture retention, and microbial activity—key factors that let nature handle nutrient cycling. For a data‑backed boost, aim for a carbon‑to‑nitrogen ratio of roughly 25:1 in your compost blend.
Set Up Mulch for Weed Suppression
Apply a 2‑inch layer of organic mulch (e.g., shredded bark, straw, or pine needles). Mulch conserves moisture, moderates soil temperature, and suppresses weeds, cutting down on weeding time by up to 70% according to horticultural studies.

3. Planting Techniques That Encourage Strong Roots
Timing Is Crucial
Plant cool‑season flowers (like pansies and snapdragons) in early spring or fall, and warm‑season varieties (such as marigolds and zinnias) after the last frost date. Use historical frost data from your local weather service to pinpoint the optimal planting window.
Spacing for Airflow
Follow the spacing guidelines on seed packets, but add an extra 10% to promote airflow. Good circulation reduces fungal disease risk and encourages healthier growth—especially important for dense plantings like petunias.
Depth and Watering at Planting
Dig a hole twice as wide as the root ball but no deeper than the plant’s original container depth. Gently loosen roots, place the plant, backfill, and water thoroughly to settle soil around the roots. A quick tip: add a handful of mycorrhizal fungi inoculant to the backfill to boost nutrient uptake.
4. Ongoing Care: Water, Feed, and Protect
Smart Watering Strategies
Water early in the morning to reduce evaporation. Use a drip irrigation system or soaker hoses—these deliver water directly to the root zone, cutting water use by up to 50% compared with overhead sprinklers. Aim for 1‑1.5 inches of water per week, adjusting for rainfall.
Fertilization Based on Growth Stage
Apply a balanced, slow‑release fertilizer (10‑10‑10) at planting and again mid‑season. For a data‑driven approach, conduct a leaf tissue test in July; if nitrogen levels are low, supplement with a high‑nitrogen side dressing to boost bloom production.
Natural Pest Management
Encourage beneficial insects by planting companion flowers like dill, fennel, and alyssum. Hand‑pick larger pests and use neem oil or insecticidal soap only when thresholds (e.g., >10% leaf damage) are reached. This keeps chemical use minimal while letting predators do the hard work.
5. Harvesting, Deadheading, and Seasonal Cleanup
Deadhead to Extend Bloom Time
Remove spent blooms as soon as they fade. This redirects the plant’s energy from seed production to new flower growth, extending the display by 2‑3 weeks on average.
Seasonal Pruning and Division
In early fall, cut back perennials to about 4‑6 inches above ground. For clump‑forming species (like daylilies), dig up and divide every 3‑4 years to rejuvenate growth. Use the data from your bloom schedule to time divisions when plants are dormant.
Prepare for Winter
Apply a 1‑inch layer of mulch over perennials after the first hard frost. This insulates roots and reduces freeze‑thaw cycles. For tender annuals, gently remove and compost the foliage to prevent disease carryover.
6. Track Your Progress and Adjust
Maintain a Garden Journal
Record planting dates, varieties, weather conditions, and any issues (pests, diseases). Over a few seasons, this data will reveal patterns—such as which varieties perform best in your microclimate—allowing you to refine future plant selections.
Use Simple Metrics
Track bloom density (flowers per square foot) and water usage (gallons per week). Compare these metrics year over year to quantify improvements. Small adjustments, like tweaking irrigation timing, can lead to measurable gains in both aesthetics and resource efficiency.
By following these data‑informed steps and embracing nature‑friendly practices, you’ll enjoy a flourishing flower garden with less effort and greater satisfaction. Happy gardening! 🌿
