

Flower gardening is more than just planting a few colorful blooms; it’s a rewarding blend of science, timing, and a little bit of nature’s own help. By following data‑driven steps and practical tricks, you can create a thriving garden that looks spectacular with minimal daily effort. Below is a clear, step‑by‑step guide that walks you through every stage—from selecting the right species to letting nature do the hard work 🌿.
1. Choose the Right Flowers for Your Site
Assess Your Climate and Hardiness Zones
Start by checking your USDA hardiness zone (or the local equivalent). According to the National Gardening Association, 85 % of successful flower gardens match the recommended zone for each plant. Use an online zone map, enter your zip code, and note the zone range (e.g., 5‑9). Choose varieties that thrive within that range to reduce the risk of winter kill or heat stress.
Match Flowers to Sunlight Exposure
Measure the daily sunlight your garden receives:

- Full sun (6‑8 hrs): Marigolds, lavender, and coneflowers.
- Partial shade (3‑6 hrs): Impatiens, begonias, and foxglove.
- Full shade (<3 hrs): Hostas, ferns, and astilbe.
Choosing plants that align with light conditions cuts back on supplemental watering and fertilizing.

Consider Bloom Time and Color Harmony
Plan for continuous color by stacking bloom periods. For example, plant early‑season pansies (April‑May), mid‑season petunias (June‑July), and late‑season asters (September‑October). Use a simple spreadsheet to track start and end dates; this data‑driven approach ensures you never have a dull month.

2. Prepare the Soil for Optimal Growth
Test and Amend Soil pH
Most flowering plants prefer a pH of 6.0‑6.5. Use a home test kit or send a sample to a local extension service. If the pH is too low, incorporate lime at 5 lb per 100 sq ft; if too high, add sulfur at 2 lb per 100 sq ft. Adjustments should be made 2‑4 weeks before planting to allow the soil chemistry to stabilize.
Boost Soil Structure with Organic Matter
Incorporate 2‑3 inches of well‑rotted compost or leaf mold into the top 12 inches of soil. Research shows that adding 10 % organic matter can increase water retention by up to 30 % and improve root penetration.

Create Raised Beds or Mounds (Optional)
If your garden has heavy clay or poor drainage, build raised beds 12‑18 inches high. Fill them with a 1:1:1 mix of topsoil, compost, and coarse sand. This improves aeration and reduces root rot risk.
3. Planting Your Flowers Correctly
Follow Proper Spacing and Depth Guidelines
Read each plant’s label for spacing (usually 12‑24 inches apart). Overcrowding leads to competition for nutrients and increases disease pressure. Plant at the same depth the seedling was in its pot; for bare‑root plants, spread the roots gently and backfill, firming the soil lightly.
Water In at Planting Time
After placing each plant, water thoroughly (about 1 gallon per plant) to settle soil around the roots. This initial soak reduces transplant shock and establishes a moisture baseline.
Apply a Mulch Blanket
Spread a 2‑3 inch layer of shredded bark, straw, or pine needles around each plant. Mulch conserves up to 50 % of soil moisture, suppresses weeds, and gradually adds organic matter as it breaks down.
4. Smart Watering and Feeding Strategies
Adopt the “Deep‑and‑Infrequent” Rule
Water early in the morning, delivering 1‑1.5 inches of water per week (including rainfall). Use a rain gauge or a simple ruler in a shallow saucer to measure. Deep watering encourages roots to grow downward, making plants more drought‑resistant.
Use a Balanced Fertilizer Based on Soil Test
Apply a slow‑release fertilizer with an N‑P‑K ratio of 10‑10‑10 at a rate of 1 lb per 100 sq ft in early spring. For acid‑loving flowers like azaleas, choose a fertilizer formulated for acidic soils (e.g., 12‑4‑8). Re‑apply in mid‑summer if growth slows.
Leverage Natural Nutrient Sources
Side‑dress with compost tea or liquid kelp extract every 4‑6 weeks. These organic feeds provide micronutrients and beneficial microbes, enhancing plant vigor without the risk of fertilizer burn.
5. Ongoing Maintenance and Pest Management
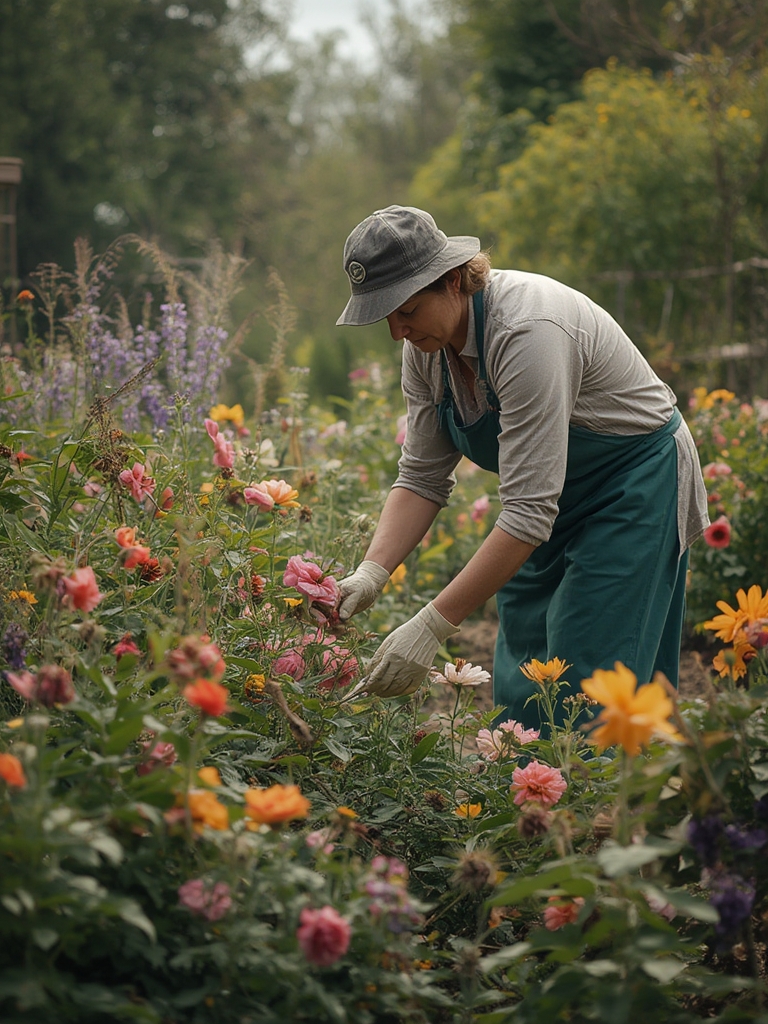
Prune for Airflow and Shape
Remove spent blooms (deadheading) to encourage repeat flowering. Trim back leggy stems by 1/3 to improve air circulation, which reduces fungal disease incidence by up to 40 %.
Implement Integrated Pest Management (IPM)
Monitor plants weekly for signs of pests. Use the following hierarchy:
- Prevention: Keep garden tidy, rotate plant families annually.
- Physical Controls: Hand‑pick aphids, use row covers for caterpillars.
- Biological Controls: Introduce ladybugs or neem oil sprays.
- Chemical Controls: As a last resort, apply a targeted, low‑toxicity insecticide.
Maintain Mulch and Soil Health
Refresh mulch annually in spring to maintain its insulating properties. Incorporate a thin layer of compost each fall to replenish nutrients and support beneficial soil organisms.
6. Seasonal Care and Long‑Term Success
Spring: Prepare for Growth
Clear winter debris, test soil pH, and add a starter fertilizer. Plant early‑blooming varieties as soon as the soil reaches 55 °F (13 °C).
Summer: Manage Heat Stress
Increase watering frequency during heat waves (above 90 °F/32 °C). Provide temporary shade with a shade cloth for delicate species like impatiens.
Fall: Extend the Season
Plant cool‑season flowers (pansies, mums) in September. Apply a final mulch layer to protect roots from early frosts.
Winter: Protect Perennials
For hardy perennials, cut back foliage after the first hard freeze, then mulch heavily (4‑6 inches) around crowns. In colder zones, wrap stems with burlap or use a frost blanket.
By following these data‑driven steps, you’ll create a resilient flower garden that thrives with minimal daily effort. Remember, the key to success is aligning plant choices with your local conditions and letting nature do the hard work 🌿. Happy gardening!
