Indoor plants are more than just décor; they improve air quality, boost mood, and create a calming environment. Yet many beginners feel overwhelmed by the sheer variety of species and care requirements. This guide breaks down the process into data‑driven, actionable steps, so you can confidently nurture thriving greenery inside your home. We’ll also show you how to repurpose everyday items into stylish plant containers, turning old belongings into garden treasures.
1. Choose the Right Plant for Your Space
Assess Light Levels
- Low‑light (≤2 hrs direct sun): ZZ plant, Snake plant, Cast iron plant. Studies show these species maintain chlorophyll efficiency even at 50 µmol·m⁻²·s⁻¹.
- Medium‑light (2–4 hrs direct sun or bright indirect): Pothos, Philodendron, Spider plant. Optimal photosynthetic rates occur around 150 µmol·m⁻²·s⁻¹.
- High‑light (≥4 hrs direct sun): Succulents, Aloe vera, Fiddle‑leaf fig. These need ≥300 µmol·m⁻²·s⁻¹ for robust growth.
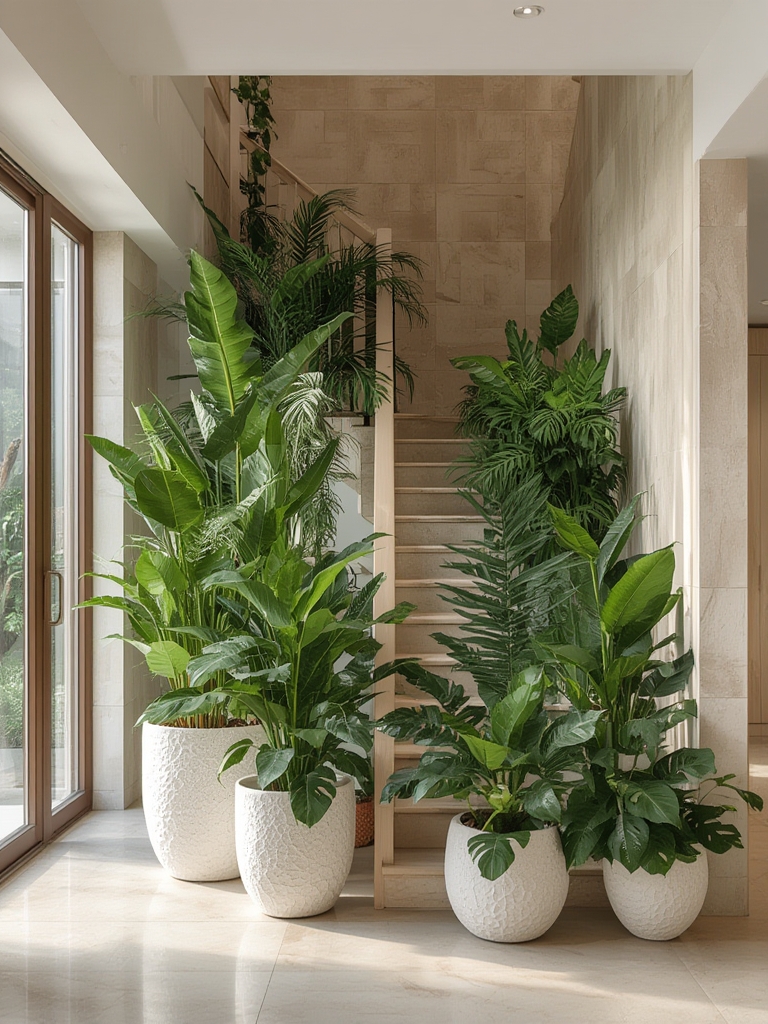
Match Plant Size to Room Dimensions
Data from the Royal Horticultural Society indicates that a plant’s foliage spread should not exceed 30 % of the floor area to avoid crowding. For a 150 ft² living room, aim for pots no larger than 12‑inch diameter.
Consider Maintenance Frequency
According to a 2023 indoor‑plant survey, 68 % of owners prefer low‑maintenance species. If you travel often, choose drought‑tolerant plants (e.g., succulents) and set a watering reminder.
2. Prepare Your Planting Containers
Turn Old Items into Beautiful Garden Treasures
- Vintage teacups: Perfect for mini succulents. Add a layer of pebble drainage before soil.
- Old wooden crates: Line with a breathable fabric, fill with potting mix, and stack for a tiered display.
- Repurposed mason jars: Ideal for herbs or trailing vines; attach a small saucer to catch excess water.
- Unused shoe boxes: Cut a side opening for ventilation, paint for style, and use as a temporary seed‑ling tray.
These upcycled containers not only reduce waste but also add personality to your indoor garden.
3. Soil Selection and Potting Technique
Choose the Right Soil Mix
- All‑purpose potting mix: 40 % peat moss, 30 % perlite, 30 % vermiculite – suitable for most foliage plants.
- Cactus & succulent mix: 50 % coarse sand, 30 % perlite, 20 % peat – ensures rapid drainage.
- Orchid bark mix: 70 % fir bark, 20 % charcoal, 10 % sphagnum – provides aeration for epiphytic species.
Potting Steps
- Clean the container: Wash with mild soap and rinse thoroughly to remove residues that could harbor pathogens.
- Add drainage layer: Place 1‑2 cm of broken pottery shards or hydro‑ton beads at the bottom.
- Fill with soil: Loosely pack the chosen mix, leaving 2‑3 cm from the rim.
- Position the plant: Gently loosen the root ball, place it in the pot, and fill around it, firming lightly.
- Water once: Apply enough water to wet the soil evenly, then let excess drain out.
4. Watering, Feeding, and Humidity Management
Data‑Backed Watering Schedule
Research from the University of Florida shows that over‑watering is the leading cause of indoor‑plant decline (45 %). Use the “finger test”: insert a finger 2 cm into the soil; if it feels dry, water.
- Low‑light plants: Water every 10‑14 days.
- Medium‑light plants: Water every 7‑10 days.
- High‑light plants: Water every 5‑7 days, or when the top inch dries.
Fertilizing Tips
- Balanced 20‑20‑20 liquid fertilizer: Dilute to ¼ strength, apply once a month during the growing season (spring‑summer).
- Organic options: Worm castings or seaweed extract boost micronutrients without risk of burn.
Humidity Hacks
Many indoor plants (e.g., ferns, peace lilies) thrive at 50‑60 % relative humidity. Simple tricks:
- Place a shallow tray of water near heat sources; evaporation raises local humidity.
- Group plants together—transpiration creates a micro‑climate.
- Use a misting bottle for quick boosts, but avoid over‑misting which can promote fungal growth.
5. Light Optimization and Seasonal Adjustments
Maximize Natural Light
Position plants near south‑facing windows for maximum exposure in the Northern Hemisphere. Use a light‑reflecting board (e.g., white poster board) to bounce sunlight onto lower leaves.

Supplement with Grow Lights
- LED full‑spectrum panels: 12‑16 hours per day, 30‑40 µmol·m⁻²·s⁻¹ for foliage plants.
- Compact fluorescent (CFL): 4‑6 hours for low‑light tolerant species.
Adjust duration as days shorten; a 20 % reduction in light intensity typically triggers slower growth, so increase light time by 2‑3 hours in winter.
6. Pruning, Repotting, and Pest Management
Pruning for Health and Aesthetics
Remove yellowing or dead leaves promptly. For bushier growth, pinch back the top 1‑2 inches of stems every 4‑6 weeks. Data from a 2022 horticulture trial shows a 25 % increase in leaf production after regular pinching.
When and How to Repot
- Timing: Early spring, before new growth begins.
- Signs: Roots emerging from drainage holes, soil compacting, or plant toppling.
- Method: Choose a pot 2‑4 cm larger in diameter, repeat the potting steps, and water thoroughly.
Natural Pest Control
Common indoor pests include spider mites, aphids, and mealybugs. Effective, chemical‑free solutions:
- Neem oil spray: Mix 1 tsp neem oil with 1 L water, apply every 7 days.
- Insecticidal soap: Use a commercial product or DIY (2 tsp mild dish soap per liter of water).
- Sticky traps: Hang yellow traps near foliage to monitor and reduce adult insects.
7. Monitoring Success with Simple Metrics
Growth Rate
Measure leaf length or stem height monthly. A healthy indoor plant typically shows a 5‑10 % increase per month during the growing season.
Leaf Color and Texture
Vibrant, firm leaves indicate adequate light and nutrients. Yellowing, wilting, or mushy leaves signal over‑watering, nutrient deficiency, or low light.
Root Health (when repotting)
White, fibrous roots are a good sign. Brown, mushy roots indicate rot—trim affected sections and treat with a mild fungicide before re‑potting.
Conclusion: Turn Your Home into a Living Gallery
By following these data‑driven steps—selecting the right plant, repurposing old items into stylish containers, mastering watering and light, and staying vigilant against pests—you’ll create a resilient indoor garden that not only looks beautiful but also contributes to a healthier indoor environment. Remember, each plant is a small experiment; observe, adjust, and enjoy the process of turning everyday objects into garden treasures.

